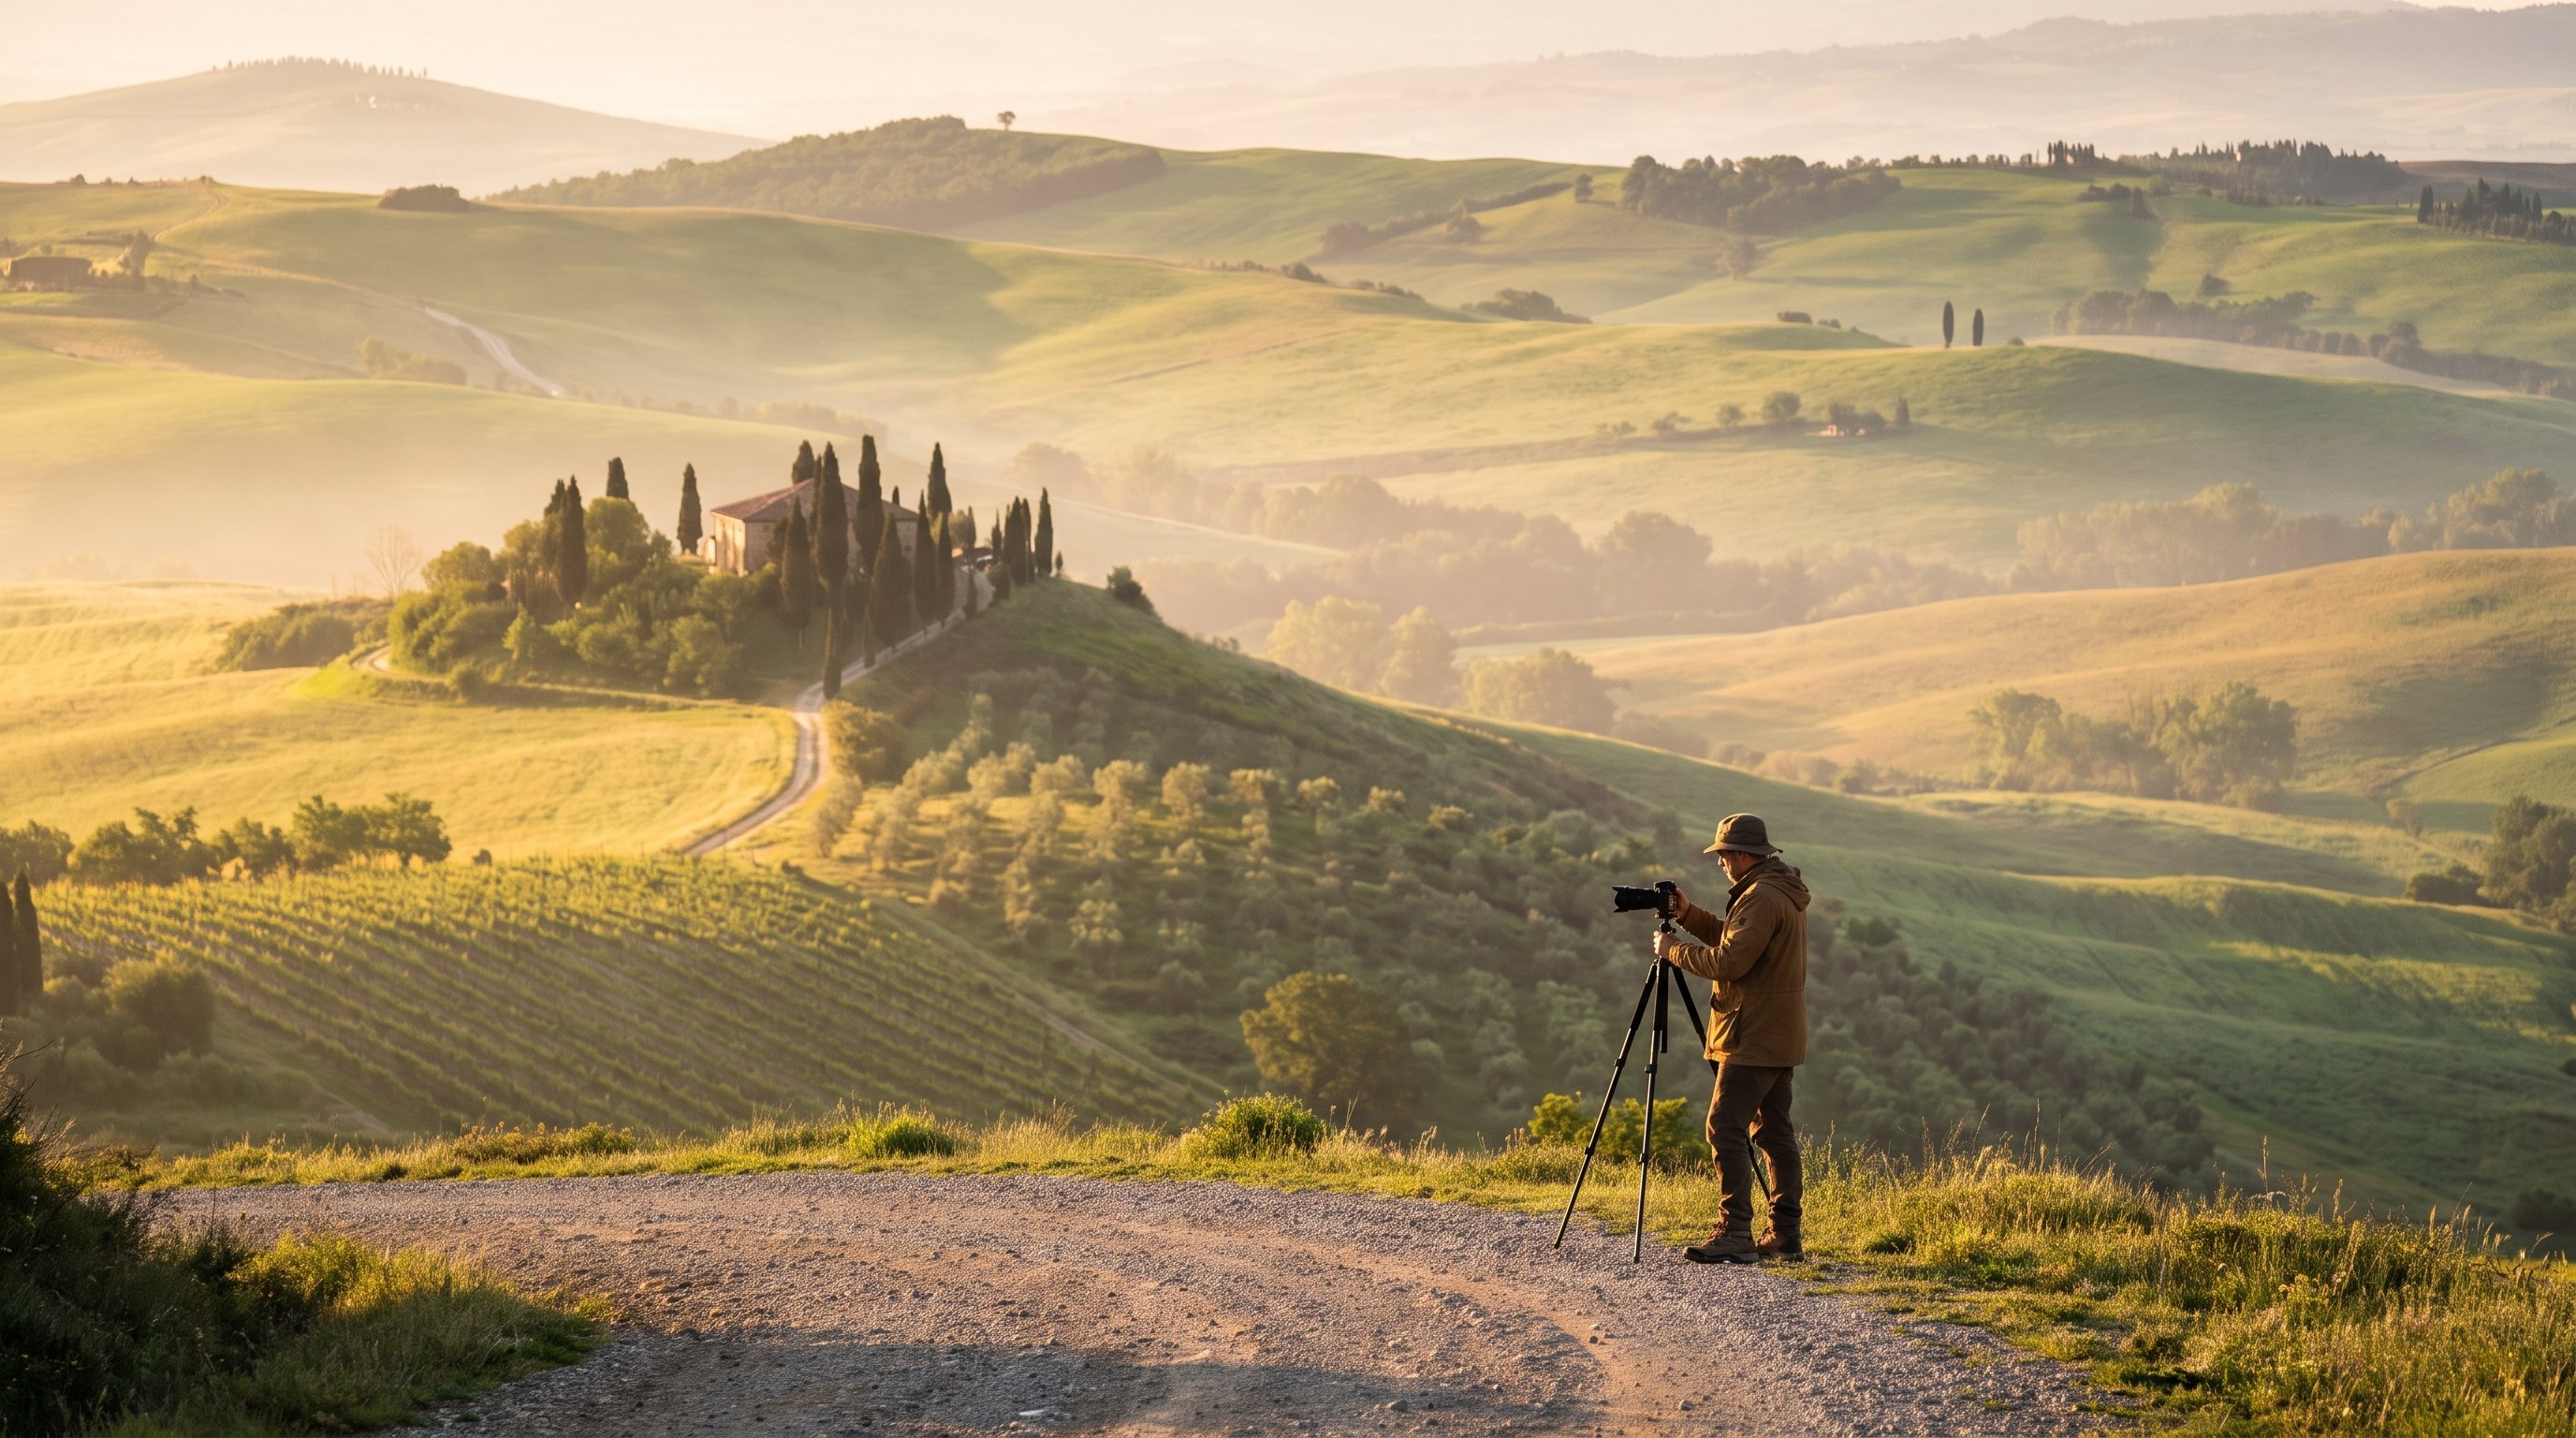
Landscape Photography: The Complete Guide to Light, Gear, and Technique
A complete overview of landscape photography, from reading daylight and night light to the gear that matters and the practice mindset that speeds up everything else.
Landscape Photography: The Complete Guide to Light, Gear, and Technique
I have led photography trips into the fog of Val d'Orcia at five in the morning, laid on my back on a frozen beach in Lofoten waiting for the aurora to flicker on, and burned through a full battery under a desert sky in Tunisia trying to get the galactic core sharp before the moon rose. What surprised me, after years of doing this for a living, is how much of it comes down to the same handful of ideas repeated in different light. Landscape photography is not a checklist. It is a small set of principles about light, timing, and gear that you apply differently depending on whether the sun is up, down, or somewhere in between.
This guide is the overview. It walks through daytime light, night light, the gear that actually matters for each, when to point yourself toward which kind of scene, and the practice mindset that gets you from "technically correct" to "actually good" faster than any lens upgrade will. Every section links out to a deeper dive on that specific topic, so treat this as the map before the individual trails.
Key Takeaways
There is no single trick to landscape photography. There is a framework: read the light, match your gear and settings to it, and treat every session as practice rather than a final exam.
| Point | Details |
|---|---|
| Best daylight window | Civil twilight through the hour after sunrise, and the mirror hour before sunset, when the sun sits low and side-lit |
| Blue hour timing | Sun between 0 and 6 degrees below the horizon, the window astronomers call civil twilight |
| Aperture sweet spot | Roughly f/8 to f/11 for most daylight landscapes, since diffraction starts softening detail past that |
| Milky Way dark-sky threshold | A genuinely dark, low light-pollution sky, closer to what astronomers call Bortle class 1 to 4 |
| Aurora forecasting tool | The Kp index, a 0 to 9 scale where 5 or higher means storm-level activity visible from lower latitudes |
| Single most important piece of gear | A genuinely stable tripod, for both blue hour long exposures and night photography |
Table of Contents
- What makes a landscape photograph work
- Reading daytime light
- Reading night light
- The gear that actually matters
- When to go: matching season and location to light
- Long exposure and blending technique
- The fail fast practice mindset
- Frequently asked questions about landscape photography
- Plan your own landscape photography trip
What makes a landscape photograph work
Every landscape photograph that actually stops someone scrolling is doing three things at once: the light is doing something specific, the composition gives the eye somewhere to travel, and the timing was not an accident. Strip any one of those out and the other two cannot save the shot. A perfectly composed scene under flat midday light reads as a real estate photo. Dramatic light with no foreground interest reads as a screensaver.
This guide is organized around light first because light is the variable you have the least control over and the most ability to plan around. You cannot make fog happen, but you can know the conditions that produce it and be standing in the right spot when they do. You cannot move the Milky Way's galactic core, but you can know which months it is visible and point your itinerary at a new moon. Gear and composition are skills built over a career. Reading and planning around light is something you can start doing on your next trip.
Reading daytime light
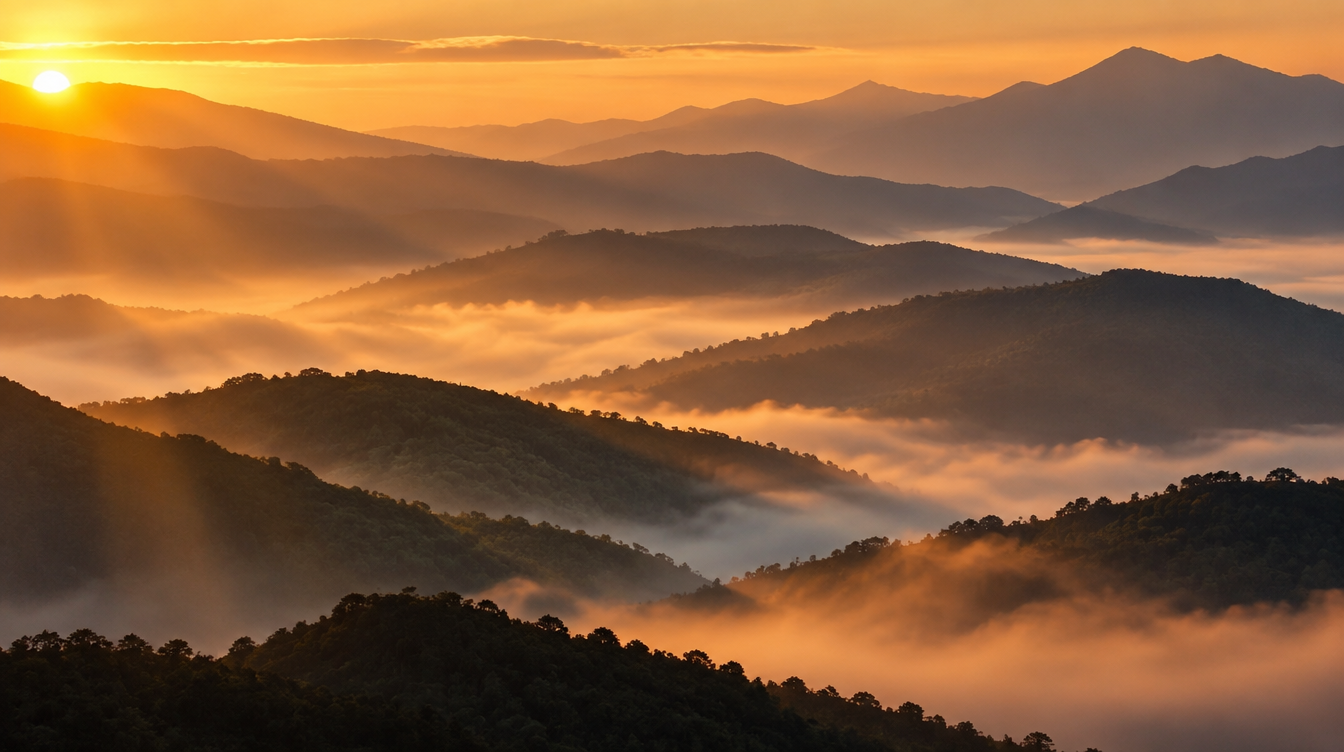
Sunrise and sunset get all the attention, and for good reason. When the sun sits low on the horizon, light travels through more atmosphere before it reaches your lens, which scatters the blue wavelengths and leaves the warmer reds and golds that photographers chase. That low angle also means every bump in the landscape casts a long shadow, which is what gives rolling hills, sand dunes, and mountain ridges their sense of depth. Side light, where the sun sits roughly perpendicular to your shooting direction, tends to reveal texture best. Shooting straight into the light, backlight, gives you silhouettes, rim light, and the chance at a clean sunstar if you stop down and let a ridge or tree branch partially block the sun.
Harsh midday light has a worse reputation than it deserves. The high, direct sun that flattens most landscapes and blows out skies is genuinely difficult to work with for a wide, layered scene, but it is often the best light of the day for water, for graphic high-contrast compositions, and for anything where color saturation matters more than shadow detail. A circular polarizer earns its keep here, cutting glare off water and foliage and deepening a blue sky that would otherwise wash out. If the midday light is not cooperating for the shot on your list, use those hours to scout instead. Walk the location, work out your composition, and come back when the light changes.
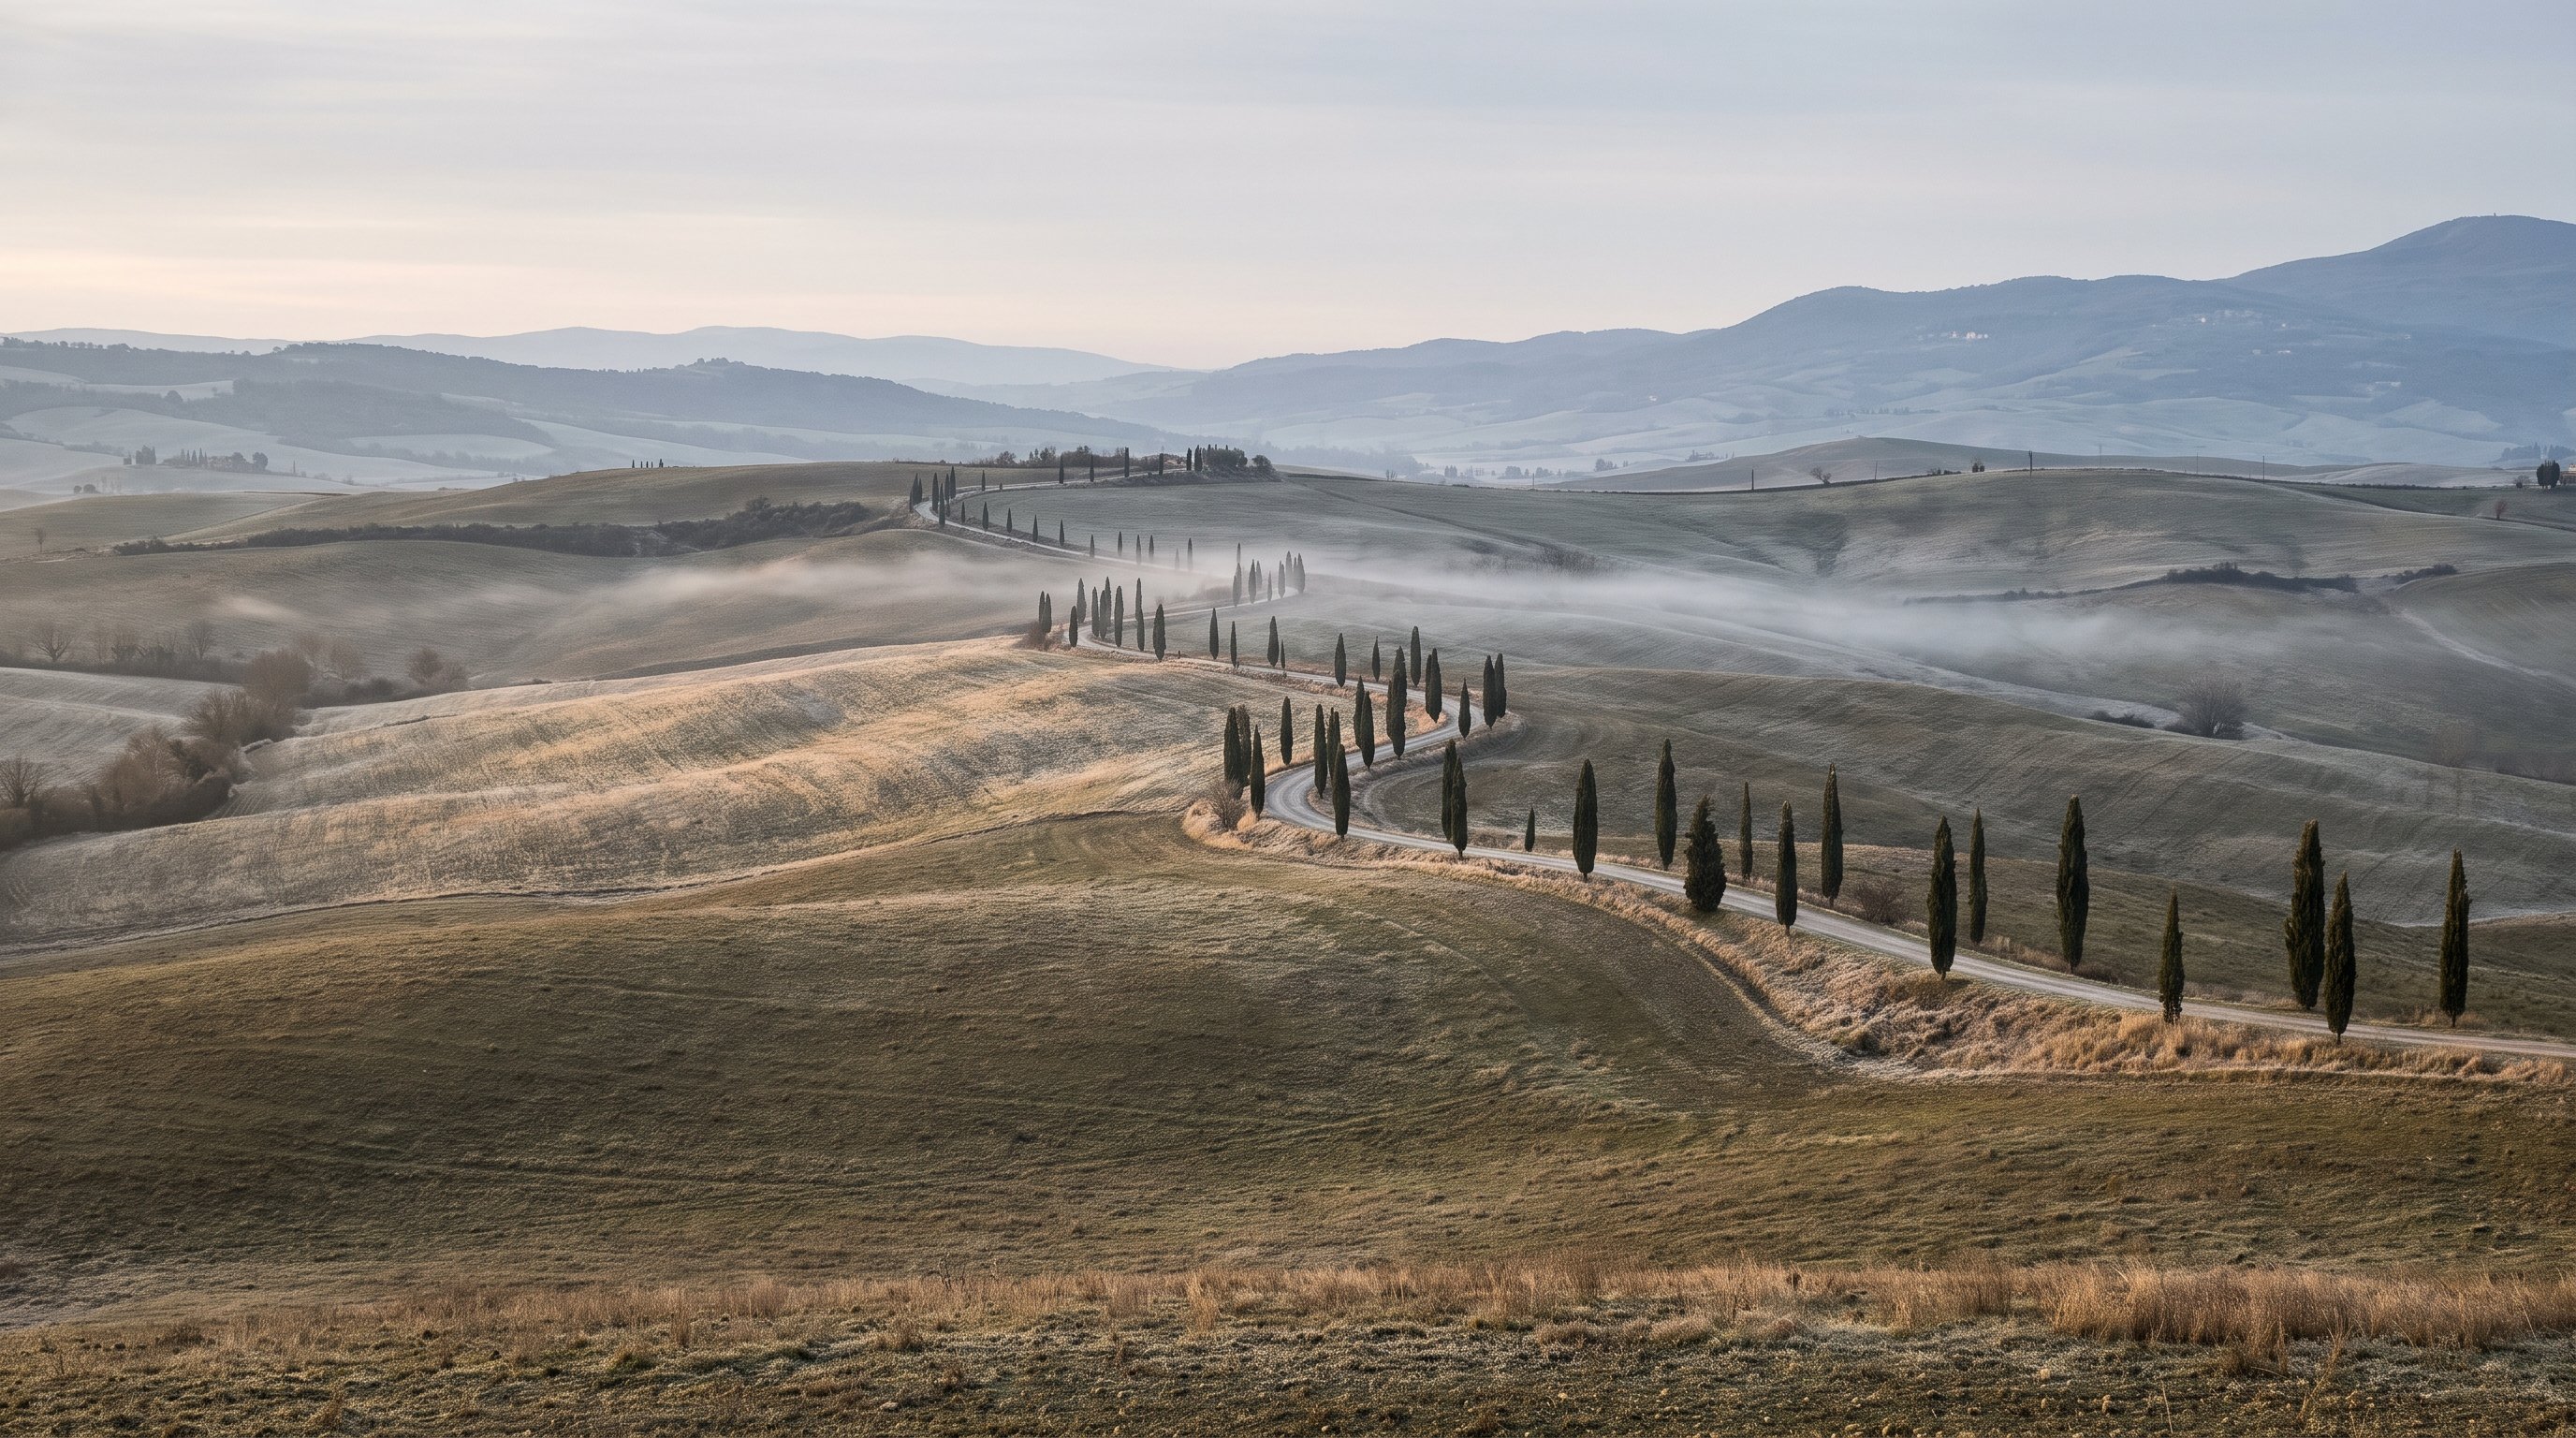
Fog and other atmospheric conditions do something neither harsh light nor golden light can: they create separation. A hilltop town floating above a valley of mist reads as three dimensional in a way a perfectly clear day rarely does, because the fog itself becomes a compositional layer between your foreground and background. We cover the specific weather signals that predict a strong fog morning, and where to position yourself above the fog line, in a dedicated guide to fog photography in Val d'Orcia, but the underlying principle travels anywhere: look for a clear evening sky, a calm wind, and a sharp overnight temperature drop, and get to a high vantage point before sunrise.
Pro Tip: If a scene looks flat under midday sun, do not force it. Note the GPS pin, note the direction you would want the light coming from, and come back at golden hour. A location scouted at midday and shot at the right time beats a location found and shot in the same ten minutes almost every time.
Reading night light
Night photography is really four different disciplines that happen to all require a tripod and patience. Blue hour is the gateway. It is the window when the sun sits between 0 and 6 degrees below the horizon, a stretch that astronomers define as civil twilight, and it produces a rich, saturated blue sky that pairs beautifully with warm artificial light from village windows or a distant town (Wikipedia's entry on twilight lays out the exact sun-angle boundaries astronomers use). Once the sun drops past 18 degrees below the horizon, illumination from the sky is essentially zero and true night begins, which is the point where moon and starlight take over as your only light sources.
Moonlight landscapes are the most underrated entry point into night photography, because moonlight is simply reflected sunlight and behaves in familiar, predictable ways. The moon runs through its full cycle of phases roughly every 29.5 days, and a bright but not quite full moon, sitting low enough to rake light sideways across a landscape, often produces a more interesting image than a full moon flooding the whole scene evenly from directly overhead (NASA's overview of moon phases is a good primer on why that cycle runs 29.5 days rather than the moon's actual 27.3 day orbital period, a gap caused by how far the Earth itself moves around the sun in the meantime).
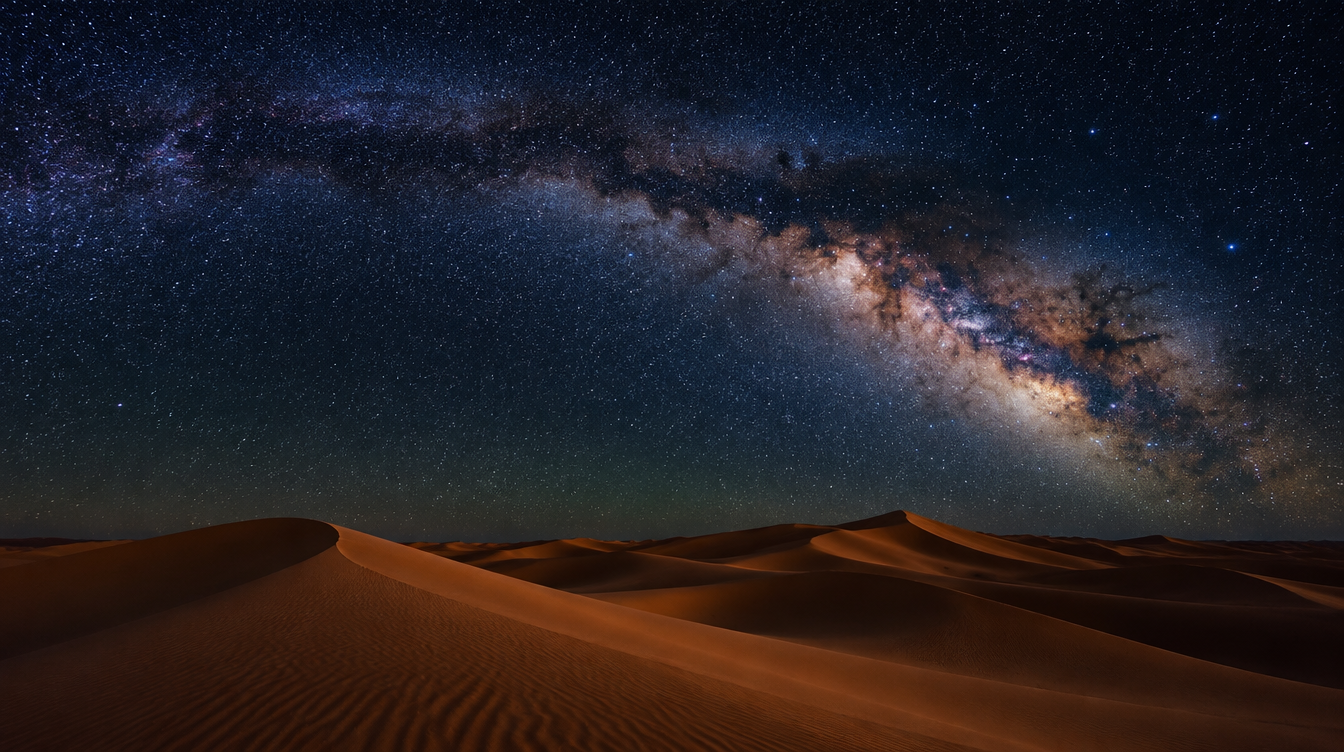
The Milky Way is where most photographers want to end up, and it is more approachable than it looks. What you are photographing is our own galaxy edge-on: a spiral roughly 100,000 light-years across, with our solar system sitting about 26,000 light-years out from the center, inside one of the spiral arms (NASA Goddard's page on the Milky Way's structure is worth a read before your first night shoot, if only so you understand what you are actually pointing your lens at). The hazy band you see with the naked eye is countless individual stars in that arm blurring together. A practical starting point is ISO 1600 to 3200, the widest aperture your lens offers, and a shutter speed in the 20 to 30 second range depending on focal length, shot in RAW, timed within a week of a new moon (PetaPixel's field guide to Milky Way photography is a solid reference for that starting exposure). None of that matters, though, without a genuinely dark sky. Light pollution is not just an inconvenience, it is measurably getting worse: satellite-tracked night sky brightness rose roughly 9.6 percent per year between 2011 and 2022, according to the U.S. National Park Service's Night Skies Division. That is exactly why our Milky Way departures run in the Tunisian desert rather than anywhere near a city.
Star trails and aurora both build on the same night-photography foundation. Star trails come from either one very long single exposure or, more commonly now, stacking dozens of shorter exposures in software to avoid sensor noise building up over a single multi-hour frame. Aurora is the one night subject you cannot simply plan around a calendar, since it depends on solar activity, but you can forecast it using the Kp index, a 0 to 9 scale of geomagnetic activity. A Kp of 5 or higher is considered storm level, and a Kp of 7 or higher is a severe geomagnetic storm that can push the visible aurora oval much further from the poles than usual (NASA's Kp index tutorial includes worked examples of how far south the aurora becomes visible at each level). We go deeper on exactly how that changes an itinerary, and how Iceland's aurora light compares to a completely different kind of magic hour, in our piece on golden hour photography in Iceland and our comparison of when long exposure actually helps a landscape versus when it works against the scene.
| Twilight type | Sun position | What it looks like |
|---|---|---|
| Civil twilight (blue hour) | 0 to 6 degrees below the horizon | Deep saturated blue sky, still bright enough to see clearly |
| Nautical twilight | 6 to 12 degrees below the horizon | Sky darkens further, horizon line starts to blur |
| Astronomical twilight | 12 to 18 degrees below the horizon | Faint sky glow only, brightest stars already visible |
| True night | Past 18 degrees below the horizon | Sky illumination is essentially zero, full Milky Way visibility possible |
Pro Tip: Before committing to a long Milky Way exposure, take a quick high-ISO test shot at 5 or 6 seconds. It will be noisy, but it lets you check focus and framing in seconds instead of waiting out a full 25-second exposure only to discover the horizon is crooked or the stars are soft.
The gear that actually matters
Daytime and night photography draw from overlapping but different kits. For daylight work, a wide angle lens in the 14 to 24mm range handles most sweeping compositions, while a mid telephoto in the 70 to 200mm range earns its place compressing distant ridgelines and isolating patterns you would never notice at a wider focal length. A sturdy tripod is non-negotiable the moment you want to shoot below hand-holding speed, and a circular polarizer plus a graduated neutral density filter cover the two most common daylight problems: glare and skies far brighter than the foreground. We go deep on exactly which filters earn a spot in the bag in our guide to the filters that actually matter for landscape photography, and on lens selection in our practical lens comparison for landscape work.
Night photography adds a shorter list of harder requirements: the fastest wide aperture lens you can reasonably bring, ideally f/2.8 or faster, since every stop of light matters once ISO climbs into the thousands; an intervalometer for star trail stacking and for any exposure long enough that touching the shutter would introduce shake; a red-light headlamp to preserve everyone's night vision; and more spare batteries than you think you need, since cold nights and long exposures drain them far faster than a typical daytime shoot.
What you can skip matters just as much as what you should pack. You do not need a full frame camera to shoot strong landscapes. A crop sensor or micro four-thirds body with a sharp lens and solid technique will consistently outperform a full frame camera used carelessly. Full frame mainly buys you extra dynamic range and easier low-light performance, which genuinely helps for night work but is far less decisive for a well-exposed daytime scene shot at base ISO.
| Scenario | Priority gear |
|---|---|
| Golden hour hills or ridgelines | Wide angle lens, tripod, graduated ND filter |
| Harsh midday water or graphic scenes | Circular polarizer, mid telephoto lens |
| Blue hour village or coastline | Tripod, remote release, wide to standard zoom |
| Milky Way or star trails | Fast wide prime (f/2.8 or faster), intervalometer, red headlamp, spare batteries |
| Aurora | Fast wide lens, tripod rated for wind and cold, backup battery kept warm in a pocket |
When to go: matching season and location to light
Every kind of light in this guide has a season and a place where it is most reliable, and the trips we run are built directly around that calendar. Val d'Orcia's fog window runs roughly October into November, when clear skies and sharp overnight temperature drops create the classic hilltop-above-the-clouds look, while the same region's golden hour is warmest and most reliable through spring and early autumn. The Dolomites deliver a different kind of daytime light: alpenglow on limestone peaks at both ends of the day, plus clean moonlit conditions on clear high-altitude nights. Lofoten and Iceland are built around aurora season, which runs through the darker months when nights are long enough for the Kp index to actually matter. The Tunisian and Algerian desert trips exist specifically for Milky Way season, when a Bortle-class dark sky is guaranteed by the terrain itself, not by luck.
The mistake most self-planned trips make is picking a destination first and hoping the light cooperates. Working backward from the light you actually want, then choosing the destination and dates that reliably produce it, is the single biggest planning shift that separates a lucky shot from a repeatable one.
Long exposure and blending technique
Long exposure is a tool, not a default setting, and it genuinely improves a scene only when something in the frame is moving in a way worth smoothing out: clouds streaming over a ridge, water at a thermal pool, or star trails wheeling around a fixed point. Where it works against a scene is anything where the moving element is the subject you actually wanted sharp, or where a long exposure flattens texture that was doing real compositional work. Our detailed breakdown of when long exposure works and when it doesn't in Val d'Orcia walks through filter strength recommendations by scenario, but the underlying test is simple: ask what the extra seconds of exposure are actually doing for the image before you reach for an ND filter.
Exposure blending, whether through bracketing highlights and shadows or through focus stacking a scene with a close foreground and a distant background, exists to solve a problem a single frame cannot: dynamic range or depth of field that exceeds what one exposure or one focus point can capture. The aperture range most landscape photographers default to, roughly f/8 to f/11, is a genuine sweet spot rather than an arbitrary habit, because diffraction becomes the dominant softening factor at smaller apertures even on excellent modern lenses (the physics of diffraction-limited optics explains why stopping down past that range can actually cost you sharpness instead of adding it). When a scene needs both a sharp two-foot-away rock and a sharp mountain a mile behind it, focus stacking several frames at your sharpest aperture beats forcing everything into focus at f/22 and losing overall resolution to diffraction.
The fail fast practice mindset
The photographers who improve fastest are not the ones with the best gear. They are the ones who treat a bad frame as data instead of a failure. On every trip I lead, the strongest images of the week almost always come from someone who took a deliberately imperfect test shot first: a high-ISO check exposure to confirm focus before committing to a five-minute star trail, a quick frame at blue hour to check the histogram before the light gets critical, a composition tried three different ways in the first ten minutes rather than locked in immediately.
That habit matters more at night than anywhere else, because night photography gives the least real-time feedback. You cannot judge a 25-second Milky Way exposure by eye the way you judge a daylight frame, so the test shot, the histogram check, and the willingness to reshoot are the actual workflow, not optional extras. Chase the same location across a few different conditions rather than one perfect visit, and treat every session, good or bad, as material for the next one.
Frequently asked questions about landscape photography
What camera settings should I use for landscape photography? Start in aperture priority or manual at f/8 to f/11 for most daylight scenes, base ISO around 100, and let the shutter speed follow from there on a tripod. Push to f/16 only when a scene genuinely needs extreme front-to-back sharpness, since going narrower risks the diffraction softening covered above.
Do I need a full frame camera for landscape photography? No. A crop-sensor or micro four-thirds camera with a sharp wide lens and solid technique will outperform a careless full frame setup. Full frame mainly buys extra dynamic range and cleaner high ISO performance, which matters more for night work than for a well-exposed daytime scene.
How do I get sharp landscape photos? Use a stable tripod on solid ground, a remote release or self-timer to avoid shake, manual focus roughly a third of the way into the scene or a focus-stacked sequence for extreme near-far compositions, and stay in the f/8 to f/11 range rather than assuming a smaller aperture is always sharper.
What is the best time of day for landscape photography? Civil twilight through the hour after sunrise, and the same window before sunset, give the softest and most directional light. Blue hour itself, sun 0 to 6 degrees below the horizon, is underused and often stronger for water and village scenes than photographers expect.
How do I photograph the Milky Way with a beginner camera? A kit lens at its widest focal length and widest aperture, ISO 1600 to 3200, a 20 to 30 second exposure scaled to your focal length, manual focus on a bright star, shot in RAW, timed near a new moon. Gear matters far less here than finding a genuinely dark sky.
How dark does a sky need to be to see the Milky Way's core? You want a rural to truly dark sky, what astronomers class as Bortle 1 to 4. A typical city sky, Bortle 6 or brighter, will wash out the galactic core even with perfect camera settings, which is exactly why dark-sky destinations matter more than any single piece of gear.
How do I know if the aurora will be visible on my trip? Check the Kp index forecast. A Kp of 5 or higher is storm level and can bring visible aurora into mid-to-high latitudes like northern Scandinavia or Iceland, while a Kp of 7 or higher pushes the auroral oval noticeably further from the poles. Pair that forecast with a genuinely dark, north-facing horizon.
Plan your own landscape photography trip
Every technique in this guide is one we build entire small-group trips around, not something we cover once and move on from. Our current departures max out at 6 to 8 photographers, which keeps enough room for real one on one guiding time at the exact moments light is changing fastest, and every itinerary is timed for the specific seasonal light each destination is known for rather than a fixed calendar date. If the night sky sections of this guide are what pulled you in, our Milky Way and aurora departures run in the desert skies of Tunisia and the long winter nights of Lofoten and Iceland. If it was the golden hour and fog material, that is exactly what our Tuscany photo tour through Val d'Orcia is built around. Browse the full list of current WeShoot photo tours to see which season and light matches what you want to come home with.
Sources
- Wikipedia: Twilight, civil/nautical/astronomical sun-angle definitions
- Wikipedia: Diffraction-limited system, why small apertures soften images
- NASA Science: Moon Phases
- NASA Goddard Space Flight Center: The Milky Way Galaxy
- NASA Goddard/SPDF: the Kp index and aurora visibility by latitude
- U.S. National Park Service, Night Skies Division: light pollution and measured skyglow growth
- PetaPixel: How to Photograph the Milky Way