Panoramic Landscape Photography: How to Shoot and Stitch a Panorama
How to shoot a clean landscape panorama in the field, from leveling the tripod and understanding parallax to overlap, locked settings, and stitching in Lightroom.
Panoramic Landscape Photography: How to Shoot and Stitch a Panorama
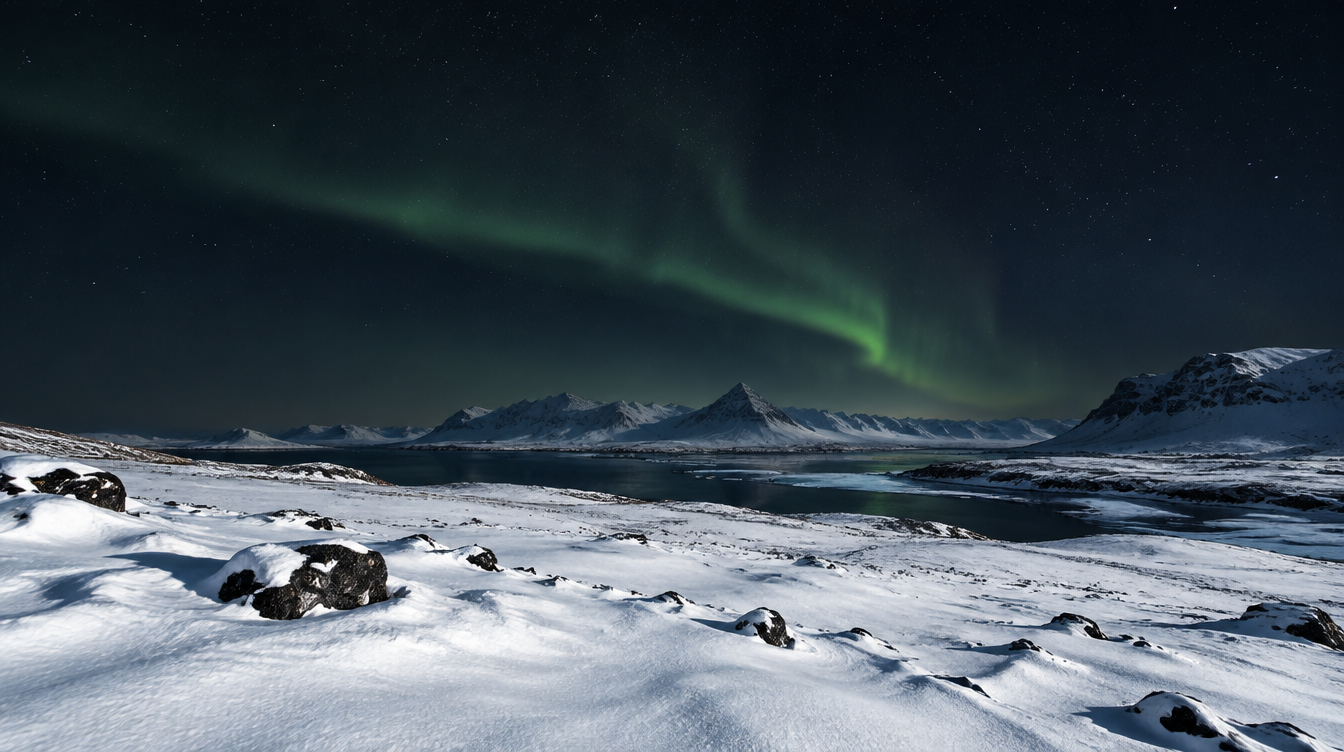
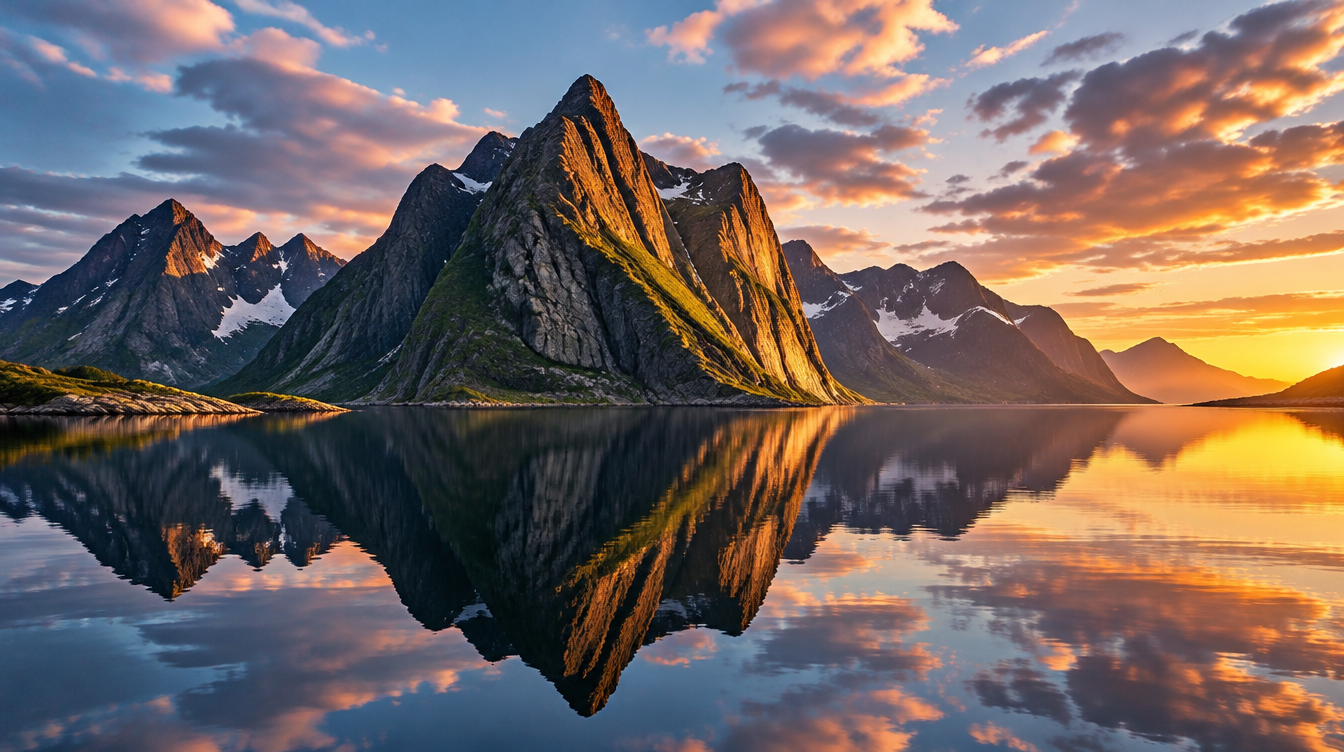
The first time I tried to capture a fjord in Lofoten with a single frame, I failed in about the way you would expect. A 16mm lens got the mountains in, but it also shrank the water to a thin grey ribbon and made the whole scene feel smaller than it actually was. Standing there with the wind coming off the Norwegian Sea, I knew the photograph needed more width than any lens in my bag could give it in one shot. That is the entire reason panoramic photography exists. It is not a gimmick or a trick for Instagram carousels. It is a way of recording a place that is genuinely too big for a single frame, whether that is a fjord wall at Reine, a wheat field in Val d'Orcia, or a curtain of aurora stretching from one horizon to the other.
This guide covers exactly how I shoot panoramas in the field and how I stitch them once I am home, including the parts most articles skip over: what the nodal point actually is, how much your frames need to overlap, which settings to lock before you start shooting, and when Lightroom is enough versus when you need a dedicated stitching tool. None of this is complicated once you understand the two or three things that actually matter.
Key Takeaways
A panorama is just several frames shot to be merged into one wide image, and almost every stitching problem traces back to one of five fixable habits.
| Point | Details |
|---|---|
| Rotate around the entrance pupil | Not the tripod's center, so foreground objects do not shift against the background between frames |
| Overlap | Roughly 25 percent at 50mm and longer, roughly 50 percent at wider focal lengths |
| Lock everything manually | Exposure, white balance, and focus all need to stay fixed across the whole sequence |
| Aperture | f/11 to f/16 is the usual sweet spot; going past f/16 on most bodies starts to soften detail from diffraction |
| Orientation | Shoot most panoramas in vertical frames, five to ten of them, even though the final image will be wide |
Table of Contents
- Why shoot a panorama at all
- Leveling your tripod and camera
- Nodal point and parallax, explained without the jargon
- How much overlap you actually need
- Locking exposure, white balance, and focus
- Choosing an aperture that won't soften your stitch
- Vertical vs horizontal panoramas
- Stitching in Lightroom
- When a dedicated stitcher earns its place
- Frequently asked questions about panoramic photography
- Sources
- Recommended
Why shoot a panorama at all
A single frame and a stitched panorama are not just two ways to get the same picture. They are different tools for different problems. A wide-angle lens compresses an entire scene into one rectangle, which is great when the scene actually fits that rectangle. The moment your subject is wider than it is tall by a large margin, like a fjord, a mountain ridge, or an aurora arc overhead, you start fighting the lens instead of using it. Go wide enough to fit everything and you pull in distracting foreground, distort the edges, and shrink your main subject into a sliver of the frame.
Stitching several frames together solves this cleanly. You get the field of view you actually want without buying an ultra-wide lens you will only use occasionally, and the final file is dramatically higher resolution than any single exposure, since you are effectively combining the pixel count of five, seven, or ten frames. That matters if you plan to print large, since a panorama stitched from seven 45-megapixel frames holds up as a six-foot print in a way a single frame from the same camera cannot.
I shoot the most panoramas on trips built around exactly this kind of oversized landscape. On our Lofoten photo tour, we spend entire mornings at spots like Haukland Beach and the Fredvang Bridges, where the water, the peaks, and the sky are all doing something worth keeping and a single 16mm frame cannot hold all three at once. The same logic applies after dark. When the aurora stretches from one horizon to the other, which it genuinely does on a strong night in Lofoten, a vertical panorama is often the only honest way to show how much sky it covered.
Leveling your tripod and camera
Everything else in this guide gets easier if you start with a level tripod. A panorama shot from a tilted base drifts up or down as you pan, which means your edges will not line up cleanly and you will lose real estate to cropping later. Most tripods have a bubble level built into the base or the center column. Use it before you mount the camera, not after, since adjusting leg length is much easier without a camera and lens hanging off the top.
Once the tripod base is level, check your head. A standard ball head will hold a level camera fine for a single frame, but panning it side to side for a panorama tends to introduce a slow tilt unless the head itself sits dead level too. Many photographers use a panning base, a flat plate with its own bubble level that sits between the ball head and the tripod, so the camera can rotate through a full sweep without the ball head's own geometry throwing things off. If your camera has a built-in electronic level in the viewfinder or rear screen, use it as a second check before you start shooting. It takes thirty extra seconds and saves you from discovering a crooked horizon on your laptop that evening.
Pro Tip: Shoot a test sweep of three frames before committing to the full sequence. Check them on your rear screen at full zoom for horizon drift. It is much faster to re-level the tripod now than to realize in Lightroom that your ten-frame sunrise sequence climbs half a degree from left to right.
Nodal point and parallax, explained without the jargon
This is the part of panoramic photography that scares people off, usually because it gets explained with more technical language than the actual shooting requires. Here is the short version. Every lens has an optical center point that photographers commonly call the nodal point, though the more precise term is the entrance pupil, as Cambridge in Colour explains in its guide to digital panoramas. If your camera rotates around that point as you pan for a panorama, everything in the frame, near and far, stays in the same relative position between shots. If the camera instead rotates around some other point, like the center of the tripod head, near objects will appear to shift position relative to far objects as you pan. That shift is called parallax error, and it is the single most common reason a panorama fails to stitch cleanly, showing up as doubled edges, ghosted branches, or a lamppost that seems to bend where two frames meet.
The genuinely useful part is knowing when it actually matters. Per the same Cambridge in Colour guide, a panoramic or nodal-slide head, the specialized hardware built to rotate a camera around its entrance pupil, is really only necessary when your scene has a close foreground subject appearing across multiple frames. For an open landscape with nothing within a few meters of the lens, like most of what you shoot on a mountain ridge or a wide beach, a standard tripod head is fine, since the parallax shift on distant subjects is too small to matter at normal viewing distances. I only reach for a nodal-slide plate when rocks, railings, or plants sit in the near foreground of a multi-frame pano, which in practice is maybe one shoot in five.
Wikipedia's entry on panoramic photography adds a useful caveat here: stitching software has gotten good at correcting some parallax error automatically, but not all of it, and different programs vary in how well they manage it. That is a decent reason to get your technique right in the field rather than assuming software will quietly fix a sloppy sequence later.
How much overlap you actually need
Overlap is the percentage of each frame that repeats in the next frame over, and it is what gives stitching software enough shared detail to line adjacent images up correctly. Too little overlap and the software has nothing to match between frames. Too much and you are wasting frames and storage card space without gaining anything. Nikon's own field guidance, published in its Learn & Explore technique library, puts a useful number on this: roughly 25 percent overlap per frame at 50mm and longer focal lengths, and roughly 50 percent overlap for anything wider than 50mm, since wide lenses show more edge distortion that the software needs extra shared detail to correct for.
| Focal length | Recommended overlap | Why |
|---|---|---|
| 16-24mm | About 50 percent | More edge distortion to correct between frames |
| 35-50mm | 35 to 40 percent | Moderate distortion, a comfortable middle ground |
| 70mm and longer | About 25 percent | Minimal distortion, less shared detail needed |
The reassuring part, also straight from Nikon's guidance, is that none of this needs to be exact. The software doing the stitching tolerates imprecision well, so getting "in the ballpark" on overlap is genuinely good enough. I do not count degrees of rotation in the field. I watch a fixed landmark, a rock, a tree, a bend in the water, drift from one edge of the frame to roughly the halfway point before taking the next shot, which keeps me close enough to that 25 to 50 percent range without slowing the shoot down.
Locking exposure, white balance, and focus
A panorama only stitches cleanly if every frame treats the light the same way, which means switching your camera out of any automatic mode before you start the sweep. Shoot in full manual mode and set shutter speed, aperture, and ISO once for the whole sequence. Nikon's technique guide is specific here: do not use Auto ISO, since the camera could shift exposure mid-sequence if the lighting changes even slightly, producing visible banding where two frames of different brightness meet. This matters most at sunrise and sunset, exactly when you are most likely to want a panorama.
White balance works the same way. Leave it on Auto and your camera may interpret the color temperature slightly differently frame to frame, especially if a warm foreground and a cool sky trade places as you pan. The same Nikon guidance recommends setting white balance to a fixed preset, Daylight being the safe default, rather than leaving it on Auto for a sequence you plan to stitch.
Focus is the third variable, and it is the one people forget most often. Autofocus will happily refocus on whatever is centered in each new frame, which means a panorama shot with continuous autofocus can have a sharp foreground in frame three and a soft one in frame six. Focus manually before the sequence starts, either on your key subject or at infinity for a landscape with nothing close, and leave the lens there for every frame.
Pro Tip: Take one extra frame of your own hand or a lens cap at the very start of a sequence. It sounds odd, but when you are reviewing a card full of raw files back at the hotel, that single marker frame makes it instant to see where one panorama sequence ends and the next begins.
Choosing an aperture that won't soften your stitch
Nikon's panorama guidance lands on f/16 or f/22 for depth of field across a sequence, which makes sense for a scene with elements at very different distances from the lens. But there is a tradeoff worth understanding before you default to the smallest aperture your lens offers. Cambridge in Colour's guide to diffraction limited photography found that on the camera it tested, diffraction softening became visible starting around f/11, and by f/22 nearly all fine detail had been smoothed out of the image. The broader point, which holds across camera systems even though the exact number shifts, is that every camera has an optimal aperture somewhere between its widest and smallest settings, and neither extreme is the sharpest choice available.
In practice, I set f/11 for most panoramas where everything of interest sits at a similar, fairly distant range, like a mountain ridge or a fjord wall. I move to f/16 when there is real depth in the scene, a foreground rock a few meters away and a background peak a few kilometers away, and I accept the slightly softer corners as the cost of keeping both in focus. I rarely go past f/16 on a full-frame body, since the resolution lost to diffraction tends to outweigh the depth of field gained.
Vertical vs horizontal panoramas
Most people assume a panorama means turning the camera sideways and shooting a strip of horizontal frames. In practice, Nikon's own technique guide recommends the opposite for most scenes: shoot each individual frame in vertical, portrait orientation, then pan sideways between frames. The logic is simple once you see it. A panorama's final width comes from how many frames you stitch, not from each individual frame's shape, so shooting each frame tall gives you more vertical pixels to work with and leaves room to crop the top and bottom later without losing resolution on the parts you actually want. The same guidance suggests roughly five to seven frames for a typical vertical-frame panorama, nine at most, with ten as a practical upper limit before file management and stitching time start working against you.
Where this gets more interesting is matching orientation to the subject itself rather than treating it as a fixed rule. A fjord wall with water in the foreground and peaks above genuinely benefits from the wide, letterbox shape that comes from stitching vertical frames side to side, the classic panorama look. An aurora arc overhead is a different problem. On a strong night the lights can run from one horizon, up overhead, and down to the opposite horizon, which calls for stacking frames vertically rather than side to side, so the final image captures height instead of width. I decide in the field by asking which dimension the scene is actually long in, rather than defaulting to the familiar wide strip every time.
Stitching in Lightroom
For the large majority of panoramas I shoot, including nearly everything on a Lofoten trip, Lightroom's built-in Photo Merge tool is all I need. Select the frames that make up one sequence in the Library or filmstrip, right click, and choose Photo Merge, then Panorama. Lightroom analyzes the overlap between frames, aligns them, and gives you a choice of projection method before committing to the final file. A spherical projection tends to suit very wide or multi-row sequences, a perspective projection keeps straight lines straight, which matters if there is architecture in the frame, and a cylindrical projection is a solid general choice for a wide landscape pano since it keeps vertical lines straight while still handling a wide field of view gracefully.
One setting worth knowing about is the Boundary Warp slider in the merge preview. Stitched panoramas almost always come out with slightly uneven edges once the frames are aligned, which normally means cropping into a clean rectangle and losing some of the frame. Boundary Warp instead stretches the edges slightly to fill the rectangle without a crop, which is useful when you shot tight and cannot afford to lose much of the frame, though I keep it well under half strength to avoid visible stretching near the edges.
The output is a new raw file in Lightroom's library, carrying the same editing flexibility as any single raw exposure rather than behaving like a flattened image. That is one of the real advantages of stitching inside Lightroom: the panorama drops straight back into your existing raw workflow instead of living as a separate export you have to re-import and re-edit.
When a dedicated stitcher earns its place
Lightroom handles the overwhelming majority of landscape panoramas without complaint, but there are a few situations where a dedicated stitching application is worth the extra step. Multi-row panoramas, where you shoot several horizontal strips stacked on top of each other to capture a very wide and very tall scene at once, push harder on alignment than Lightroom's merge tool is built for, and a dedicated stitcher generally gives you manual control points to fix specific misalignments by hand rather than accepting whatever the automatic algorithm decided. The same is true for sequences with real parallax error baked in, a close foreground shot without a nodal-slide head, where Lightroom's automatic alignment can produce visible ghosting that a manual control-point tool can often correct frame by frame.
I reach for a dedicated stitcher maybe once or twice a trip, almost always on a multi-row sequence from a viewpoint I only get one real shot at. For a standard single-row sequence off a leveled tripod, which describes most of what you will actually shoot, Lightroom's Photo Merge is genuinely enough.
If you are building a trip specifically around wide, panorama-friendly landscapes, a destination with real scale to it makes the whole exercise worthwhile. Our Lofoten photo tour runs as an 8 day, 7 night trip with a maximum group size of six, small enough for real, one-on-one help lining up a tripod rather than shooting in a crowd. We visit Haukland Beach, Skagsanden Beach, Nusfjord, Reine, Hamnoy, and the Fredvang Bridges, and we chase the aurora on clear nights specifically because a wide or vertical panorama is often the only way to show how far it stretched across the sky.
Frequently asked questions about panoramic photography
What is the nodal point of a lens, and do I need to find mine? The nodal point, more precisely called the entrance pupil, is the optical center your camera should rotate around to avoid parallax error. You only need to locate it precisely, usually with a nodal-slide plate, when your panorama includes a close foreground subject across multiple frames. For an open landscape with nothing nearby, a standard tripod head is fine.
What is parallax error, and how do I know if I have it? Parallax error is the shift in position of near objects relative to far objects that happens when the camera rotates around a point other than its entrance pupil. You will see it in a stitched panorama as doubled edges, ghosting, or a straight line that bends slightly where two frames meet.
How much overlap do I need between frames? Roughly 25 percent at 50mm and longer focal lengths, roughly 50 percent at wider focal lengths, though stitching software tolerates imprecision well, so getting close is good enough.
Do I need a panoramic or nodal head, or is a normal tripod head fine? A normal ball head or pan head works for almost any open landscape panorama. A dedicated panoramic head only becomes necessary when there is a close foreground subject in multiple frames.
What is the best aperture for a panorama? f/11 to f/16 is a reliable range for most landscape panoramas. Going past f/16 on most full-frame bodies starts to lose fine detail to diffraction, so it is worth reserving the smallest apertures for scenes with genuine depth that need the extra depth of field.
Should I shoot a panorama vertically or horizontally? Shoot each individual frame in vertical, portrait orientation, then pan sideways, which gives more resolution to crop into later. Whether the final stitched image reads as wide or tall depends on the subject: a fjord or ridge usually wants a wide result, an aurora arc or tall waterfall usually wants a taller one.
Can I handhold a panorama, or do I need a tripod? A tripod is strongly recommended, since it keeps the camera level and the pivot point consistent between frames. A careful handheld sequence can work for a quick, forgiving scene, but expect more alignment problems than with a leveled tripod.
Should I shoot RAW or JPEG for a panorama I plan to stitch? RAW. A stitched panorama in Lightroom's Photo Merge outputs as a new raw file, preserving full editing latitude, which only works if your source frames were RAW to begin with.
Can I shoot a panorama of the northern lights? Yes, and it is one of the better uses of the technique. A strong aurora can stretch across far more sky than a single wide-angle frame can hold, so a vertical panorama is often the most honest way to show its actual scale.
Sources
- Cambridge in Colour: Photo Stitching Digital Panoramas, on the entrance pupil and parallax error
- Cambridge in Colour: Diffraction Limited Photography, on aperture and sharpness
- Nikon USA Learn & Explore: Panoramas, on overlap, aperture, and locked settings
- Wikipedia: Panoramic photography, on the entrance pupil and the limits of stitching software
- National Park Service: The Unique Photography Techniques That Help Preserve Spectacular Night Skies