How to Use a Star Tracker for Landscape Astrophotography
When a star tracker is worth carrying, how to polar align it in both hemispheres, and how to blend a tracked sky with a sharp, untracked foreground.
How to Use a Star Tracker for Landscape Astrophotography
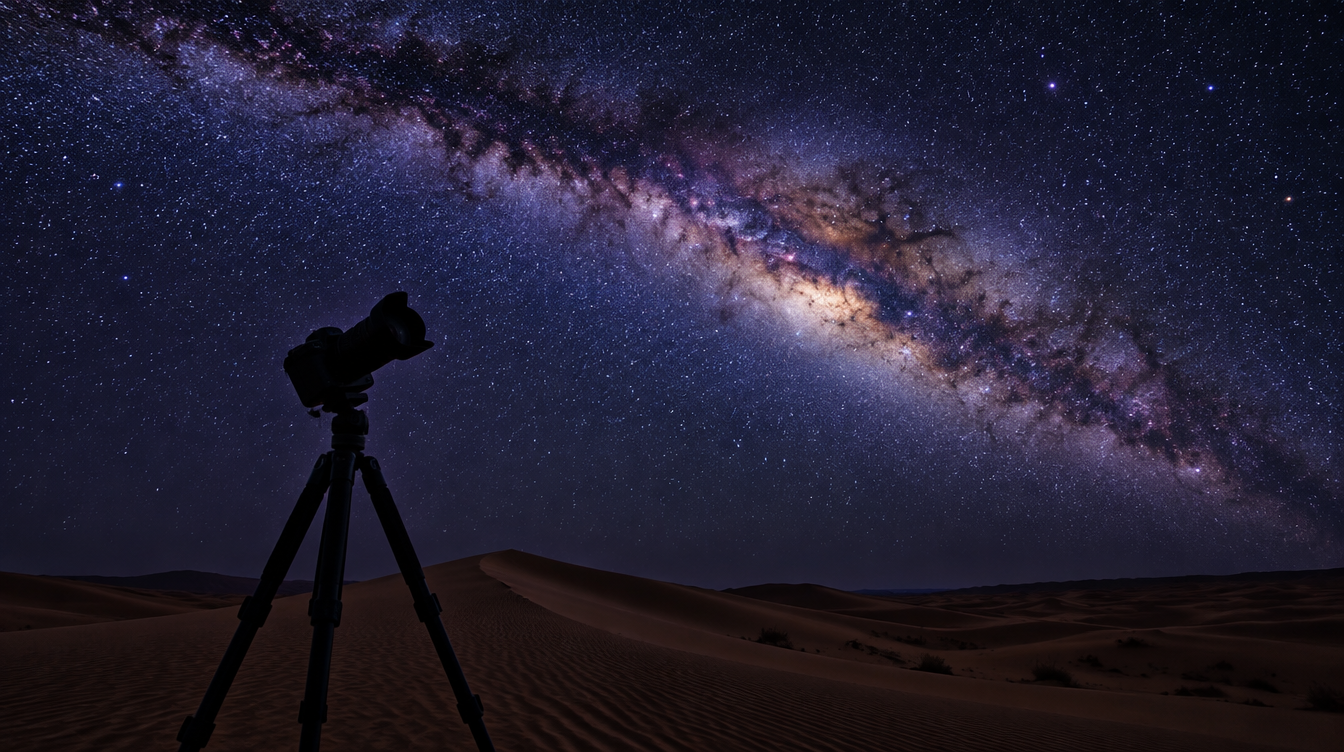
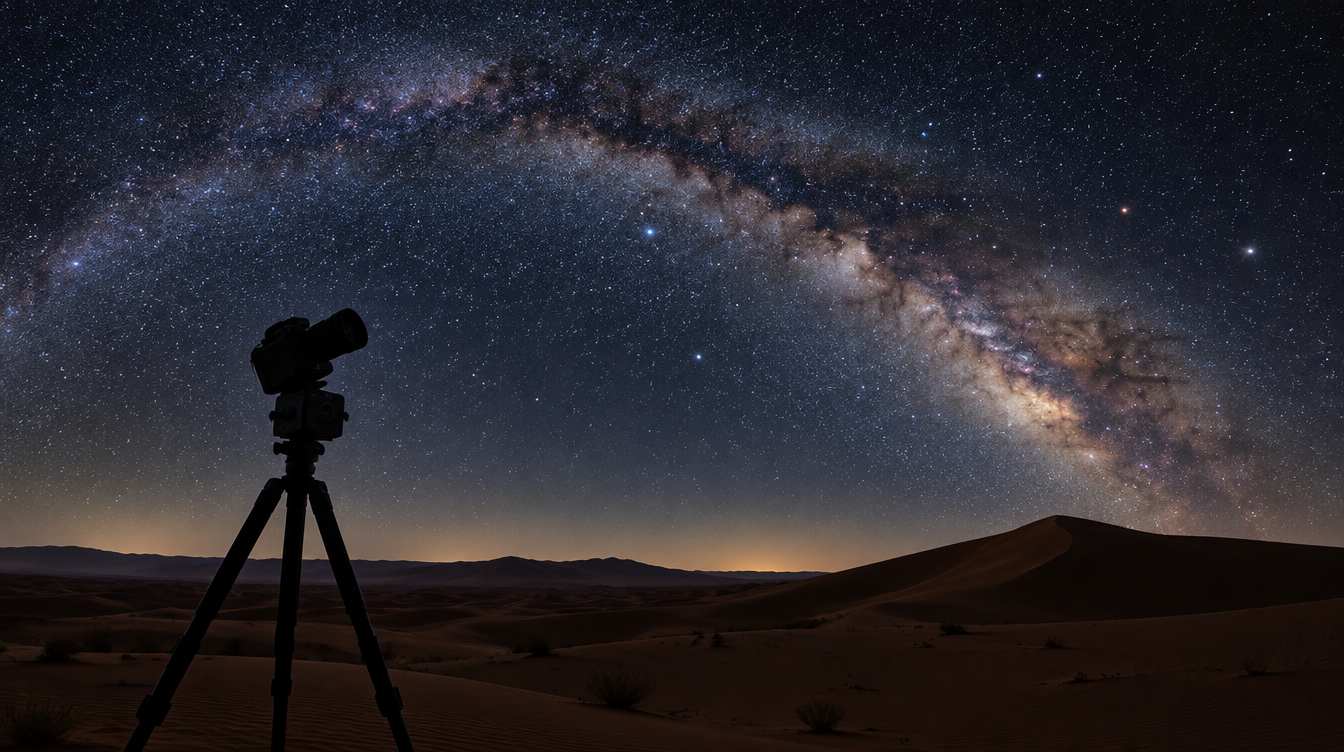
The first time I put a star tracker in a client's hands on a night shoot, their first question was not "how does this work," it was "do I actually need this." That is the right question, and it is the one most gear reviews skip straight past on their way to a buying link. A star tracker is a small motorized mount that rotates your camera to match the sky's own apparent motion, so stars stay as sharp points instead of smearing into short streaks over a long exposure. It is genuinely useful for a specific kind of image and genuinely unnecessary for a lot of others, and knowing which category your shot falls into will save you money, weight in your bag, and a frustrating night fumbling with a polar scope in the dark.
This guide walks through when a tracker earns its place in your kit, how tracking actually works, how to polar align one in both hemispheres, and how to blend a tracked sky with a sharp, untracked foreground so the final image reads as one coherent photograph rather than two mismatched halves. Everything here is built around the kind of travel setup you would actually carry on a trip, not a backyard observatory rig.
Key Takeaways
A tracker buys you cleaner, lower-noise night sky images, but only when the shot calls for it and only once you have alignment and blending sorted out.
| Point | Details |
|---|---|
| What a tracker does | Rotates the camera at the sidereal rate so stars stay as points instead of streaking during a long exposure |
| When it is worth it | Wide Milky Way scenes, telephoto star fields, any shot where you want lower ISO and cleaner detail in the sky |
| When to skip it | Quick wide-angle shots at 14-20mm where a short untracked exposure is already sharp enough, or when travel weight is the priority |
| Northern hemisphere alignment | Polaris, sitting about three-quarters of a degree from true celestial north |
| Southern hemisphere alignment | No bright pole star; use Sigma Octantis or a compass-and-latitude fallback method |
| The catch | A tracked sky blurs your foreground, so most tracked images are really two exposures blended into one |
Table of Contents
- When a star tracker is worth carrying, and when it isn't
- How star tracking actually works
- Polar alignment in the northern hemisphere
- Polar alignment in the southern hemisphere
- Choosing a lightweight travel tracker setup
- Exposure settings once you're tracking
- Blending a tracked sky with a sharp, untracked foreground
- Common star tracker mistakes
- Frequently asked questions about star trackers
When a star tracker is worth carrying, and when it isn't
A tracker solves one problem: at a given focal length, there is a ceiling on how long you can expose the night sky before stars stop looking like points and start looking like short lines. Our guide to the 500 rule and the NPF rule covers exactly how that ceiling is calculated for an untracked shot. A tracker removes that ceiling almost entirely for the sky, which means you can drop your ISO, close your aperture half a stop for more depth of field, and still end up with a cleaner file than any untracked exposure could give you at the same settings.
Where this actually matters is wide Milky Way scenes you plan to print large, telephoto shots of star fields or the galactic core where even a small amount of streaking is obvious, and any night where high ISO noise is the limiting factor rather than light pollution or moonlight. Where it does not matter nearly as much is a quick 14-20mm wide shot meant for social media or a blog post, where an untracked exposure at the NPF-rule ceiling is already sharp enough that nobody will notice the difference. If you are new to night photography, our broader guide to photographing the Milky Way is the better starting point, and you can add a tracker later once you know exactly what it would buy you.
There is also an honest cost side to this decision. A tracker is another item to charge, another thing that can fail in the cold or the sand, and another step between you and a finished image, since a tracked sky almost always needs a separate foreground exposure and a blend in post. On a trip with limited nights, that extra complexity is only worth it if the shot you are chasing genuinely needs it. I tell most first-time night shooters to master the untracked workflow first and add a tracker on their second or third dark-sky trip, once the tracker becomes one more tool rather than one more thing to troubleshoot by headlamp.
Pro Tip: Practice your polar alignment routine at home, in your backyard or a dark parking lot, before your trip. Doing it for the first time on a cold, windy night with one shot at the Milky Way is how good trackers end up as expensive paperweights in a camera bag.
How star tracking actually works
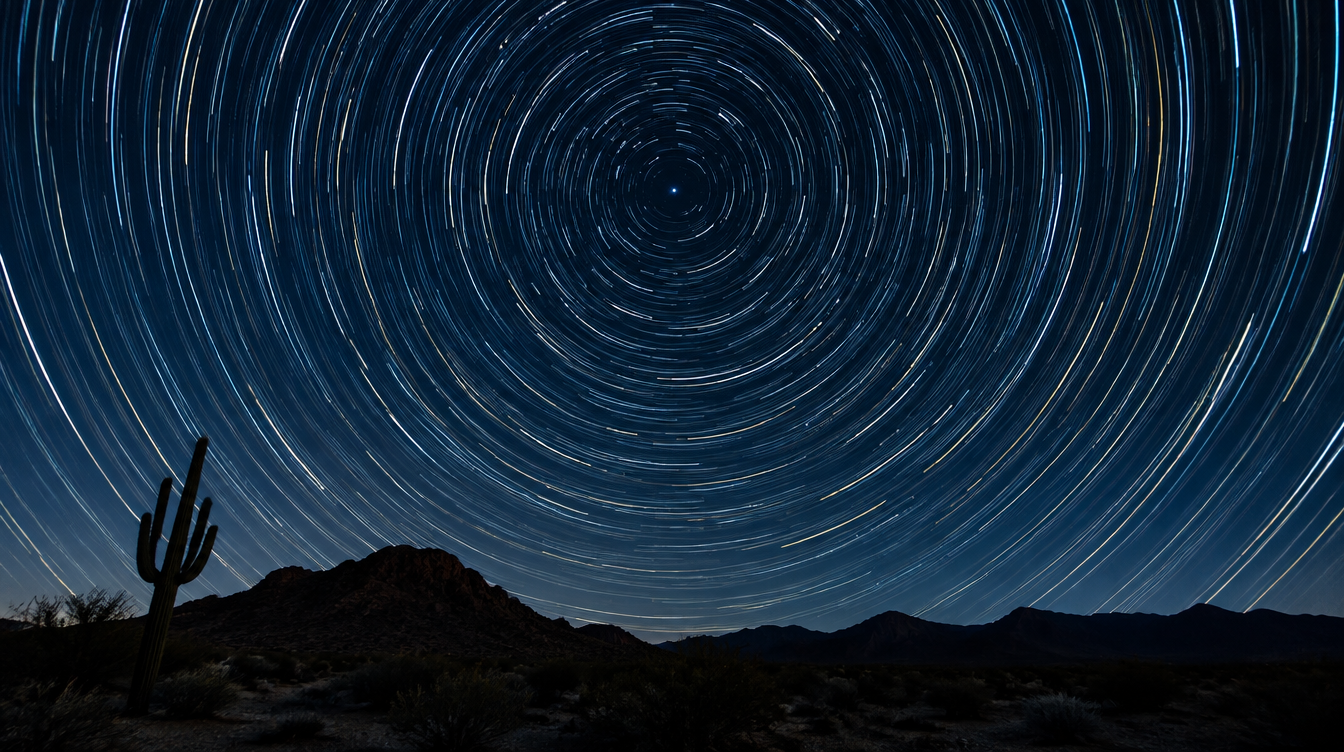
Every star in the sky appears to drift because Earth is rotating underneath it, and that drift traces arcs around a single fixed point: the celestial pole, which sits directly above Earth's own rotational axis. NASA's imagery of star trails makes this concrete: in a long exposure of the night sky, the camera captures stars as curved lines because the axis of rotation leads to the center of the concentric arcs, with the North Celestial Pole sitting at the center of all of them. The same geometry is not unique to Earth. NASA's comparison image of Martian star trails shows arcs forming around Mars's own celestial pole too, a pole that, unlike ours, has no bright star sitting anywhere near it, which is a useful reminder that a convenient pole star is a lucky accident of our own sky, not a universal rule.
A star tracker's job is to rotate your camera around an axis pointed at that same celestial pole, at the same rate the sky appears to move, which cancels out Earth's rotation from the camera's point of view and leaves stars as sharp points for as long as your alignment holds. The rate matters more than most guides let on. Stars do not complete one full apparent circuit in exactly 24 hours, they complete it in a sidereal day, which NASA's Glenn Research Center pins down precisely: a sidereal day works out to roughly 23 hours, 56 minutes, and 4.2 seconds, about three minutes and fifty-six seconds shorter than the ordinary 24-hour solar day we set our clocks by. That difference is why every star tracker has a dedicated "star" or "sidereal" tracking speed distinct from the solar and lunar speeds some models also offer: matching the wrong rate means the sky drifts slowly out of alignment even with a mount that is otherwise working perfectly.
Polar alignment in the northern hemisphere
If you are shooting anywhere north of the equator, polar alignment starts and ends with Polaris, the North Star. Polaris is useful for exactly the reason the name suggests: it sits more or less directly above Earth's north pole along our planet's rotational axis, appearing very close to the spot in the sky where that axis points. Finding it without an app is simple once you know the trick: the two stars at the end of the Big Dipper's cup point almost directly at it, a pointer that works even through moderate light pollution since both stars are bright.
The practical routine with a travel tracker is to level the base, set the latitude scale to your current latitude, and sight Polaris through the polar scope until it sits inside the small alignment circle etched into the reticle, rather than dead center. That circle exists because Polaris is not perfectly at the celestial pole. It is offset by roughly three-quarters of a degree from the true North Celestial Pole, a gap small enough to ignore for a quick wide-angle shot but large enough to show up as slow star drift over a multi-minute exposure at longer focal lengths if you simply point the mount straight at the star. Most polar scope reticles have you place Polaris at a specific clock position relative to a reference star or the current date and time, which is a two minute job once you have done it a few times.
Pro Tip: Do your rough alignment before full dark, using a compass and the mount's latitude scale to get close, then fine tune through the polar scope once Polaris is actually visible. You will spend far less time hunting in the dark and more time actually shooting.
Polar alignment in the southern hemisphere
Southern hemisphere alignment is where most online guides go quiet, because the easy trick that works up north simply does not exist down south. As NASA puts it plainly, the Southern Hemisphere doesn't have a bright star that marks the south celestial pole. There is a usable stand-in, Sigma Octantis, a faint star in the constellation Octans that sits about 1 degree 2 minutes 37 seconds from the South Celestial Pole, a slightly larger offset than Polaris's own three-quarters of a degree, and dim enough that it can be genuinely hard to pick out through a polar scope under anything but very dark skies.
When Sigma Octantis is not visible, there is a reliable fallback that does not depend on seeing any star at all: level the mount, dial the latitude scale to your observing latitude, and point the mount's polar axis at true south using a compass bearing corrected for magnetic declination at your location. This method, sometimes called a declination or compass alignment, works because polar alignment is fundamentally a geometry problem, not a star-spotting problem. By definition, polar alignment just means aligning a mount's rotational axis to parallel Earth's own axis, and a level, a latitude figure, and a corrected compass bearing give you everything that equation needs even with zero stars in view. It is less precise than a good polar scope sighting, so keep exposures and focal lengths a little more conservative than you would up north, but it will get you a usable tracked frame on a cloudy or horizon-blocked night when the alternative is no tracked frame at all.
Choosing a lightweight travel tracker setup
For a trip where every pound in your carry-on matters, the travel-class trackers in the Sky-Watcher Star Adventurer and iOptron SkyGuider family are the practical choice over a full equatorial telescope mount. They pack down to roughly the size of a large coffee thermos, run on AA batteries or a small power bank rather than mains power, and can carry a mirrorless body and a wide to short telephoto lens without needing a counterweight for most setups. I travel with mine in the same padded pouch as my filters, sitting in the bottom of my backpack rather than checked luggage, since a dropped tracker is a very expensive way to end a trip early.
A few things matter more for travel use than for backyard astrophotography. Battery life in cold desert or alpine nights runs shorter than the rated figure, so carry spares in an inside jacket pocket rather than your bag. A ball head between the tracker and your tripod head makes framing adjustments far faster than fighting the tracker's own limited altitude and azimuth knobs once aligned. And a simple bubble level is worth more than any app for the rough leveling step, since you will often be setting up on sand or an uneven trail rather than a flat observatory floor.
This is exactly the kind of setup our Tunisia Milky Way phototour is built around. The itinerary already includes a dedicated astro-tracker introduction before the group heads into the Sahara, and the published gear list flags a star tracker as an optional but recommended item, since the dark skies out past Tozeur are good enough to make a tracked frame genuinely worth the extra setup time. Current departures run around $4,200 per person with a 30% deposit, led by Lorenzo Ranieri Tenti, and when the published dates fill up WeShoot keeps a waiting list open for the next one.
Exposure settings once you're tracking
Once your alignment is solid, the entire exposure triangle opens up compared to an untracked shot. Where an untracked wide shot might force you to ISO 3200 or 6400 just to gather enough light before stars start streaking, a tracked exposure lets you stretch the shutter to a minute or more at the same focal length, which means you can drop ISO dramatically and close the aperture a little for sharper corners, all while still gathering more total light than the untracked shot ever could. I generally start a tracked Milky Way frame around f/2.8, ISO 1600, and a 60 to 90 second shutter, then adjust from the histogram rather than chasing a fixed number, since moon phase and light pollution change the right exposure more than the tracker does.
| Setup | Typical ISO | Typical shutter | What limits it |
|---|---|---|---|
| Untracked, wide lens | 3200-6400 | Capped by the NPF rule for your lens and sensor | Star movement becomes visible past the rule's ceiling |
| Tracked, wide lens | 800-1600 | 60-120 seconds, often longer | Polar alignment accuracy and foreground drift |
| Tracked, telephoto | 400-1600 | 30-90 seconds | Alignment error magnified at longer focal length |
Longer focal lengths punish alignment error more severely, since any small pointing drift is magnified the same way camera shake is magnified when you zoom in handheld. As a rule of thumb, the exposure ceiling our NPF rule guide sets for an untracked shot at your focal length is roughly the point past which a tracked shot starts demanding noticeably tighter alignment too, so if you are already fighting streaking at 24mm untracked, expect to spend real time getting your polar scope sighting right before a 200mm tracked frame will reward you with pinpoint stars.
Blending a tracked sky with a sharp, untracked foreground
Here is the part almost every competing guide skips past with a single line about "blending in Photoshop." A tracker rotates your camera to follow the sky, which means anything on the ground drifts and blurs over the same exposure that keeps the stars sharp. The standard fix is to shoot two frames from the exact same tripod position: one tracked exposure for the sky, and one untracked exposure, usually longer and at a lower ISO or with light painting, for a sharp foreground. The two get combined in editing software afterward.
There are three realistic ways to combine them. A manual layer mask, painted in with a soft round brush along the horizon line, gives you full control and is forgiving of a little framing drift between the two shots, which makes it my default choice in the field. An automated blend tool can work well when both frames are nearly identical in framing and exposure, though it occasionally leaves a visible seam or a faint double horizon if the source frames do not line up precisely, which is the single most common complaint about this workflow online. Luminosity masking is the most precise of the three but also the slowest to learn, and it is overkill for most single-blend landscape shots unless your horizon has fine detail like branches or grass against the sky.
Whichever method you use, the fix for a visible seam is almost always the same: lock your tripod down completely between the two exposures, do not bump the camera or the tracker while swapping settings, and take the foreground frame immediately before or after the sky frame rather than hours apart, so the light and composition stay consistent enough to mask convincingly.
Pro Tip: Take your untracked foreground frame first, while there is still a trace of blue hour light in the sky to help you nail focus and framing, then switch on the tracker for the sky frame once it is fully dark. Trying to focus a foreground in pitch darkness after the sky shot is where most blended images go wrong.
Common star tracker mistakes
The single most common mistake is skipping a dedicated alignment check, trusting a rough "close enough" pointing at Polaris or Sigma Octantis and only discovering the drift after a ten minute exposure comes back with short trails anyway. A thirty second test frame, checked at full zoom on your camera's screen, costs almost nothing and saves an entire wasted exposure.
A close second is selecting the wrong tracking rate. Most trackers default to the sidereal rate, correct for stars, but some models also offer solar and lunar rates for daytime solar filter work or lunar photography. Leaving the dial on the wrong setting after switching projects is an easy way to end up with subtly soft stars that are hard to diagnose, since the error looks more like a focus problem than a tracking one.
Forgetting to level the tripod head before starting the alignment routine is another frequent issue, since most compact trackers rely on a level base plus the latitude scale to get close before you even look through the polar scope. If the base is tilted, no amount of fiddling with the scope afterward fully corrects for it. And on travel trips specifically, cold draining batteries faster than expected catches people out more than any technical mistake, so always carry a spare set and keep it warm against your body until needed.
Frequently asked questions about star trackers
Do I need a star tracker to photograph the Milky Way? No. A wide lens, a fast aperture, and an exposure set at your lens's NPF-rule ceiling will produce a solid Milky Way image without any tracker at all. A tracker is an upgrade for cleaner, lower-noise files and telephoto work, not a requirement to get started.
How long can a tracked exposure actually be? It depends on your alignment accuracy, your mount's mechanical precision, and your focal length, since longer lenses magnify any small pointing error. Wide lenses are forgiving enough that several minutes is realistic with a careful alignment, while a telephoto shot may start showing drift well under a minute if the alignment was rushed.
Does a star tracker work in the Southern Hemisphere if there's no bright pole star like Polaris? Yes. You align on the much fainter Sigma Octantis through a polar scope, or fall back to a level, your latitude setting, and a compass bearing on true south corrected for magnetic declination when no star is visible at all.
What's the real difference between a travel star tracker and a full equatorial telescope mount? A travel tracker like a Star Adventurer or SkyGuider handles the rotation only, is light enough to carry in a backpack, and is built for a camera and lens rather than a telescope. A full equatorial mount is heavier, usually needs a power outlet or large battery, and is built to carry and precisely guide a telescope for deep-sky imaging over much longer sessions.
How do I blend a tracked sky with a sharp, untracked foreground without a visible seam? Shoot both frames from a locked tripod position back to back, then combine them with a hand-painted layer mask along the horizon rather than relying solely on an automated blend tool, which is the most common source of a visible seam or doubled horizon.
How precise does polar alignment need to be for a wide-angle shot versus a telephoto shot? A rough alignment, even just level plus latitude plus a compass bearing, is often good enough for a short wide exposure. A telephoto or deep-sky shot magnifies the same pointing error far more, so it needs the kind of precise polar-scope sighting described above.
What tracking rate should I use for a landscape Milky Way shot? The sidereal rate, which matches the roughly 23 hour, 56 minute day that stars actually complete their apparent circuit in. Solar and lunar rates exist on some trackers for daytime sun work or lunar photography, not for star fields.
Can I still polar align if clouds or terrain are blocking Polaris or Sigma Octantis? Yes, with reduced precision. Leveling the mount, setting the latitude scale correctly, and using a compass bearing on true north or south, corrected for magnetic declination, gets you a usable rough alignment even with zero stars visible, which is often the only option on a hazy or horizon-blocked night.
Sources
- NASA: star trails forming concentric arcs around the celestial pole
- NASA: celestial-pole geometry illustrated on Mars
- NASA: Polaris's position relative to Earth's axis, and why the Southern Hemisphere has no equivalent bright pole star
- NASA Glenn Research Center: the exact length of a sidereal day
- Wikipedia: polar alignment definition, Polaris and Sigma Octantis offsets, and the no-pole-star fallback method