Snow and Winter Landscape Photography: Exposure, White Balance, and Cold Gear
Why your meter turns snow grey and how to fix it, how to handle blue winter light, and how to keep batteries and gear working in the cold.
Winter and Snow Landscape Photography: Exposure, White Balance, and Cold Gear That Survives
Every winter I watch the same thing happen on a tour. Someone pulls up their snow shots on the back of the camera, expecting the bright white field they stood in front of, and instead finds a flat, dingy grey. Their first instinct is to blame the light. It is almost never the light. It is the meter, and the meter is doing exactly what it was built to do.
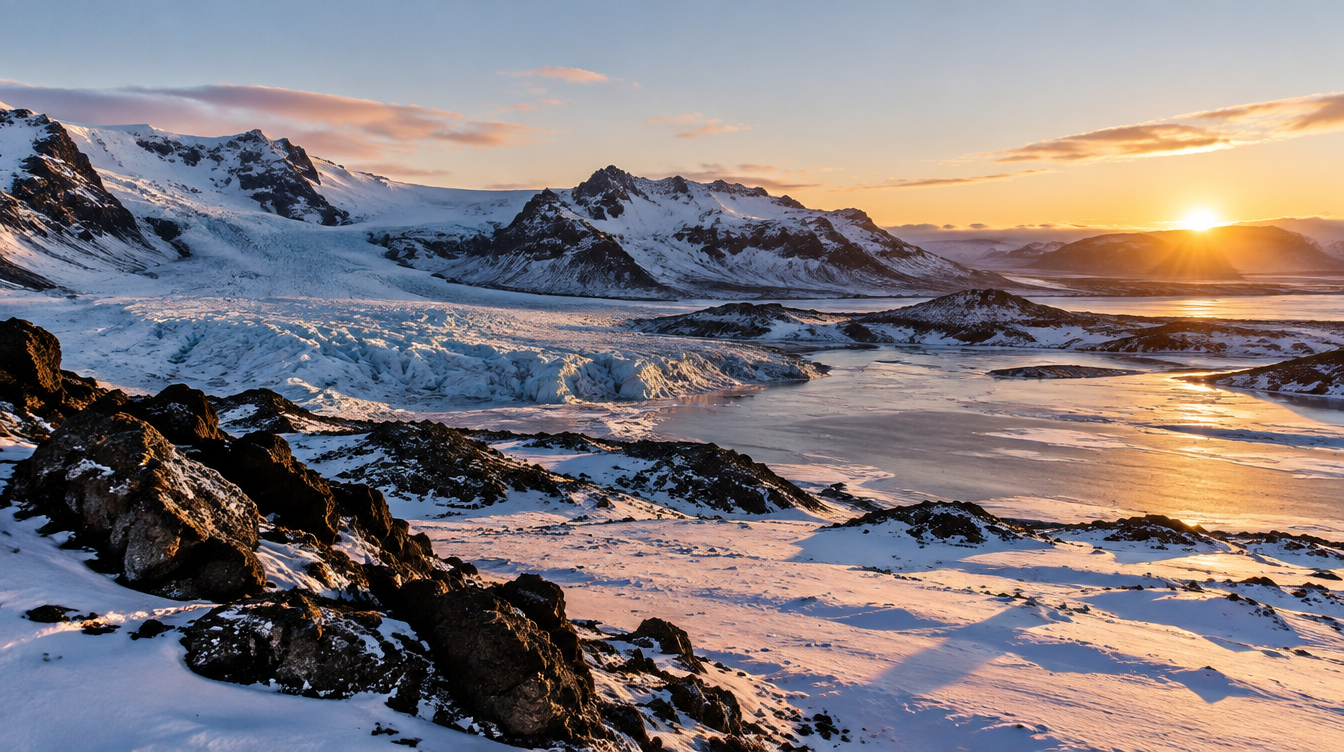
Winter landscape photography has a reputation for being hard: short days, numb fingers, batteries that die without warning. Most of that reputation is deserved, but it hides the fact that winter gives you things no other season does. Low sun that never climbs high enough to go harsh. Snow that turns an ordinary field into a minimalist composition. Clean air with almost nobody else standing in your frame. This guide covers the three problems that actually trip people up in the cold: exposure, white balance, and keeping your gear alive.
Key Takeaways
Winter photography rewards you if you fix three things: how you expose snow, how you handle blue cold light, and how you keep your gear working when the temperature drops.
| Point | Details |
|---|---|
| Why snow reads grey | Your camera's meter assumes an average scene reflects around mid-grey; snow reflects far more light than that, so it underexposes unless you intervene |
| The fix | Spot-meter the snow or add roughly +1 to +2 stops of exposure compensation, confirmed on the histogram, not the LCD |
| Blue winter light | Open shade and overcast snow genuinely skew blue due to how air scatters light; a Cloudy white balance preset corrects it |
| Low Arctic sun | A low sun angle stretches warm, directional, golden-hour-quality light across most of the day instead of minutes |
| Batteries in the cold | Cold slows the chemical reaction inside any battery; it is not permanent damage, and a "dead" cold battery often recovers once warmed |
| Biggest real risk | Not frostbite on your lens, but condensation when you bring cold gear into a warm room too fast |
Table of Contents
- Why winter light is worth the cold
- Why your snow looks grey (and how your meter thinks)
- White balance in blue winter light
- Low Arctic light as a gift, not a problem
- Batteries in the cold: what's actually happening
- Condensation: the bigger risk than the cold itself
- Dressing and staying safe for long, still, cold shoots
- Gear checklist for winter and snow landscape shoots
- Frequently asked questions
- Plan a winter photography trip built around this light
- Sources
- Recommended
Why winter light is worth the cold
Most winter photography advice leads with everything that is wrong with the season: short days, grey skies, frozen fingers. I want to lead with what is right about it, because once you see it you stop treating winter as a season to survive and start treating it as a season to chase.
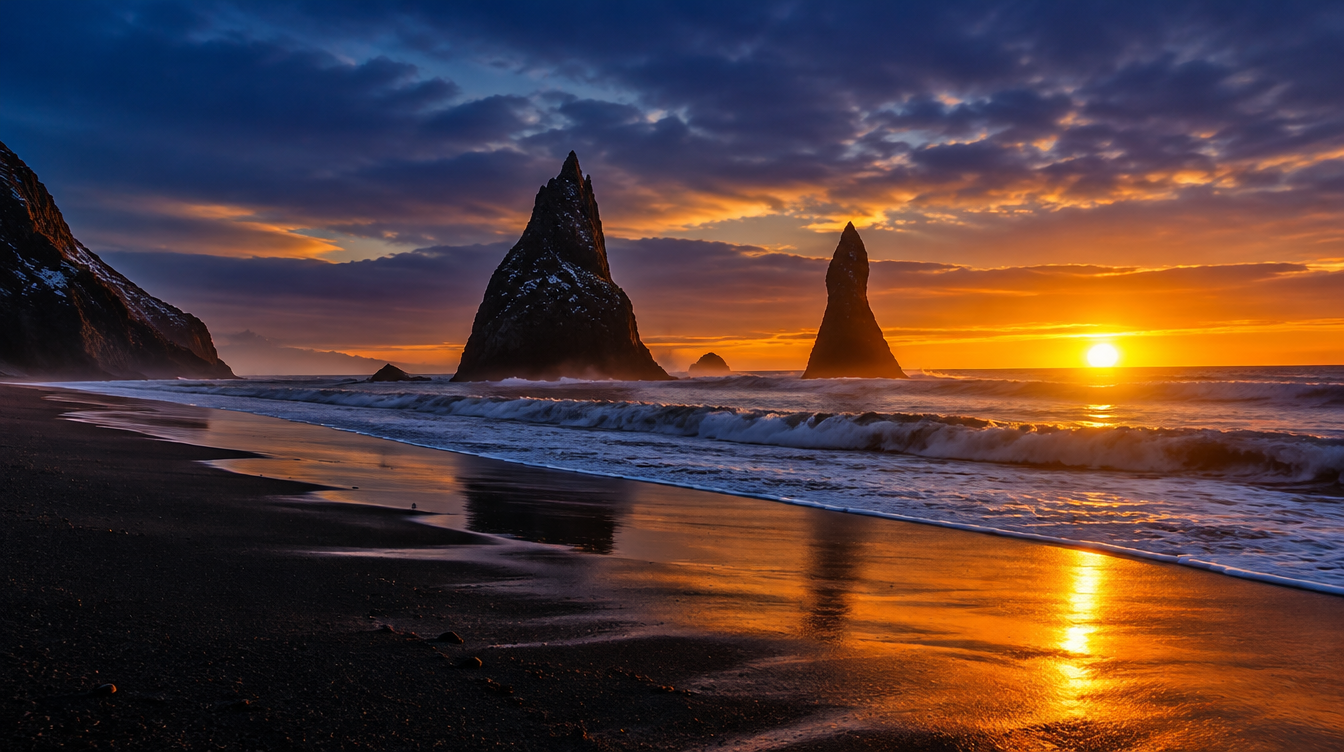
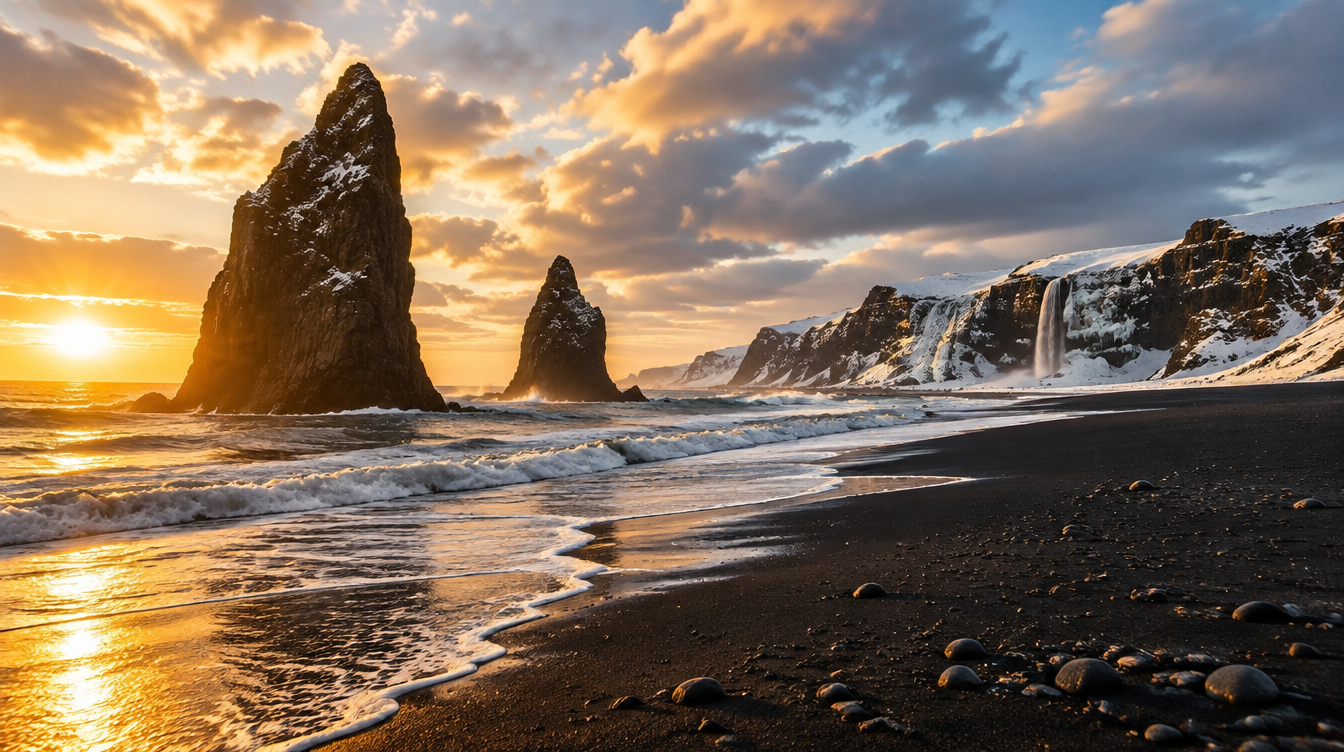
At high latitude in winter, the sun never climbs far above the horizon. That single fact changes everything about the light you get to work with. Instead of a narrow golden hour bookending a harsh midday, you get hours of low, raking, directional light that would normally only last twenty minutes at the equator. That is not a compromise. That is the best light in landscape photography, stretched across most of the day. I have stood on the Snæfellsnes Peninsula in February watching moss and basalt pick up a warm gold cast at 1 PM that in Tuscany would already be gone by 9 AM.
Why your snow looks grey (and how your meter thinks)
Here is the mechanism, because understanding it means you can fix any bright scene, not just snow. Every camera's built-in meter is a reflected-light meter: it measures the light bouncing off your subject, not the light falling on it, and it is calibrated to render whatever it reads as a medium tone. According to the reference entry on light meter calibration, reflected-light meters are built to show the correct exposure for an "average" scene, which means the meter will push whatever you point it at toward a mid-tone grey.
That number is commonly quoted as 18% reflectance, though the real figure is murkier than the shorthand suggests. Depending on the calibration standard used, the actual value is closer to around 17.6%, and some photographic authors argue it is nearer 12%. The exact percentage matters less than the principle: your meter has one target tone in mind and will drag every scene toward it.
Snow is about as far from that target as a landscape scene gets. It reflects far more light than an average scene, so the meter sees all that brightness and assumes the scene must be overexposed, pulling the exposure down until the snow reads as grey instead of white. It is the same mechanism behind chronically underexposed sunset photos: a scene with a lot of light-colored or specular highlights fools the meter into underexposing it. Snow and sunsets are the same optical trap wearing different coats.
The fix in the field is simple once you know what is happening. Either spot-meter the snow itself and deliberately overexpose from that reading, or leave the camera on its normal metering mode and dial in roughly +1 to +2 stops of positive exposure compensation. Don't trust the rear LCD to tell you whether you got it right; bright ambient light and snow glare make every preview look deceptively bright. Trust the histogram instead. You want the bright spike representing the snow pushed toward the right edge of the graph, close to it but not slammed against it and clipping. If you see a flat wall at the right edge, pull exposure back a third of a stop and check again.
Pro Tip: Shoot in manual or aperture priority with exposure compensation dialed in before you start, not chimping and correcting shot by shot. Snow scenes tend to have a consistent reflectance across a session, so once the histogram looks right at your first stop, that same compensation usually holds for the whole shoot until the light itself changes.
White balance in blue winter light
Fix the exposure first, then fix the color. That order matters, because a lot of the time what looks like a white balance problem on the LCD is actually an exposure problem making the color look worse than it is.
But winter light does have a real, physical color shift you need to correct for, and it is not a camera defect. According to NOAA's explanation of why the sky is blue, air molecules scatter shorter wavelengths of light, the blues and violets, far more than they scatter longer red wavelengths. That scattered blue light is what makes the open sky blue in the first place, and on an overcast winter day or in open shade on a snow field, that same scattered blue light is doing the illuminating. The result is a genuine blue cast across your shadows and your snow, not a sensor malfunction and not something "wrong" with your eyes.
In practice, this is exactly why camera manufacturers build a dedicated preset for it. Nikon USA's own guidance for cold-weather shooting notes plainly that "on overcast days you may have a blue cast to the snow" and recommends switching your white balance to the Cloudy preset specifically to correct it. Cloudy nudges the color temperature warmer than Daylight or Auto, which counteracts the blue scattering and brings snow back toward neutral white instead of icy blue.
In direct low winter sun, the opposite problem shows up: the light itself turns warm, almost amber, as it rakes in at a low angle, and Daylight or Sunlight white balance reads that correctly without needing a push. The practical habit I actually use on tours is simpler than memorizing presets: shoot RAW, always, in winter. RAW files store the full sensor data regardless of the white balance tag, so if you guess wrong in the field (Cloudy when you needed Daylight, or vice versa), you fix it in post with zero quality loss. The in-camera preset only needs to be close enough that your preview on the LCD is useful for judging composition and exposure, not perfect.
Low Arctic light as a gift, not a problem
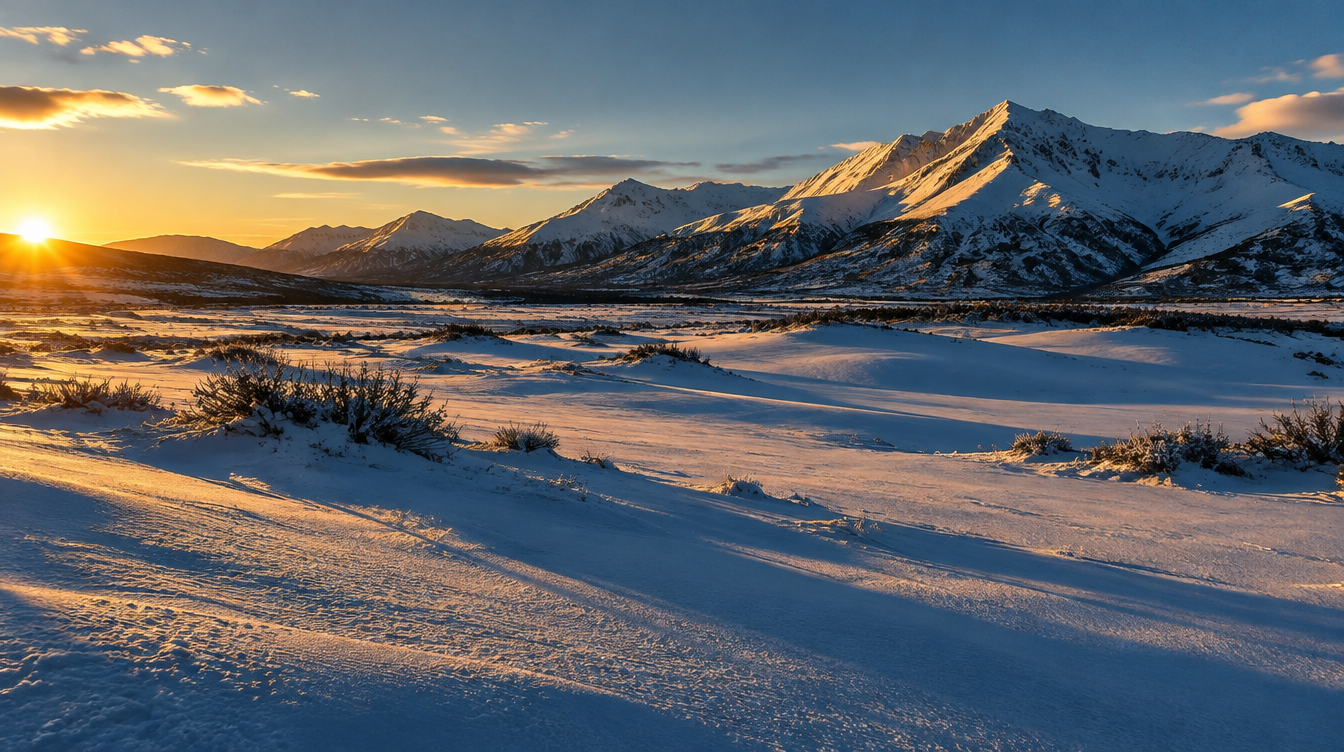
I mentioned this in the opening, but it deserves its own section because almost every winter photography guide I have read treats a low sun angle purely as a scheduling headache: fewer daylight hours, a tighter shooting window, plan around it. All true, but it misses the actual photographic gift hiding inside the inconvenience.
Direct, low-angle sunlight is what every landscape photographer chases at golden hour, because it rakes across terrain instead of flattening it from above, carving out texture and shadow that a high midday sun erases. At the latitudes where winter photography gets genuinely dramatic, the sun simply does not climb high enough to flatten anything. The golden-hour-quality light that lasts twenty minutes at a mid-latitude summer location can last for hours on a winter day further north. You are not fighting a short window; you are getting a long one, for a kind of light most photographers only get in brief bursts.
By comparison, a mid-latitude winter like winter in Tuscany gives you soft, muted light and genuine solitude in the hill towns, but the sun still climbs high enough at midday to lose some of that raking quality. Push further north, toward Iceland or Lofoten in deep winter, and the sun angle stays low enough that the light barely changes character across the whole working day: shorter total daylight, but almost all of it shot-worthy.
Batteries in the cold: what's actually happening
This is the part of winter photography that catches people off guard the hardest, because it feels like gear failure when it is really just chemistry. Cold does not damage a healthy battery. It slows it down.
A battery produces current through a chemical reaction, and that reaction runs slower at low temperatures. A battery that reads nearly dead at 10°F can often be warmed back up in an inner coat pocket and come back to something close to full charge, because the charge was never really gone, it was just reacting too slowly to deliver current fast enough for the camera to read it as usable. Nikon's own cold-weather guidance confirms the practical side of this directly: "the cold can often drain batteries of any kind," and the advice is to start a cold shoot with a fully charged battery and carry spares "inside your coat, in an inner pocket if possible", where your body heat keeps them reacting at a usable rate.
This matters most exactly when you have the least patience for it: during a long night session, the kind you get hunting the aurora. Long exposures, a screen left on, and sub-freezing air all stack against your battery at once. The fix is not a better battery, it is a rotation: keep one working, keep one or two spares warm against your body, and swap at the first low-battery warning rather than waiting for the camera to die mid-exposure. A compact power bank in an inner pocket, cable run up a sleeve, extends a static session considerably further than spare batteries alone.
| Winter shoot type | Main battery risk | Field fix |
|---|---|---|
| Short daytime snow walk | Low, cold slows one battery's output | One warm spare in an inner pocket is usually enough |
| Static tripod, long exposures | Screen-on time and repeated exposures drain faster than normal | Dim the LCD, carry two spares, swap early |
| Multi-hour aurora session | Sustained sub-freezing cold plus constant screen use | Rotate 2-3 spares plus a power bank; keep the dead one warming while you shoot on the next |
| Drone in snow or cold wind | Drone battery chemistry is especially cold-sensitive and flight time drops fast | Keep the battery warm until seconds before takeoff, land with real margin left |
Condensation: the bigger risk than the cold itself
If I had to pick the single most common gear mistake I see on winter tours, it would not be a dead battery. It would be someone walking straight from a freezing exterior into a warm hotel lobby with their camera still hanging around their neck.
Condensation does not form because gear got cold. It forms because cold gear meets warm, humid air too quickly. Nikon's cold-weather guidance is direct about this: bring the camera indoors too fast and "if it warms too quickly, it will fog up," and you may have to wait for it to fully acclimate before you can shoot again. The fog is not just cosmetic: moisture condensing inside a lens or on internal electronics is a real risk, and it is entirely avoidable with one habit.
Before you walk inside, seal the camera and lens in a zip-top bag or your camera bag's inner compartment while you are still outside, in the cold. That trapped pocket of cold, dry air warms up gradually along with the gear inside the sealed bag, rather than letting warm, humid room air contact cold glass and metal directly. Once the bag itself feels room temperature, usually after fifteen to twenty minutes, it is safe to open.
In the field, a lighter version of the same problem shows up on your lens or viewfinder: breath condensing on cold glass. Keep a dry microfiber cloth in an inside pocket, not your outer bag where it will also be cold, and get in the habit of breathing away from the camera when you lean in to check a composition.
Dressing and staying safe for long, still, cold shoots
Photographers get cold differently than hikers do, and most cold-weather advice is written for people who are moving continuously. You are not. You are going to stand at a tripod, mostly still, for ten or twenty minutes at a stretch while you wait for light, and that changes the math on how fast cold actually affects you.
Wind chill is not a vague "feels like" guess, it is a calculated index, and it matters more to a stationary photographer than almost anyone else outdoors. The National Weather Service's wind chill guidance gives a concrete example: at an air temperature of 0°F with a 15 mph wind, the wind chill drops to -19°F, and at that wind chill, exposed skin can freeze in as little as 30 minutes, well within a single long-exposure session on an exposed coastline or ridge. The same source is clear that frostbite requires actual air temperature below freezing, wind chill alone cannot cause it above freezing, but notes cold is dangerous "with or without wind."
Hypothermia is the other risk worth knowing the signs of, in yourself and whoever you are shooting with. The National Park Service lists shivering, fumbling hands, memory loss, slurred speech, and drowsiness as warning signs of hypothermia, and a body temperature below 95°F needs immediate medical attention. The same guidance is specific about frostbite first aid too: never rub a frostbitten area with snow or massage it, rewarm it gradually instead.
Layering is still the core defense, and the National Park Service's winter outdoor safety guidance (citing a NOAA cold-weather infographic) recommends at least three layers for extreme cold: one insulating layer, a wind-blocking outer shell, and waterproof boots. The same page flags two details photographers tend to overlook: traction devices for icy ground, since you will often be walking to a spot and then standing still on it, and sunglasses for snow glare, which is a real eye hazard in bright winter conditions, not just a comfort choice.
Pro Tip: Dress for standing still, not for walking. A fast hike generates its own heat; a static tripod session does not. Add one more insulating layer than you think you need for the hike in, and bring hand warmers for your glove liners specifically for the waiting, not the walking.
Gear checklist for winter and snow landscape shoots
Most current cameras handle cold better than people assume. Nikon's own cold-weather guidance notes that most of today's digital cameras are designed to perform well in weather down to at least freezing, with some rugged, specifically rated models built to work down to around 14°F. The camera body is rarely the weak link. The checklist below covers what actually fails or runs out first.
- Spare batteries, more than you think you need. At least two to three for a day shoot, kept warm against your body, not in an outer bag pocket.
- A compact power bank for extended static sessions, particularly night shoots, run through an inner layer to the camera.
- A zip-top bag or sealed inner compartment for the condensation transition when you come back indoors.
- Lens cloths kept in an inside, body-warm pocket so they are dry and usable, not frozen stiff in an outer bag.
- A wind-resistant tripod. Winter wind is a bigger threat to sharpness than winter cold is to your gear.
- Traction aids for your boots on icy ground, especially around coastal rock and ice where a fall risks both you and the camera.
- Glove liners thin enough to operate dials, with a bulkier mitten shell you can pull on between shots.
- Hand warmers, both for your gloves and tucked near your spare batteries.
- Sunglasses for snow glare on bright days, genuinely protective, not just stylistic.
Frequently asked questions
Why does snow look grey instead of white in my photos?
Your camera's meter assumes an average scene reflects around mid-grey. Snow reflects far more light than that, so
the meter underexposes it toward grey unless you intervene: spot-meter the snow directly or add roughly +1 to +2
stops of positive exposure compensation, confirmed on the histogram rather than the LCD preview.
What ISO, aperture, and shutter speed should I use for snow landscapes?
Keep base ISO for the cleanest dynamic range, use your usual landscape aperture range (around f/8 to f/11) for
front-to-back sharpness, and let shutter speed float on a tripod. The setting that actually needs active
management in snow is exposure compensation, not the rest of the exposure triangle.
What white balance should I use for snow?
Start with the Cloudy preset on overcast days to correct the real blue cast that scattered sky light adds to snow
and open shade, switch to Daylight or Sunlight in direct low winter sun, and shoot RAW so you can fine-tune the
color temperature in post rather than guessing in the field.
Does cold weather really damage camera batteries?
Not permanently. Cold slows the chemical reaction that produces current, so a cold battery reads as drained faster
and can often recover charge once warmed back up. Camera manufacturer guidance recommends starting with a full
battery and keeping spares warm in an inner coat pocket.
How do I stop my lens or camera from fogging up in the cold?
Fogging happens when cold gear meets warm, humid air too fast, not from the cold itself. Seal the camera in a bag
before going indoors and let it warm gradually, and in the field, avoid breathing directly on the lens or
viewfinder.
Is it safe to shoot outdoors in extreme cold, and what should I watch for?
Check the actual wind chill, not just the air temperature. At a wind chill around -19°F, exposed skin can start to
freeze within 30 minutes. Know the hypothermia warning signs too (shivering, fumbling hands, slurred speech,
confusion), since standing still at a tripod cools you faster than hiking does.
Plan a winter photography trip built around this light
Every piece of advice in this guide exists for a reason on our Iceland Winter Aurora photo tour, where the packing list already tells travelers to bring extra batteries, a power bank, ice cleats, and a wind-resistant tripod. Now you know why. The itinerary moves between Kirkjufell and the Snæfellsnes Peninsula, the southern waterfalls at Seljalandsfoss, Skógafoss, and Kvernufoss, the glacial terrain around Vestrahorn, and the icebergs at Jökulsárlón and Diamond Beach, all of it shot in the low, warm winter light that makes moss glow and icebergs look lit from inside. Multiple nights are built in for aurora hunting, which is exactly where the battery habits above earn their keep. Groups stay small, up to around ten photographers, with hands-on coaching and image review sessions woven through the week so the exposure and white balance fixes in this guide get reinforced on your own files, not just in theory.
Sources
- Wikipedia: Light meter
- Nikon USA: Tips for Shooting in Cold Weather
- National Weather Service: Wind Chill Chart and Cold Weather Safety
- National Park Service (Lassen Volcanic): Winter Safety
- National Park Service: Winter Outdoor Safety
- NOAA/NESDIS: Why Is the Sky Blue?