How to Plan a Landscape Photo: Apps, Forecasts, and Scouting
The planning workflow behind every WeShoot itinerary: sun and moon position, weather and cloud models, tide tables where relevant, satellite map scouting, and a same day go/no-go checklist.
How to Plan a Landscape Photo: Apps, Forecasts, and Scouting
I get the same question on almost every trip I lead: "How did you know the fog would be here this morning?" The honest answer is that I didn't know. I planned for it. There is a real difference between hoping the light shows up and building a workflow that tells you, days in advance, where the light will be and whether the sky is likely to cooperate. That workflow is not a secret. It is four or five checks, run in a specific order, using a handful of free and low cost tools, and it is the exact process behind every WeShoot itinerary before a single client lands at the airport.
This guide walks through that process from the ground up: locking in the one thing that never changes (where the sun and moon will be), reading the sky in the days before you travel, checking tide tables when the shot calls for it, scouting terrain from your couch with satellite maps, and finishing with a same morning go or no go call that saves you from driving two hours to a location that was never going to work. None of this replaces being on location with good instincts. It just means you stop wasting mornings on bad odds.
Key Takeaways
Plan the fixed variables weeks out, re-check the moving ones days out, and make the final call the morning of the shoot.
| Point | Details |
|---|---|
| What never changes | Sun and moon position can be calculated months ahead with a planner app; lock this in first |
| Forecast reliability window | Cloud and rain forecasts are genuinely useful roughly 7 to 10 days out; beyond that, lean on seasonal patterns instead |
| Golden hour window | Sun roughly 6° above to 6° below the horizon, giving warm, directional, low angle light |
| Blue hour window | Sun 4° to 8° below the horizon, giving even, shadowless, cool toned light with no direct sun |
| Tide checks | Only relevant for coastal foregrounds; use an official source, not a general weather app |
| Last re-check | Run the same sky and tide check again the night before and again before you leave for the shoot |
Table of Contents
- Why planning beats luck in landscape photography
- Step 1: Lock the light, sun and moon position
- Step 2: Read the sky days out, weather and cloud models
- Step 3: Check the water, tide tables where relevant
- Step 4: Scout the ground without leaving home
- Step 5: The night-before re-check
- The same-day go/no-go checklist
- A worked example: planning a Val d'Orcia sunrise
- FAQ
Why planning beats luck in landscape photography
Most landscape photographers I meet on trips have, at some point, treated a shoot like a coin flip. You show up at sunrise, you hope for fog or color or a break in the clouds, and sometimes it happens. The problem with that approach is not that it never works. It is that it does not scale, and it wastes a lot of mornings, especially on a trip you flew a long way and paid real money to take. The alternative is to split your variables into two groups: the ones that are completely fixed and knowable today, and the ones that are still moving and need to be re-checked as your shoot date gets closer. Treat them the same way and you will either plan too early on things that will change, or waste time checking things that were never going to move.
Sun and moon position fall in the first group. A sunrise angle, a moonrise azimuth, the exact minute the sun clears a specific ridge, none of that depends on the weather and none of it changes between now and your shoot date. Weather, cloud cover, and tide state fall in the second group. They genuinely cannot be known with precision until you are closer to the date, and checking them too early just gives you a number you will have to throw out and re-check anyway. Our full Landscape Photography Guide covers how to read golden hour, blue hour, and night light once you are on location. This article is the step that comes before any of that: the planning that decides whether you are even in the right place when the light shows up.
Step 1: Lock the light, sun and moon position
Start with the one variable that is already fixed, whether you check it today or the night before your flight. Sun and moon planner apps like PhotoPills and The Photographer's Ephemeris exist specifically for this: they let you pick a date, a location, and see exactly where the sun and moon will rise, set, and track across the sky, down to the minute and the compass bearing. A free alternative that does the same core job is suncalc.org, which is a reasonable starting point if you are not ready to pay for a dedicated app yet.
The reason this matters more than most beginners assume is that the quality of light changes on a predictable schedule tied purely to the sun's angle below the horizon, not to the weather. Golden hour runs from roughly when the sun is 6 degrees above the horizon to about 6 degrees below it, the window where light is "redder and softer than when the sun is higher in the sky." In a mid-latitude location, the sun typically climbs to an altitude of 10 to 12 degrees about an hour after sunrise, which is a useful rule of thumb for how long you actually have before the light goes flat and white. Blue hour is a separate, narrower window, when the sun sits between 4 and 8 degrees below the horizon and the sky still glows with residual blue light even though the sun itself is gone.
Moon planning works on its own fixed schedule too. The lunar cycle from new moon back to new moon repeats roughly every 29.5 days, which means you can calculate moon phase, moonrise time, and moonrise direction for a date months in the future with complete confidence. That matters for two very different reasons depending on what you are shooting. If you want a landscape lit by moonlight, or a moon rising large behind a hilltop town, you want a bright moon on a specific bearing. If you are planning a Milky Way or star trail shot, you want the opposite: a new moon, or at least a moon that has set before you start shooting, so it does not wash out the sky.
Pro Tip: Lock in sun and moon position for your whole trip before you leave home, not the night before each shoot. It costs nothing to know these numbers early, and it lets you build your entire itinerary around which mornings and evenings actually have the geometry you want, instead of discovering on day three that the moon was in the wrong place the whole time.
Step 2: Read the sky days out, weather and cloud models
Once the light geometry is locked in, weather is the variable that actually decides whether a given morning is worth getting up for. This is also the step where I see photographers waste the most energy, usually by checking a two week forecast and planning around it as if it were fact. It is not. Most consumer weather apps draw from global models like the Global Forecast System, which runs four times a day and does produce forecasts out to 16 days, but its spatial resolution drops noticeably after about day 10. In practical terms, that means a forecast for tomorrow is built on a fine enough grid to say something meaningful about cloud cover over your specific valley, while a forecast for day 14 is really a coarser regional guess dressed up as a specific number.
So treat anything inside 7 to 10 days as a real forecast worth planning around, and treat anything beyond that as a seasonal pattern at best. For actual cloud layer detail rather than a single daily icon, I use a tool built specifically for this: Clear Outside, which describes itself as giving "7-day hourly cloud and weather forecasts, designed by astronomers for astronomers." That hour by hour, layer by layer breakdown (low, mid, and high cloud separately) is far more useful for a sunrise shoot than a generic "partly cloudy" forecast, because a sky that is clear low down but has a thin layer of high cloud can produce the best color of the whole week, while a sky that looks clear on paper but has thick low cloud on the horizon can kill your sunrise entirely.
If you want the more official version of the same idea, the National Weather Service's own forecast maps define sky cover numerically, as the "expected amount of opaque clouds, in percent, covering the sky" for a given hour and location. Whichever tool you use, the habit that matters is checking percentage and layer, not a one word summary, and re-checking as your date gets closer rather than trusting the first forecast you saw two weeks out.
Step 3: Check the water, tide tables where relevant
This step only applies if your shot includes a coastline, a tidal flat, or any foreground that disappears or reappears depending on water level. If you are shooting inland hills, skip straight to the next section. For coastal work, tide state can matter as much as the light itself: a foreground of wet, reflective sand or exposed rock formations at low tide can make or break the same composition that looks completely different two hours later.
Use an authoritative source rather than a general weather app's tide widget. In the United States, that source is NOAA Tides and Currents, which publishes the official high and low tide predictions for US coastal stations. Cross reference the tide time against your sunrise or sunset time from Step 1. A falling tide that reaches low water right around golden hour is usually the best possible combination, since you get both the light you want and the maximum exposed foreground at the same time.
Step 4: Scout the ground without leaving home
By this point you know when the light will be good and roughly which mornings the sky is likely to cooperate. The remaining question is whether the spot you have in mind will actually work: whether a ridge blocks the sunrise bearing you calculated, whether there is a safe place to park, whether the trail is longer than it looks on a map. This is where satellite and terrain tools earn their place in the workflow. Google Earth works by "superimposing satellite images, aerial photography, and GIS data onto a 3D globe," which lets you tilt the view and look at a hillside roughly the way the sun will see it, not just from directly above.
The habit that actually makes this useful, rather than just a pretty map to look at, is cross referencing the compass bearing your sun or moon app gave you in Step 1 against the terrain view. If your planner says the sun will rise at a bearing of 110 degrees, rotate the satellite view to that bearing and look for anything tall enough to block it: a ridgeline, a stand of trees, a building. I have scrapped more than one planned shot after realizing a hill I had never visited sat directly between my chosen viewpoint and the exact spot on the horizon where the sun was going to come up. Finding that out from a map, days ahead, costs nothing. Finding it out at 5am on location costs you the whole morning.
Step 5: The night-before re-check
Sun and moon position do not need a re-check. They were correct the day you calculated them and they are still correct the night before your shoot. Weather and tide are the opposite: they are the two inputs that are still actively moving, and the forecast you looked at five days ago has almost certainly shifted by some amount. Run the same cloud layer check and tide check again the night before, ideally after dinner rather than first thing in the morning, so you still have time to pick a different location or adjust your alarm if the picture has changed.
This is also the point where I decide between two or three backup locations rather than one fixed plan. If the cloud layer forecast for my first choice has gotten worse but still shows a thin high layer with clear low sky, I keep it. If it has turned into solid low cloud at the horizon, I switch to a backup spot that works in flatter light, rather than driving to the original location anyway out of stubbornness.
The same-day go/no-go checklist
Everything above feeds into one final decision, made the morning of the shoot, ideally before you leave wherever you are staying. I run through the same short list every time, and it takes less than two minutes.
| Check | What a pass looks like |
|---|---|
| Light window | Sunrise or sunset time and bearing confirmed from Step 1, no changes needed |
| Cloud layer | Low cloud near the horizon is thin or absent in your target window; some high cloud is fine and often helps color |
| Wind | Calm enough for long exposure work, and not a safety issue on an exposed viewpoint |
| Tide state (coastal only) | Tide time still lines up with your light window within roughly 30 to 45 minutes |
| Access and safety | Route, parking, and footing confirmed from your satellite scouting in Step 4, no last minute surprises |
| Backup plan | A second location in mind that works if the first choice falls apart on arrival |
Pro Tip: If three or more checks on this list come back uncertain rather than a clean pass, that is usually the sky telling you something. Go back to bed, save your energy, and spend that morning reviewing yesterday's images instead of standing in the dark hoping the forecast was wrong.
A worked example: planning a Val d'Orcia sunrise
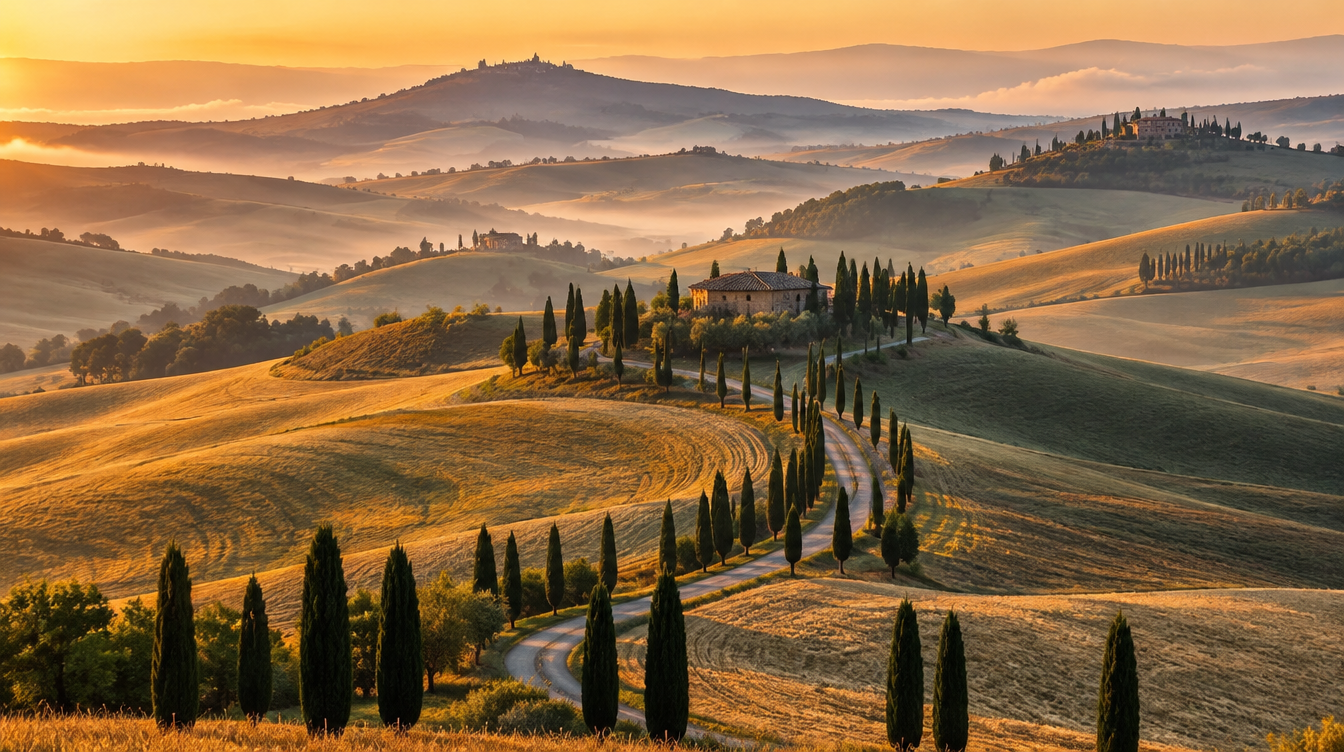
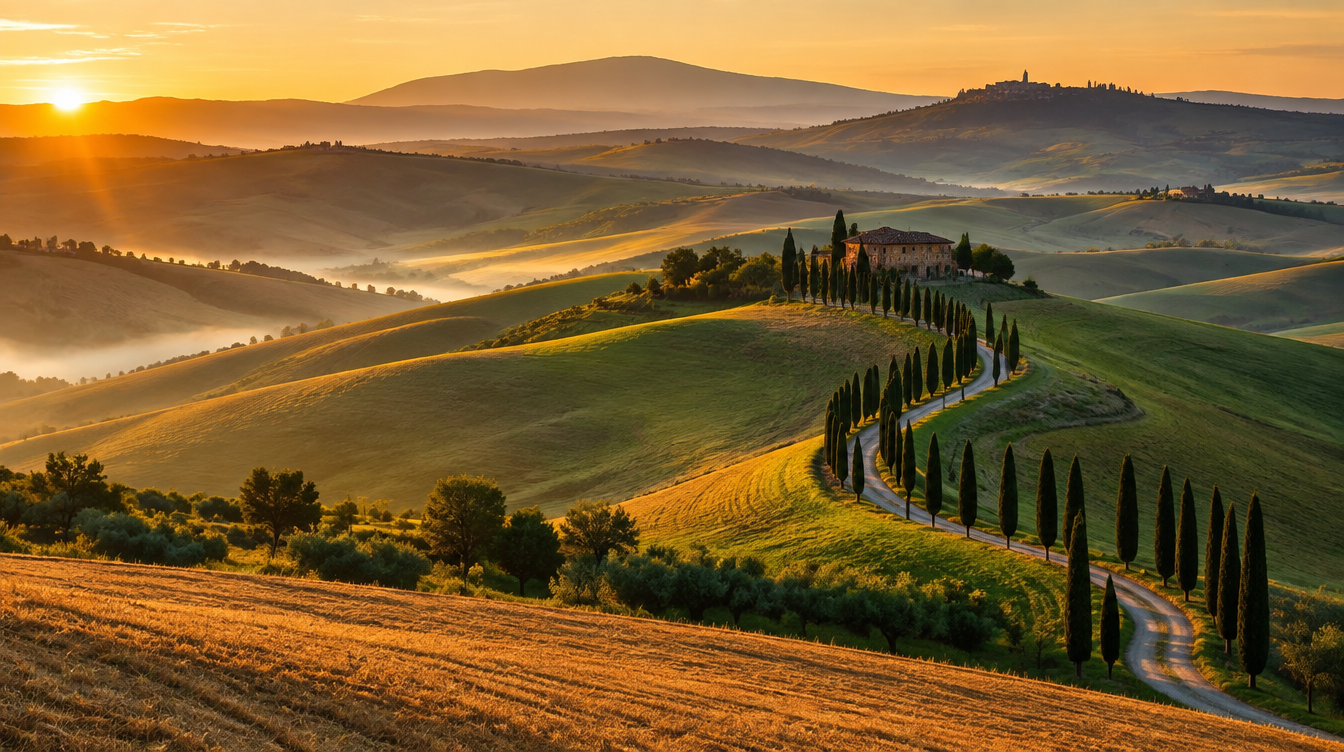
Our sample seven day Val d'Orcia itinerary includes a sunrise session at a hilltop viewpoint near Pienza, timed around the region's famous valley fog. Here is how the workflow above actually plays out for a morning like that, start to finish.
Weeks out, I pull up sunrise time and bearing for the target date and confirm which side of the viewpoint the light will come from, so I know which direction to face the cypress lined road I want in the foreground. That number does not change between now and departure day. Closer to the trip, I start watching the cloud layer and overnight temperature forecast for the specific days we will be in the area, since Val d'Orcia fog depends on a clear evening sky, calm wind, and a sharp overnight temperature drop rather than on sunrise bearing at all. A week out, I treat the forecast as a real signal. Two weeks out, I treat it as background noise and lean on the region's known seasonal pattern instead.
The night before, I re-check the same cloud and wind forecast one more time and pick which of two or three nearby viewpoints gives the best odds if the fog pools lower or higher than expected. The morning of the shoot, I run the go/no-go list above in the dark, in about ninety seconds, before anyone gets in the car. Most mornings it is a clean pass. On the mornings it is not, we drive to the backup location instead of the one everyone was hoping for, and nobody is disappointed, because they already knew that was the plan.
If building that entire planning layer into your own trip sounds like more work than you want to take on alone, that is exactly the gap a guided trip is designed to close. Our Tuscany photo tour runs this same sun, weather, and scouting workflow for every sunrise and sunset on the itinerary before the group ever leaves the villa, with a trip leader making the same go/no-go call we just walked through so you can spend your energy on composition instead of forecasts. WeShoot keeps every departure capped at a small group, which means the whole itinerary can shift to the backup plan in minutes if the morning calls for it, something that is much harder to coordinate with a larger group or on your own with no local knowledge of the terrain. You can see current dates and the full lineup of small group trips, from Tuscany to the Dolomites to Iceland's aurora season, on the main photo tours page.
FAQ
What's the one app I actually need to plan a landscape shoot? A sun and moon planner, such as PhotoPills or The Photographer's Ephemeris, covers the one variable that is fixed and knowable months ahead: where the light will be. Weather is the variable you check closer to the date, with a separate tool.
How far ahead can I trust a weather forecast for a shoot? Precise cloud and precipitation forecasts are genuinely useful for roughly a week to ten days. The model behind most weather apps keeps producing numbers out to 16 days, but its resolution gets noticeably coarser after day 10, so treat anything beyond that window as a seasonal guess rather than a plan.
What's the actual difference between golden hour and blue hour, and does it matter for planning? Golden hour runs from roughly 6 degrees above to 6 degrees below the horizon and gives warm, directional light. Blue hour is a narrower window, with the sun 4 to 8 degrees below the horizon, giving even, shadowless, cool toned light. They call for different compositions and different checklist priorities, so know which one you are planning for before you pick a viewpoint.
Do I need to check tides even if I'm not shooting the coast? No. Tide tables only matter for coastal or tidal flat foregrounds. For inland landscapes, skip that step of the workflow entirely.
Can I scout a location without visiting it first? Yes, to a point. Satellite and terrain tools let you check access, parking, and whether anything blocks your calculated sun or moon bearing, but they cannot replace an on the ground check of current trail conditions, fences, or foreground debris once you arrive.
How often should I re-check my plan before the shoot? Sun and moon position never change once calculated, so lock those in weeks ahead. Re-check weather and tide the night before and again the morning of the shoot, since those are the two inputs still actively moving.
What's a go/no-go checklist and why do I need one? It is a short, same-day pass or fail list, covering cloud cover in your target window, wind, access and safety, and tide state if you are on the coast. It turns a vague "it might be good" into a clear decision before you spend hours driving to a location.
Is PhotoPills worth paying for over free tools like suncalc.org? Free sun position sites cover the basics well. Paid planners add augmented reality overlays, offline maps, and combined sun, moon, and Milky Way planning in one place, which earns its cost if you shoot blue hour or night subjects often, and matters less if you mostly plan simple sunrise or sunset shots.
Sources
- Wikipedia: Golden Hour (photography), sun angle definition and duration
- Wikipedia: Blue Hour, sun angle definition
- NASA Science: Moon Phases, lunar cycle length
- Clear Outside: hourly cloud layer forecasts for astronomers
- National Weather Service: Sky Cover forecast definition
- Wikipedia: Global Forecast System, model range and resolution
- NOAA Tides and Currents: official US tide predictions
- Wikipedia: Google Earth, satellite and terrain data overlay