A Landscape Editing Workflow in Lightroom, From Import to Export
The five step Lightroom workflow we teach in tour image reviews: culling, global adjustments, masking, color grading, and export sharpening, with before and after reasoning at every step.
A Landscape Editing Workflow in Lightroom, From Import to Export
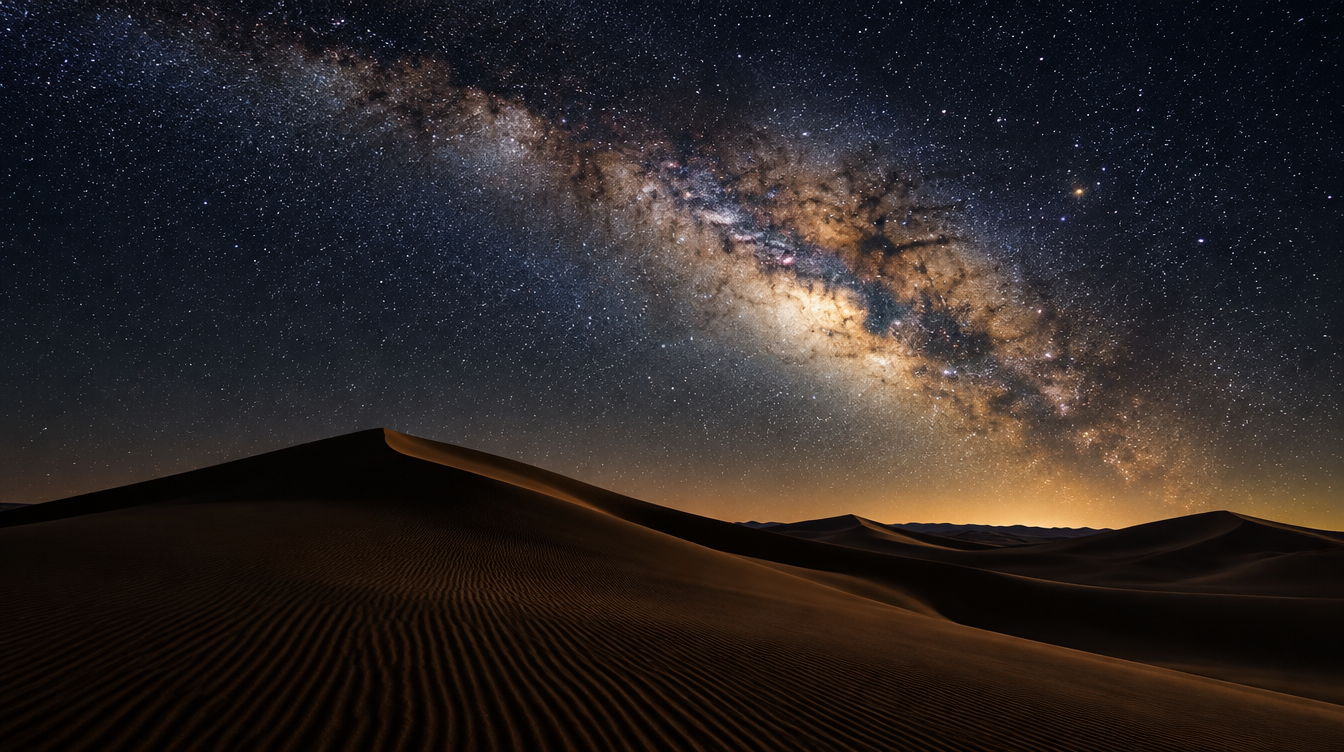
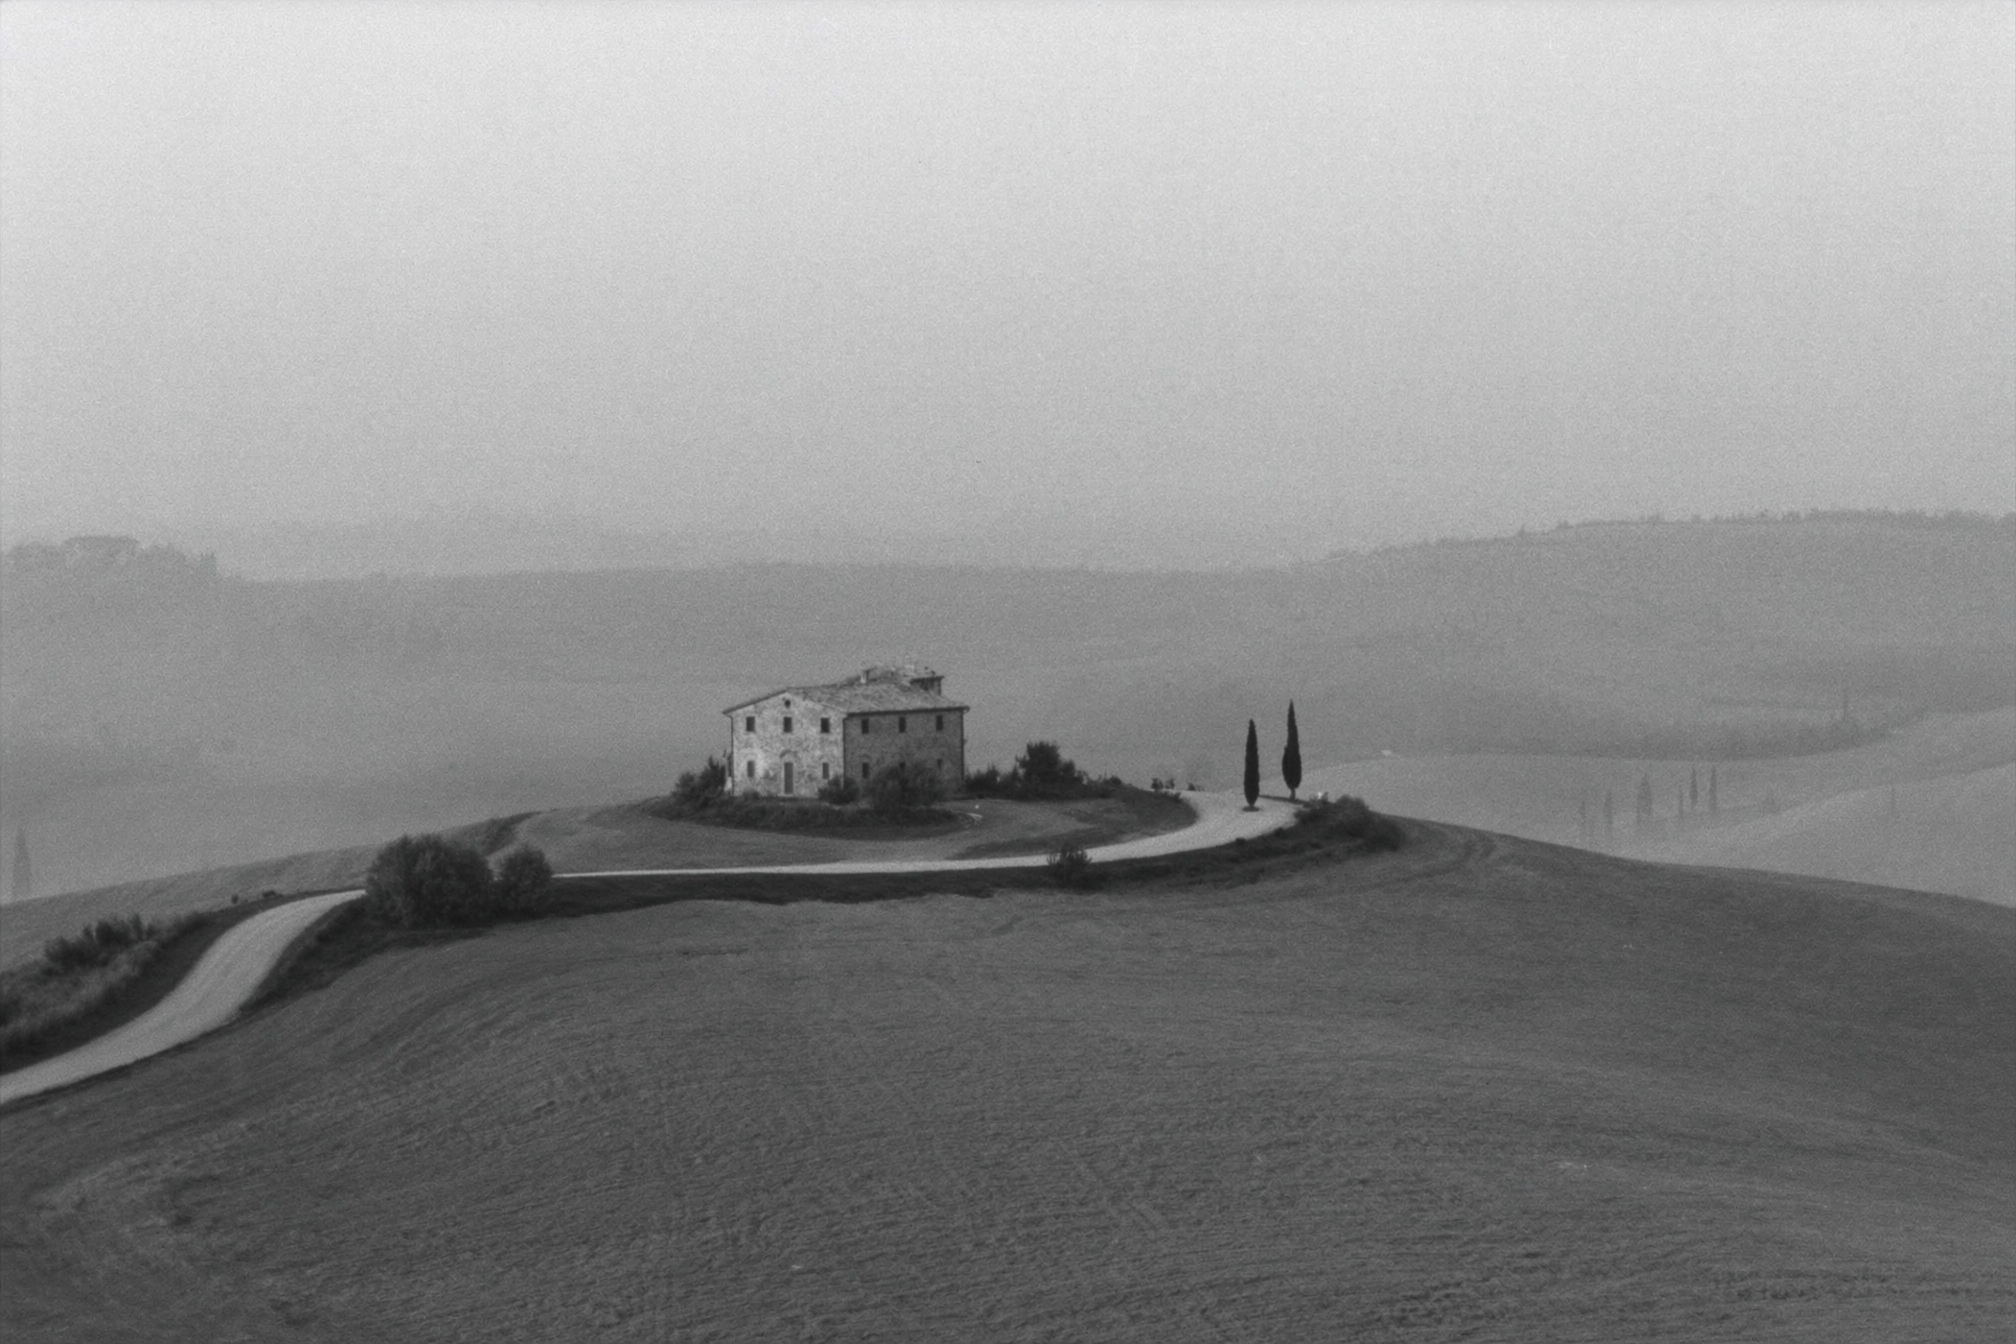
Every tour I guide ends the same way: a room full of exhausted photographers, laptops open, staring at a memory card with four hundred frames and no idea where to start. The instinct is to open the first photo and start pulling sliders, which is how you end up two hours deep on one frame while the other three hundred and ninety nine sit untouched. The photographers who come home with a finished portfolio, not a folder of half edited RAW files, follow the same five steps in the same order every time, whether they shot fog in Val d'Orcia, alpenglow in the Dolomites, or the Milky Way over the Tunisian desert.
This is that workflow, the one we actually teach during the post-processing masterclasses and image review sessions built into our tours. Cull first, then global adjustments, then masking, then color grading, then export sharpening, in that order, every time. Skip a step or work out of order and you fight yourself: grading a sky that is about to change exposure, or sharpening a crop you have not finished cleaning up. Follow the order and each step only has to solve one problem.
Key Takeaways
A repeatable five step sequence gets a landscape RAW file from memory card to finished export without wasted rework.
| Point | Details |
|---|---|
| The order matters | Cull, then global adjustments, then masking, then color grading, then export sharpening, always in that sequence |
| Culling tool | Lightroom Classic's Assisted Culling scores Subject Focus, Eye Focus, and Eyes Open, and can auto-reject misfires and exposure problems |
| Masking has moved on | The old Graduated Filter and Adjustment Brush are now a unified Masking panel with Sky, Subject, and Landscape auto-detection |
| Color Grading replaced Split Toning | A three wheel model for shadows, midtones, and highlights, plus a Global wheel, gives far more control than the old panel |
| Export sharpening is not optional | Lightroom applies a separate sharpening pass on export, based on whether you choose Screen, Matte Paper, or Glossy Paper |
Table of Contents
- Why a repeatable workflow beats random slider pulling
- Step 1: Culling, from memory card to keepers
- Step 2: Global adjustments in the Basic panel
- Step 3: Masking, sky, subject, linear and radial gradients
- Step 4: Color grading, shadows, midtones, highlights, and global
- Step 5: Export and output sharpening
- One full pass: a Lofoten frame from import to export
- Frequently asked questions about editing landscape photos
- Bring this workflow on the road
Why a repeatable workflow beats random slider pulling
The reason to fix an order at all is that each later step depends on the one before it being settled. Grade a sky's color before balancing its exposure against the foreground and you will redo the grade the moment you touch exposure again. Sharpen for export before deciding whether the image is going on a website or a sixteen inch print and you will sharpen it wrong and export twice. Global before local, local before color, is not a stylistic preference, it is the order that avoids rework.
I tell every group the same thing on day one: editing is not where you rescue a bad photograph, it is where you finish a good one. If the light was flat and the composition weak, no amount of masking fixes that. This workflow assumes you already have a frame worth finishing. For where to find that frame, our broader Landscape Photography: The Complete Guide picks up where this article leaves off, in the field rather than at the editing desk.
Step 1: Culling, from memory card to keepers
Culling is the most skipped step in amateur workflows, and the one that saves the most time. The goal is simple: get from four hundred frames to twenty before touching a single slider. Flag obvious keepers with P, reject anything with a closed eye, a blown highlight, or shake blur with X, and leave the rest unflagged for a second pass. Stack near duplicate frames, like a bracket set shot for an exposure blend, so they travel together through the workflow instead of cluttering the grid.
Lightroom Classic's Assisted Culling feature automates a good chunk of this. It runs at import and scores images against criteria like Subject Focus and Eye Focus, and can automatically reject photos it identifies as misfires, exposure problems, or accidental shots of documents. According to Adobe's documentation, you choose Select criteria such as "photos with the subject in focus" and Reject criteria such as "images captured accidentally" or "images with exposure problems," and can check a box in the File Handling panel to skip importing the rejects. For a landscape heavy card of wide scenics rather than portraits, Subject Focus scoring is the most useful of the three, since focus misses are the most common reason a frame gets cut.
Pro Tip: Cull in full screen at 100 percent zoom, not the thumbnail grid. A frame that looks sharp as a tiny thumbnail can be soft at the pixel level, which matters far more once you are deciding what makes a print. Thirty seconds of real zoom per frame saves you from finishing an edit that was never sharp.
On a recent Dolomites trip, one guest came back from a single alpenglow sunrise with just under four hundred frames. Flags and Assisted Culling's exposure rejects got that down to sixty keepers in under fifteen minutes, and a manual pass through the near duplicate bursts brought the real edit list to twenty two frames, the number that actually got finished before dinner.
Step 2: Global adjustments in the Basic panel
Once you have a keeper, the first real editing step happens in the Basic panel, deliberately global, meaning every adjustment applies to the whole frame rather than one area. Adobe describes the Basic panel as containing "the main tools for adjusting the photo's white balance, color saturation, tonal scale, and editing in HDR." That is the order I work in: white balance first, since every later tonal decision depends on correct color, then exposure, then contrast, then the highlight, shadow, white, and black sliders.
White balance is worth getting right first. If you shot a gray card or a neutral rock in the frame, use the White Balance Selector, accessed by clicking the tool in the Basic panel, choosing it from the View menu, or pressing W, per the same Adobe documentation. Click a known neutral tone and let Lightroom correct the cast rather than eyeballing the temperature slider. On a foggy Val d'Orcia morning this one click can be the difference between a flat gray image and real separation between warm hillsides and cool fog.
From there, work the histogram, not your screen's brightness, which drifts with the ambient light in the room. Adobe's documentation notes that the Histogram panel in the Develop module "allows you to measure color tones and make tonal adjustments to the photo," which is the honest way to check for clipped highlights or shadows rather than guessing from a monitor that might be too bright or too dim. Pull exposure until the midtones sit where you want them, recover blown skies with Highlights, open shadow detail with Shadows, and use Whites and Blacks to set the tonal endpoints. This is also where I decide whether a frame needs an exposure blend at all. A single Basic panel pass can often hold both sky and foreground on a Val d'Orcia golden hour frame; when it cannot, that is the moment to reach for the bracketing workflow covered in our exposure bracketing guide instead of fighting one RAW file past its limits.
Step 3: Masking, sky, subject, linear and radial gradients
This is the step that separates a flat landscape photo from one with real depth, and the one that has changed most in recent Lightroom versions. If you learned on the old Graduated Filter and Adjustment Brush, forget the names. They now live inside one Masking panel, opened from the Develop module's tool strip or with Shift plus W. Adobe's masking documentation describes it directly: "You can use Subject, Sky, Background, Landscape, Objects, or People to automatically add a mask or use Brush, Linear Gradient, Radial Gradient, or Range Masks to add a mask manually," and every adjustment made this way is non-destructive, never permanently altering the photo.
For a landscape frame, three tools do most of the work. Select Sky finds the sky's exact shape, cloud edges included, far more accurate than dragging a straight gradient across an uneven horizon. Select Landscape goes further: Adobe's documentation lists the scene features it can isolate, "Sky, Snow, Architecture, Vegetation, Water, Natural Ground, Artificial Ground, and Mountains," so you can mask just the water in a Bagno Vignoni reflection or just the mountains in a Dolomites ridge line without hand painting a stroke. Once you have a sky mask, Invert Mask, which Adobe describes as selecting "everything else except the initial selection you made," turns it into a land mask in one click, which is how most sky and foreground balancing actually happens: one mask, then its inverse, each with its own exposure and color adjustments.
| Mask type | Best use on a landscape frame |
|---|---|
| Select Sky (+ Invert for land) | Balancing a bright sky against a darker foreground with a precise, cloud-aware edge |
| Select Landscape (Water, Mountains, Vegetation, etc.) | Isolating one scene element, like a lake or a ridge line, without a manual brush |
| Select Subject | Lifting or separating a single foreground anchor, like a cypress tree or a lone boulder |
| Linear Gradient | A gradual, large-area fade for an uneven horizon or a graduated vignette |
| Radial Gradient | A soft, oval local adjustment for one pocket of light, such as a sunbeam or a lit peak |
| Range Mask (color or luminance) | Targeting every pixel of a specific tone or color, like just the brightest clouds |
Linear and Radial Gradients cover what automatic masks cannot. Adobe describes the Linear Gradient as useful "to adjust a large portion of the photo with a gradually fading pattern that creates soft transitions," good for darkening a washed out band of sky along a horizon without a hard edge. The Radial Gradient "helps you make local adjustments inside or outside an oval shape," with a Feather slider controlling the edge softness, the right tool for lifting one shaft of light breaking through cloud over a Lofoten peak, not the whole sky.
Whichever mask you build, the sliders inside it work the same way they do in the Basic panel, just contained to that selection. Adobe notes that "applying an Exposure local correction can achieve results similar to traditional dodging and burning," the same brightening and darkening photographers have done in a darkroom for a century, with more precision. A Dehaze slider, defined by Adobe as a control that "reduces or increases existing haze in a photo," applied only to a hazy middle distance in a Tuscan summer frame beats pulling Dehaze globally, which crushes contrast everywhere else.
Step 4: Color grading, shadows, midtones, highlights, and global
Color grading comes after masking, not before, because you cannot meaningfully decide the mood of light and shadow until the exposure balance between them is already settled. Adobe's release documentation states that "Color Grading replaces Split Toning and provides more control to adjust colors in your image," and the mechanism is a genuine upgrade: "Lightroom Classic now offers a robust color grading tool that provides powerful color controls for midtones, highlights, and shadows, plus a Global control that will adjust the overall color of your image." That is four color wheels working together, not one.
In practice, I use Global first to settle the overall temperature, usually a touch warmer for a sunrise or sunset frame, then Shadows and Highlights for a deliberate contrast of color rather than just tone; cooling the shadows slightly while keeping highlights warm reliably adds depth to a backlit scene without touching exposure at all. Coming from the old Split Toning panel, Adobe notes you can "set the blending slider to 100 to achieve the same effect as the pre-existing Split Toning feature," a useful bridge while you learn the wheels.
Pro Tip: Make every color grading decision with the mask overlay off and the full frame visible. It is easy to overcook a shadow tint zoomed into one dark corner, only to find it muddy at a normal viewing distance.
Color grading is also where a photo earns a consistent identity across a gallery. The same restrained Global warmth and shadow cooling, run across a full week of Dolomites keepers rather than reinvented per frame, is what makes a portfolio read as one coherent trip. For warm, hazy light specifically, our guide to editing Tuscany photos for warmth covers avoiding the oversaturated look an aggressive Global wheel can produce.
Step 5: Export and output sharpening
The step almost everyone skips is the last one before the file leaves your computer. Adobe's export documentation explains why it matters: "the amount of sharpening that Lightroom Classic applies is based on the output media and resolution you specify," and "output sharpening is performed in addition to any sharpening you apply in the Develop module." The sharpening you dialed in while editing is not the sharpening that reaches the final file. A separate pass runs at export, and it needs its own decision.
That decision has two parts. First, the destination. Adobe's documentation describes the option to "specify whether you are exporting for Screen, Matte Paper, or Glossy Paper output," each applying a different sharpening algorithm tuned to how that medium renders detail. A file headed to Instagram or a blog post should export for Screen; a matte print for Matte Paper; a glossy lab print for Glossy Paper, since paper absorbs and reflects detail differently than a backlit screen, and the sharpening math accounts for that.
Second, the amount. Adobe's guidance is simple: "you can leave the Amount set to the default option, Standard," unless you have a reason to go lower or higher. I bump to High only for large prints with fine texture, like a cypress bark close up or a stone wall in a San Quirico street scene, where the extra pass helps detail survive at viewing distance. Web galleries, resized aggressively by a CMS anyway, hold up fine at Standard.
This also answers a question every tour guest eventually asks: why does an exported photo look different than it did on screen in Lightroom? Output Sharpening is a genuinely separate pass, scaled to the export's resolution, so a small web export and a full resolution print export of the same edit will not sharpen identically, even though nothing in the Develop module changed between them.
One full pass: a Lofoten frame from import to export
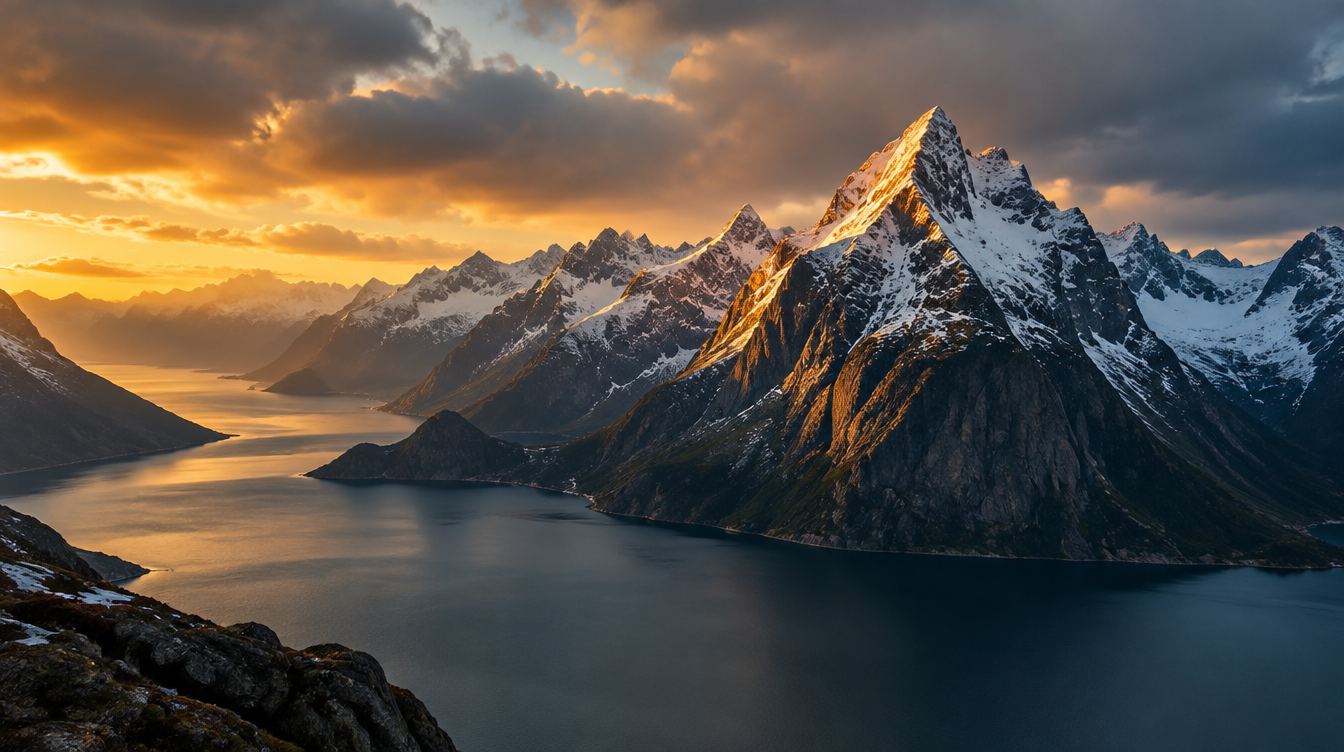
To make the sequence concrete, here is how one real frame moved through all five steps: a wide scene of jagged peaks above a fjord on Lofoten, shot during a brief break in the clouds, flat and even light across the frame, no obvious drama yet.
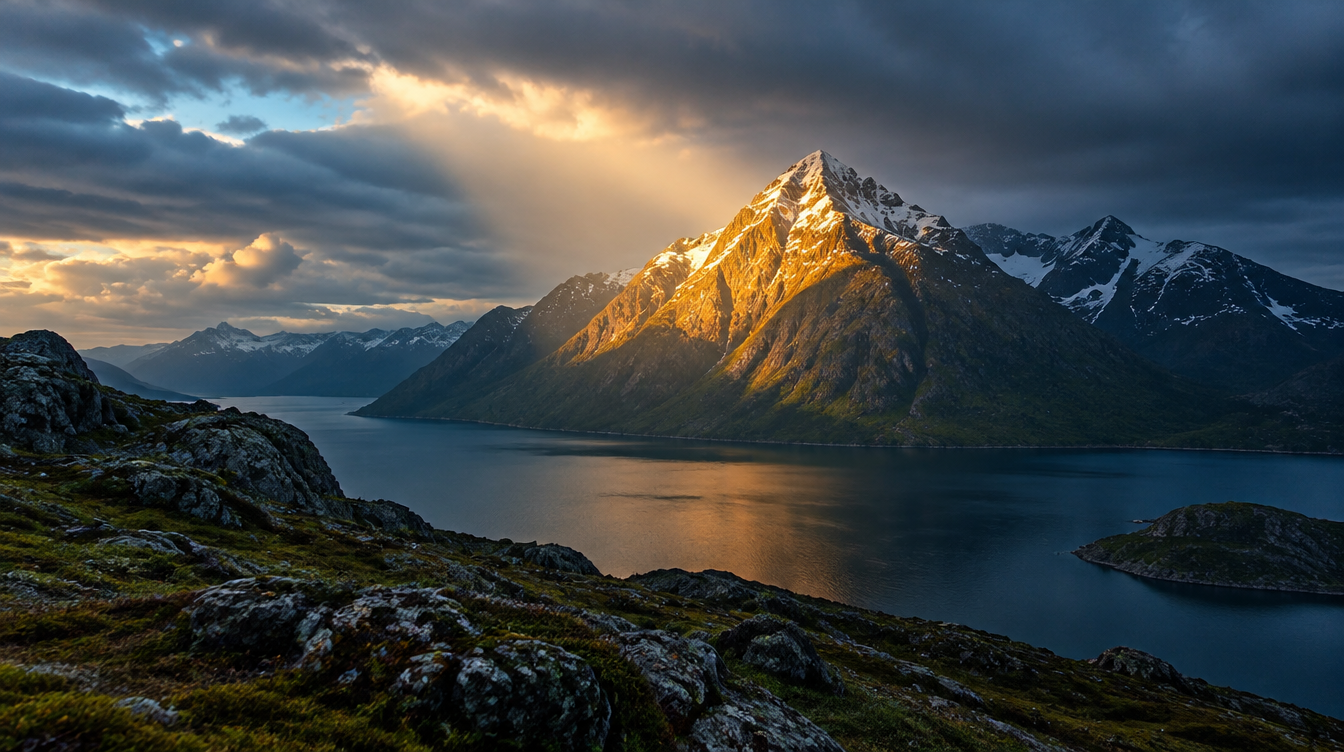
Culling came first. The frame was part of a four shot bracket taken within two seconds as the light shifted, and Assisted Culling flagged the sharpest as the Subject Focus winner, stacking the other three underneath rather than cluttering the edit queue. Global adjustments followed: a white balance click on clean snow pulled a slight blue cast out of the shadows, exposure dropped half a stop to protect the brightest snow, and Shadows opened up rock texture that had been sitting nearly black in the RAW file.
Masking did the real transformation. A Select Sky mask, inverted for the land, let the mountains come up almost a full stop brighter than the flat gray sky behind them, adding the depth the original capture lacked. A small Radial Gradient over the one patch of sunlit snow on the tallest peak lifted it further, pulling the eye where the composition intended it to go. Color grading added a restrained cool tone to the shadows and a touch of warmth to the highlights, turning flat, slightly blue light into something that reads as cold but alive rather than simply dull. Export sharpening finished the job: headed to a gallery page, the frame went out as a Screen export at Standard, sharp enough to hold up at full width without the crunchy edges an over-sharpened print export would show.
None of those five steps took more than a few minutes. What made the frame work was the order, each step solving one settled problem before the next began.
If the frame started life as a night sky image rather than a daylight landscape, most of this workflow still applies, but global adjustments and masking work differently enough to deserve their own treatment. Our guide to editing Milky Way photos in Lightroom and Photoshop covers the noise reduction and sky and foreground blending a Tunisian desert night frame needs that a Dolomites daylight frame does not.
Frequently asked questions about editing landscape photos
Should I cull before or after a first editing pass? Cull first, before touching a single slider, using flags or ratings and ideally Assisted Culling, which scores Subject Focus, Eye Focus, and Eyes Open and can auto-reject misfires and exposure problems. Editing four hundred frames instead of the twenty worth finishing wastes the time the later steps need.
Does shooting RAW instead of JPEG actually matter for landscape editing? Yes, in practice. RAW preserves far more highlight and shadow data for the Basic panel's recovery sliders and for masking later, which matters most in the high contrast scenes, sunrise, snow, fog, that landscape photographers chase.
What is the difference between the Sky mask and a Linear Gradient? Select Sky traces the sky's actual shape, handling cloud edges a straight line never could. A Linear Gradient fades an adjustment gradually across a large area regardless of content, better suited to an uneven horizon or a simple vignette.
When do I use a Radial Gradient instead of a Linear Gradient? For a soft, oval, local adjustment, brightening or darkening one pocket of light like a sunbeam or a single lit peak, not a whole band of the frame.
How is Color Grading different from White Balance and Tint? White Balance and Tint correct the overall color cast so the image reads as neutral. Color Grading's three wheels for shadows, midtones, and highlights, plus the Global wheel, push different tonal ranges in different directions on purpose, a mood decision rather than a correction.
Do I need Photoshop as well as Lightroom for landscape photos? Not for this workflow. Culling, global adjustments, masking, color grading, and export sharpening all live inside Lightroom's Camera Raw engine. Photoshop earns its place for focus stacking and tricky panorama stitches, but it is an add-on, not a requirement.
What output sharpening setting should I use for web versus print? Screen for anything headed to a website or digital gallery; Matte Paper or Glossy Paper for physical prints, matching the finish. The amount is calculated from the output media and resolution you specify, so the two genuinely need different settings.
Why does my exported photo look softer or more contrasty than it did in Lightroom? Output Sharpening is a distinct pass applied on export, on top of any Develop module sharpening, scaled to that export's resolution. A small web export and a full resolution print export of the same edit will not look identically sharpened, even though the edit itself did not change.
Bring this workflow on the road
Reading about a five step workflow and running it on your own four hundred frame memory card, at eleven at night, with a sunrise shoot in six hours, are two different experiences. That is the gap our tours are built to close. A scheduled post-processing masterclass and image review session is built into the itinerary on trips like our Tuscany Val d'Orcia tour and our Dolomiti tour, not bolted on as an optional extra. You cull and edit real frames from that same morning's shoot, with a guide catching the mask built backward or the color grade that only looks right zoomed in, before the habit sets and gets harder to unlearn.
To see this across our full range of destinations, from Tuscany's fog and golden hour to Lofoten's aurora and the Milky Way over the Sahara, our full lineup of photography tours lists current departures, and every one builds this same editing instruction into the days in the field, not just the nights after.
Sources
- Adobe Lightroom Classic User Guide: Masking (Sky, Subject, Landscape, Linear and Radial Gradients, Range Masks)
- Adobe Lightroom Classic User Guide: Export and Output Sharpening (Screen, Matte Paper, Glossy Paper)
- Adobe Lightroom Classic: Color Grading release documentation
- Adobe Lightroom Classic User Guide: Assisted Culling at Import
- Adobe Lightroom Classic User Guide: Develop Module Tools (Basic panel, Histogram, White Balance Selector)