How to Photograph the Milky Way: A Complete Field Guide
A complete field guide to photographing the Milky Way: when and where to go, how to focus on stars, and the settings that actually work.
How to Photograph the Milky Way: A Complete Field Guide
The first time I tried to photograph the Milky Way, I pointed my camera at the sky on a night I was sure was perfectly dark, fired off a fifteen second exposure, and got back a frame of orange mush with a few stars poking through. No galactic core, no structure, nothing worth a wall. It took a few more trips and a proper desert sky to understand that shooting the Milky Way well is not about luck or a fancy camera. It is about stacking a handful of variables at once: season, moon phase, a genuinely dark sky, and settings that match your gear. Line those up and almost any mirrorless or DSLR from the last decade can bring home a real photograph of our galaxy. This guide walks through each variable in order.
Key Takeaways
There is no single trick to a strong Milky Way photograph. It comes from timing a shoot around the moon and the season, finding a sky dark enough to matter, and using settings that match your specific camera and lens.
| Point | Details |
|---|---|
| Best moon phase | As close to the new moon as your schedule allows, since moonlight is the single fastest way to wash out the galactic core |
| Dark sky matters most | Light pollution independently overwhelms the Milky Way's glow even on a moonless night, so location beats gear |
| Starting exposure | Wide aperture (f/2.8 or faster), ISO 3200 as a starting point, shutter speed set by a star-trail rule for your lens, not a fixed number |
| Focusing | Pre-focus in daylight using hyperfocal distance, then verify at night in live view against a bright star or planet |
| Biggest technique upgrade | Moving from the simplistic 500 rule to the sensor-aware NPF rule once you shoot a high resolution camera |
| Hardest part | Not the camera settings, but actually getting to a sky dark enough for the core to show real structure |
Table of Contents
- Why the Milky Way is harder to shoot than it looks
- Milky Way season by hemisphere
- Moon phase and the new moon window
- Finding a genuinely dark sky
- Essential gear for Milky Way photography
- Camera settings: the 500 rule vs the NPF rule
- Focusing on stars in the dark
- Composing the galactic core over a real foreground
- Single exposure vs star tracker vs foreground blending
- Post-processing the Milky Way
- Case study: the Tunisian Sahara
- Frequently asked questions about Milky Way photography
Why the Milky Way is harder to shoot than it looks
Point your phone at the night sky in auto mode and you will almost always get a black frame or a smear of noise. That is not a camera problem, it is a light problem. What we call the Milky Way is our view, from inside the disk, of our galaxy's structure: two major spiral arms attached to a central bar, with our solar system sitting in a smaller, partial arm between them called the Orion Arm (NASA Science). That glow is genuinely faint, and light pollution overwhelms it easily, which is why a bright city sky, even a clear one, will never show a real Milky Way photograph no matter how good your camera is (NASA Science).
Most failed first attempts feel like a gear problem but are a location and timing problem. A ten year old entry level DSLR under a dark desert sky on a moonless night will outperform the newest mirrorless camera shot from a hotel balcony in a mid sized city. The sky is the biggest variable here. Everything else in this guide is about stacking smaller advantages on top of that one.
Milky Way season by hemisphere
The bright, dense core, the part most people picture as "Milky Way photo," is only above the horizon at a useful hour for part of the year, depending on your hemisphere. In the Northern Hemisphere, the core climbs highest across the warmer months, and NASA's own July skywatching notes describe it appearing, once fully dark, as a faint diagonal band toward the south from a northern latitude (NASA Science). That is a useful anchor: shooting from the southern Mediterranean or the Sahara in the middle of the year, the core will be a southward, diagonal shape low in the sky after full darkness, not overhead.
South of the equator, the geometry flips. Southern Hemisphere observers get the core higher overhead for a longer stretch of the night, visible for a larger share of the year than from most of North America or Europe. Rather than memorizing a fixed calendar, check a planning app like PhotoPills or Stellarium for your exact location and date, since rise and set times shift noticeably between nearby latitudes. Treat any seasonal guide, including this one, as a starting point for booking a trip, not a substitute for checking the sky on the night you will actually be shooting.
Pro Tip: Before you commit to travel dates for a night sky trip, check moonrise, moonset, and the galactic core's position for your destination's exact coordinates, not just its country or region. A difference of two or three degrees of latitude can shift the core's position in the sky more than you would expect.
Moon phase and the new moon window
If you only change one thing about how you plan a Milky Way shoot, change this: stop treating season and moon phase as separate questions. The real decision is which nights, in which month, give you both the core above the horizon and a dark, moonless sky at once. NASA describes the new moon as a great time for Milky Way viewing precisely because the sky stays extra dark all night with no moonlight to wash out fainter stars (NASA Science). Even a half moon can flatten the core's structure, so serious night photographers build shoots around a window of roughly four or five nights centered on the new moon.
This is the exact logic a dedicated night sky trip gets scheduled around: someone has already done the moon phase math for you. Plan purely around flight prices with no regard for the lunar calendar and you can land in the most photogenic desert on Earth and still shoot under a three quarter moon every night. This contrasts with moonlit landscape work, which wants the opposite. Our guide to moonlight landscape photography covers planning around a bright moon instead.
Finding a genuinely dark sky
"Find a dark sky" is advice everyone gives and almost nobody quantifies. The actual tool for quantifying it is the Bortle scale, a nine level scale of night sky brightness created by amateur astronomer John E. Bortle and published in Sky & Telescope in February 2001 (Wikipedia). At the dark end, a Class 1 "excellent dark sky site" is dark enough that the zodiacal light is visible and colorful and the faint glow called the gegenschein is readily visible. At the opposite end, a Class 9 inner city sky is so washed out that, aside from the Pleiades star cluster, no Messier object is visible to the naked eye at all (Wikipedia). Most suburban backyards sit somewhere in the middle, dark enough to see the brightest stars but nowhere near dark enough for a real Milky Way photograph.
The National Park Service puts a sobering number on how rare a dark sky has become: as of 2017, roughly 80 percent of people in North America could not see the Milky Way at all because of electric light at night (NPS, Shenandoah National Park). That explains why most people's first reaction to a truly dark sky is closer to shock than appreciation. At a certified dark sky site you can see up to 15,000 stars over a night, versus fewer than 500 in a typical city, and Hovenweep itself was certified as the 17th International Dark Sky Park on July 1, 2014 (NPS, Hovenweep National Monument).
Before you travel specifically to shoot the Milky Way, check the actual sky brightness at your coordinates rather than trusting a destination's reputation. lightpollutionmap.info is a free tool layering VIIRS satellite sky brightness data with ground based Sky Quality Meter points and a feature for finding the closest dark site, and it is the single most useful planning habit in this guide. "The darkest skies in the world" is a claim thrown around loosely by travel marketing, including some of our own trip descriptions, and it is rarely backed by a measured reading for the exact camp in question. Treat a destination's dark sky reputation as a starting point, and check the map yourself before you book.
Essential gear for Milky Way photography
You do not need exotic gear to start, but a few choices matter more at night. A wide angle lens, roughly 14mm to 24mm on full frame or 10mm to 16mm on a crop sensor, captures the core and a foreground together with more forgiving star trail math. A fast maximum aperture matters more here than almost anywhere else in landscape photography: f/2.8 is a reasonable minimum, and f/1.8 or f/1.4 primes let you drop ISO meaningfully.
A sturdy tripod is non negotiable, since every exposure runs several seconds to tens of seconds and any vibration ruins the shot. A remote shutter or intervalometer removes the shake of pressing it by hand and lets you fire a sequence unattended, useful for blending or panoramas. A headlamp with a red light mode protects your night vision and everyone else's. Bring more spare batteries than you think you need, since cold nights drain them faster, and a lens blower matters more anywhere with sand or dust in the air.
The one genuinely optional upgrade is a star tracker, a small motorized mount that rotates your camera to match the sky's movement across a long exposure. It earns its extra bag weight for a cleaner core, but adds setup time and a separate blending step, which is why I treat it as a second trip upgrade, not a requirement for your first attempts.
Camera settings: the 500 rule vs the NPF rule
Start with a baseline and adjust from there rather than hunting for one perfect universal setting. A wide aperture, your lens's widest or one stop down from it, an ISO around 3200 as a starting point, and a shutter speed set by a star trail rule rather than a fixed number, is a workable formula on almost any camera.
The shutter speed part is where most beginner advice oversimplifies. The old standby is the "500 rule," which divides 500 by your lens's focal length to estimate the longest exposure before stars visibly trail, so a 20mm lens suggests roughly 25 seconds. The problem is that the 500 rule was built around lower resolution sensors, and on a modern high megapixel body, pixel level trailing shows up well before that time, especially once you zoom in at 100 percent. The more accurate NPF rule factors in sensor pixel pitch along with aperture and focal length, which is why two photographers with the same lens but different bodies get a different maximum exposure before trailing appears. You do not need to calculate it by hand. Most astrophotography planning apps do it for you.
Pro Tip: Whichever rule you start from, take one test exposure, zoom all the way in on the stars at the corners of the frame on your camera's screen, and shorten your shutter speed if you see any elongation. A rule of thumb gets you close. Your own test shot is what actually confirms sharp stars.
| Approach | How it works | Best for |
|---|---|---|
| 500 rule | 500 divided by focal length gives an approximate maximum shutter speed | Quick starting point, lower resolution sensors, casual shooting |
| NPF rule | Factors in pixel pitch, aperture, and focal length together for a sensor specific maximum | High megapixel modern mirrorless and DSLR bodies, anyone pixel peeping or printing large |
| Test shot verification | Zoom into an actual exposure at 100 percent and check star shape at the frame edges | Confirming either rule actually worked on your specific gear, every time |
Focusing on stars in the dark
Autofocus fails on stars almost every time, since there is not enough contrast for the camera to lock on. The field tested method starts before sunset: manually focus at roughly your lens's hyperfocal distance for the aperture you plan to shoot, which for a wide lens stopped down slightly puts both a close foreground and infinity in sharp range. Mark that focus ring position, or use the lens's witness marks near infinity.
Once it is actually dark, do not trust that daytime setting blindly. Switch to live view, zoom the display in as far as it will go, point the camera at the brightest star or planet you can find, and fine tune manual focus until that point of light is as small and sharp as possible on screen. Then take a test exposure and zoom into the result on the camera body itself, since the two can disagree. This two stage approach catches the small focus drift that ruins an entire night's shooting if you only do one of the two steps.
Composing the galactic core over a real foreground
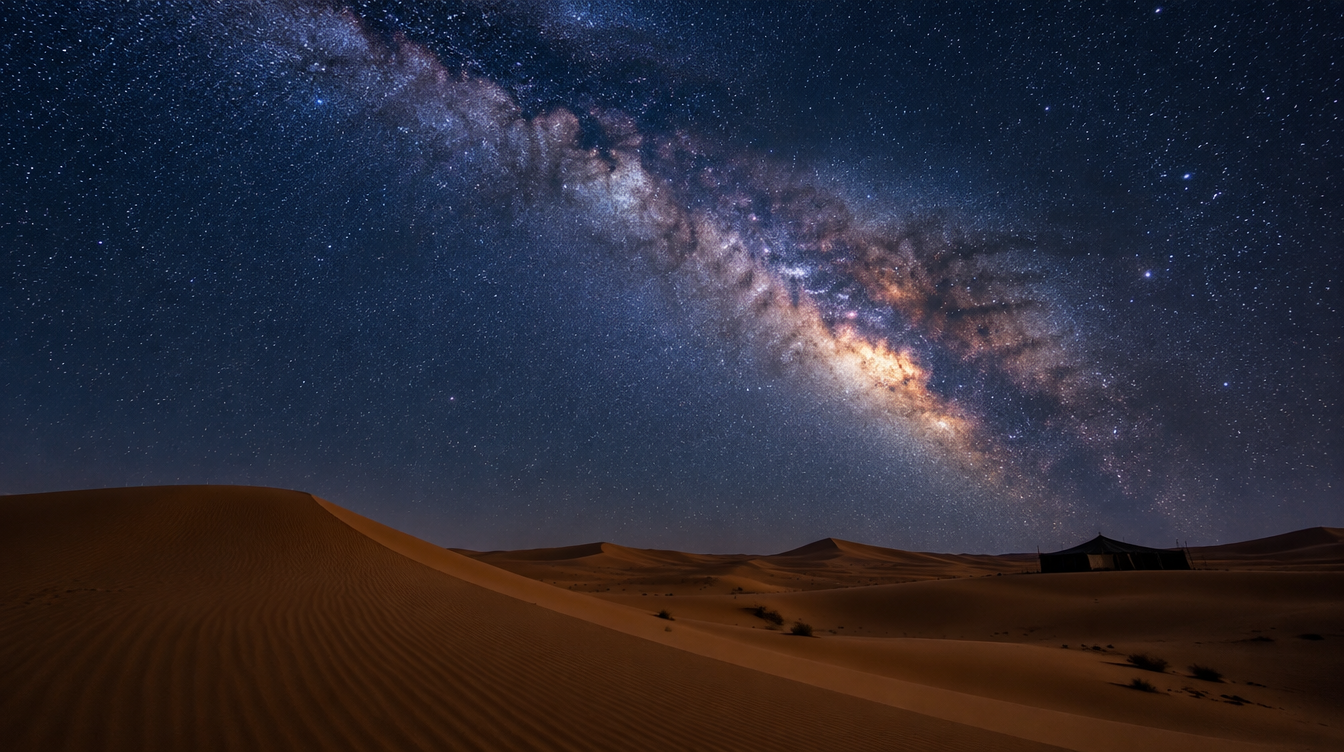
A technically sharp photo of stars with nothing else in frame gets old fast. The core becomes a real photograph once it has something to anchor it: a lone tree, a ridge, a line of dunes, a tent, a person with a headlamp for scale. The composition decision that actually matters at night is orientation. Walk your location at dusk and figure out which direction the core will rise in, then choose a foreground that sits roughly there, rather than picking your favorite spot first and hoping the core cooperates.
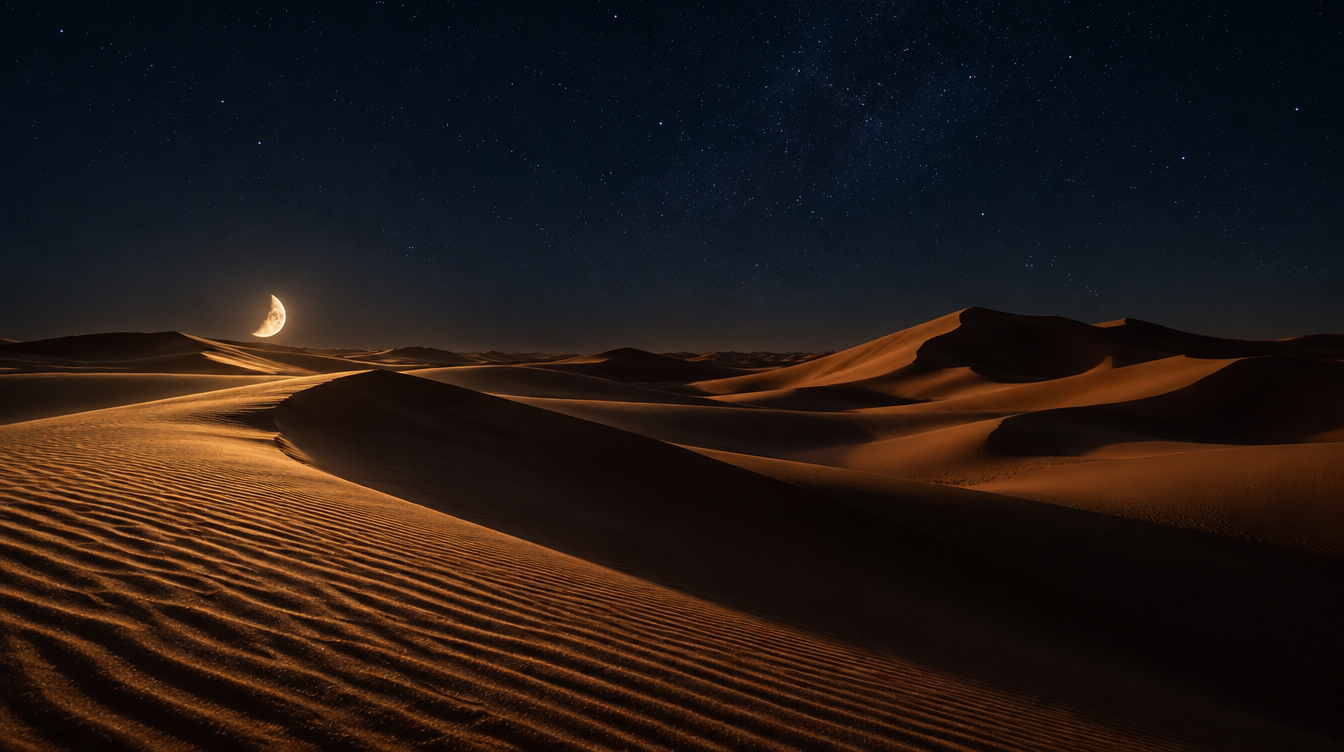
In open desert terrain, with no obvious anchor like a mountain peak, look for texture instead: a dune ridge catching a trace of blue hour glow, scattered scrub breaking up a flat foreground, or a tent giving the frame instant scale against a featureless sky. A wide lens exaggerates the relationship between foreground and sky, so get closer to your subject than feels natural and let the core fill the rest of the frame above it.
Single exposure vs star tracker vs foreground blending
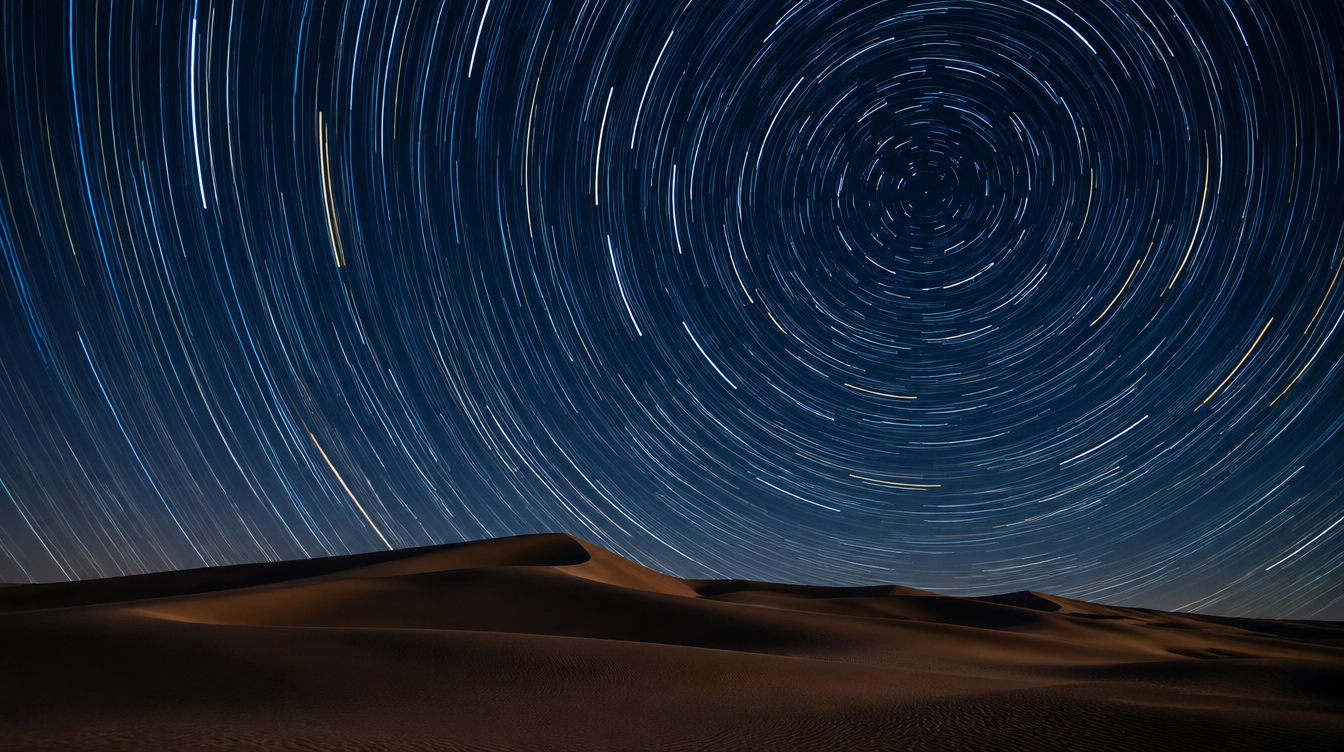
There are three realistic ways to handle foreground and sky together, and which fits depends on how much setup time you want to take on. A single exposure, both captured in one frame, is the fastest and most honest approach, and where every beginner should start. A star tracker captures a separate, lower noise exposure of just the sky while the mount compensates for Earth's rotation, which you then blend with an untracked foreground, since a tracker will blur the ground. A blue hour blend captures the foreground during the brief window of residual light after sunset, then combines it with a darker sky exposure once the stars are out, useful when the foreground would otherwise sit as a flat silhouette.
Our guide to blue hour photography covers that transitional light in more depth, including the white balance decisions that matter when you are deciding how much of that lingering color to keep versus how far into true darkness to wait before your sky exposure.
Post-processing the Milky Way
A raw, unprocessed frame almost always looks disappointing off the memory card, flatter and noisier than what you remember seeing, and that gap is normal. Shoot in raw, always, since the dynamic range needed to recover shadow detail while controlling sky noise is well beyond what a compressed JPEG can hold onto.
Start with noise reduction for your ISO, then work on contrast and clarity in the core region rather than globally, since a global contrast boost crushes foreground shadows into pure black. A gentle color grade, pulling slightly toward blue or teal in the shadows and warming the core a touch, separates the galaxy from the sky more effectively than boosting overall saturation. If you shot a blend, keep edits subtle enough that a careful viewer cannot spot the seam. The goal is to get back to what the scene felt like standing under it, not to invent colors that were never there.
Case study: the Tunisian Sahara
Every technique in this guide is the one I actually use leading our Tunisia Milky Way photo tour, built specifically around desert night photography rather than as an add-on. The route runs from Tunis across the Chott el-Jerid salt flats to Tozeur, then an off road transfer into the Sahara to a Berber tented camp, where the itinerary is built around moonless nights under what the trip describes as pristine dark skies with no camp lighting to compete with the stars. That detail matters: one stray floodlight still ruins long exposures, so a camp committed to staying unlit after dark is a real advantage over a destination that only promises dark skies in its marketing.
One thing the research for this guide turned up: a specific, measured Bortle class or Sky Quality Meter reading for that exact camp is not something I can point you to with a verified source, and I would rather say that plainly than invent a number that sounds impressive. What I can tell you is that it is about as far from town lighting as a short flight from Europe gets you, and if the exact sky brightness matters to you, pull up lightpollutionmap.info for the camp's coordinates before you book. The gear the trip itself recommends lines up closely with everything above: a wide angle lens in the 10mm to 15mm range, a mid zoom around 24mm to 70mm, a remote shutter with a timer, an optional star tracker, plus the lens blower and sand protective bags any desert shoot demands.
Practicing this once under genuinely dark skies, with someone double checking your settings before an hours-long desert shoot, is the fastest way to skip the trial and error I went through on my own.
Frequently asked questions about Milky Way photography
What are the best camera settings for Milky Way photography? Start with your widest usable aperture, ISO around 3200, and a shutter speed set by a star trail rule for your specific lens and sensor rather than a fixed number, then verify with a zoomed in test shot and adjust from there.
Can you photograph the Milky Way with a full moon, or does it have to be a new moon? A full or half moon above the horizon washes out the core's faint light significantly. Shooting within a few nights of the new moon is the single biggest improvement you can make before you even touch a camera setting.
Do you need a star tracker to photograph the Milky Way? No. A single exposure at the right settings under a dark sky produces a real, usable photograph. A star tracker is a worthwhile upgrade for cleaner results once you have the basics down, not a requirement to get started.
What lens is best for Milky Way photography? A wide angle lens with a fast maximum aperture, roughly 14mm to 24mm on full frame or 10mm to 16mm on a crop sensor, at f/2.8 or faster, is the most versatile choice for combining the core with a foreground in one frame.
How do you focus on stars at night without autofocus? Pre focus manually at your lens's hyperfocal distance in daylight, then confirm at night using live view zoomed in on the brightest star available, followed by a test shot checked at full zoom.
When is the Milky Way visible from the Northern vs Southern hemisphere? The galactic core is generally higher and visible for a larger share of the night from Southern Hemisphere latitudes, while Northern Hemisphere observers see it lower in the sky and for a shorter window, appearing as a faint diagonal band after full darkness. Exact timing shifts with your specific latitude and date, so check a planning app for your location rather than relying on a general rule.
Shooting the Milky Way well is less about any single piece of gear and more about discipline: picking the right week of the month, confirming the sky is actually dark where you are headed, and taking ninety seconds to verify focus and exposure with a test shot before committing to a long night of shooting. Do those three things and the settings in this guide will get you the rest of the way.
Sources
- NASA Science: The Milky Way Galaxy
- NASA Science: What's Up, July 2023 Skywatching Tips
- Wikipedia: Bortle Scale
- lightpollutionmap.info
- National Park Service: Shenandoah National Park Night Sky
- National Park Service: Hovenweep National Monument Stargazing