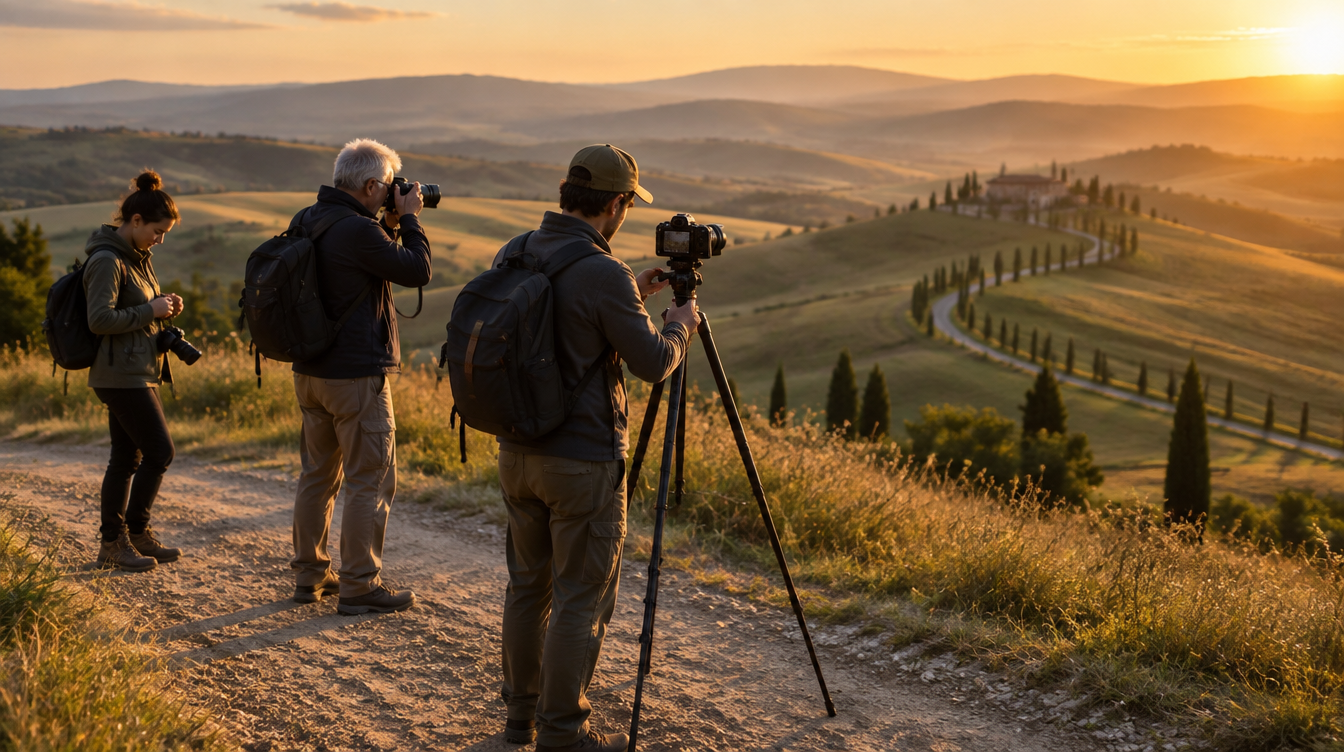
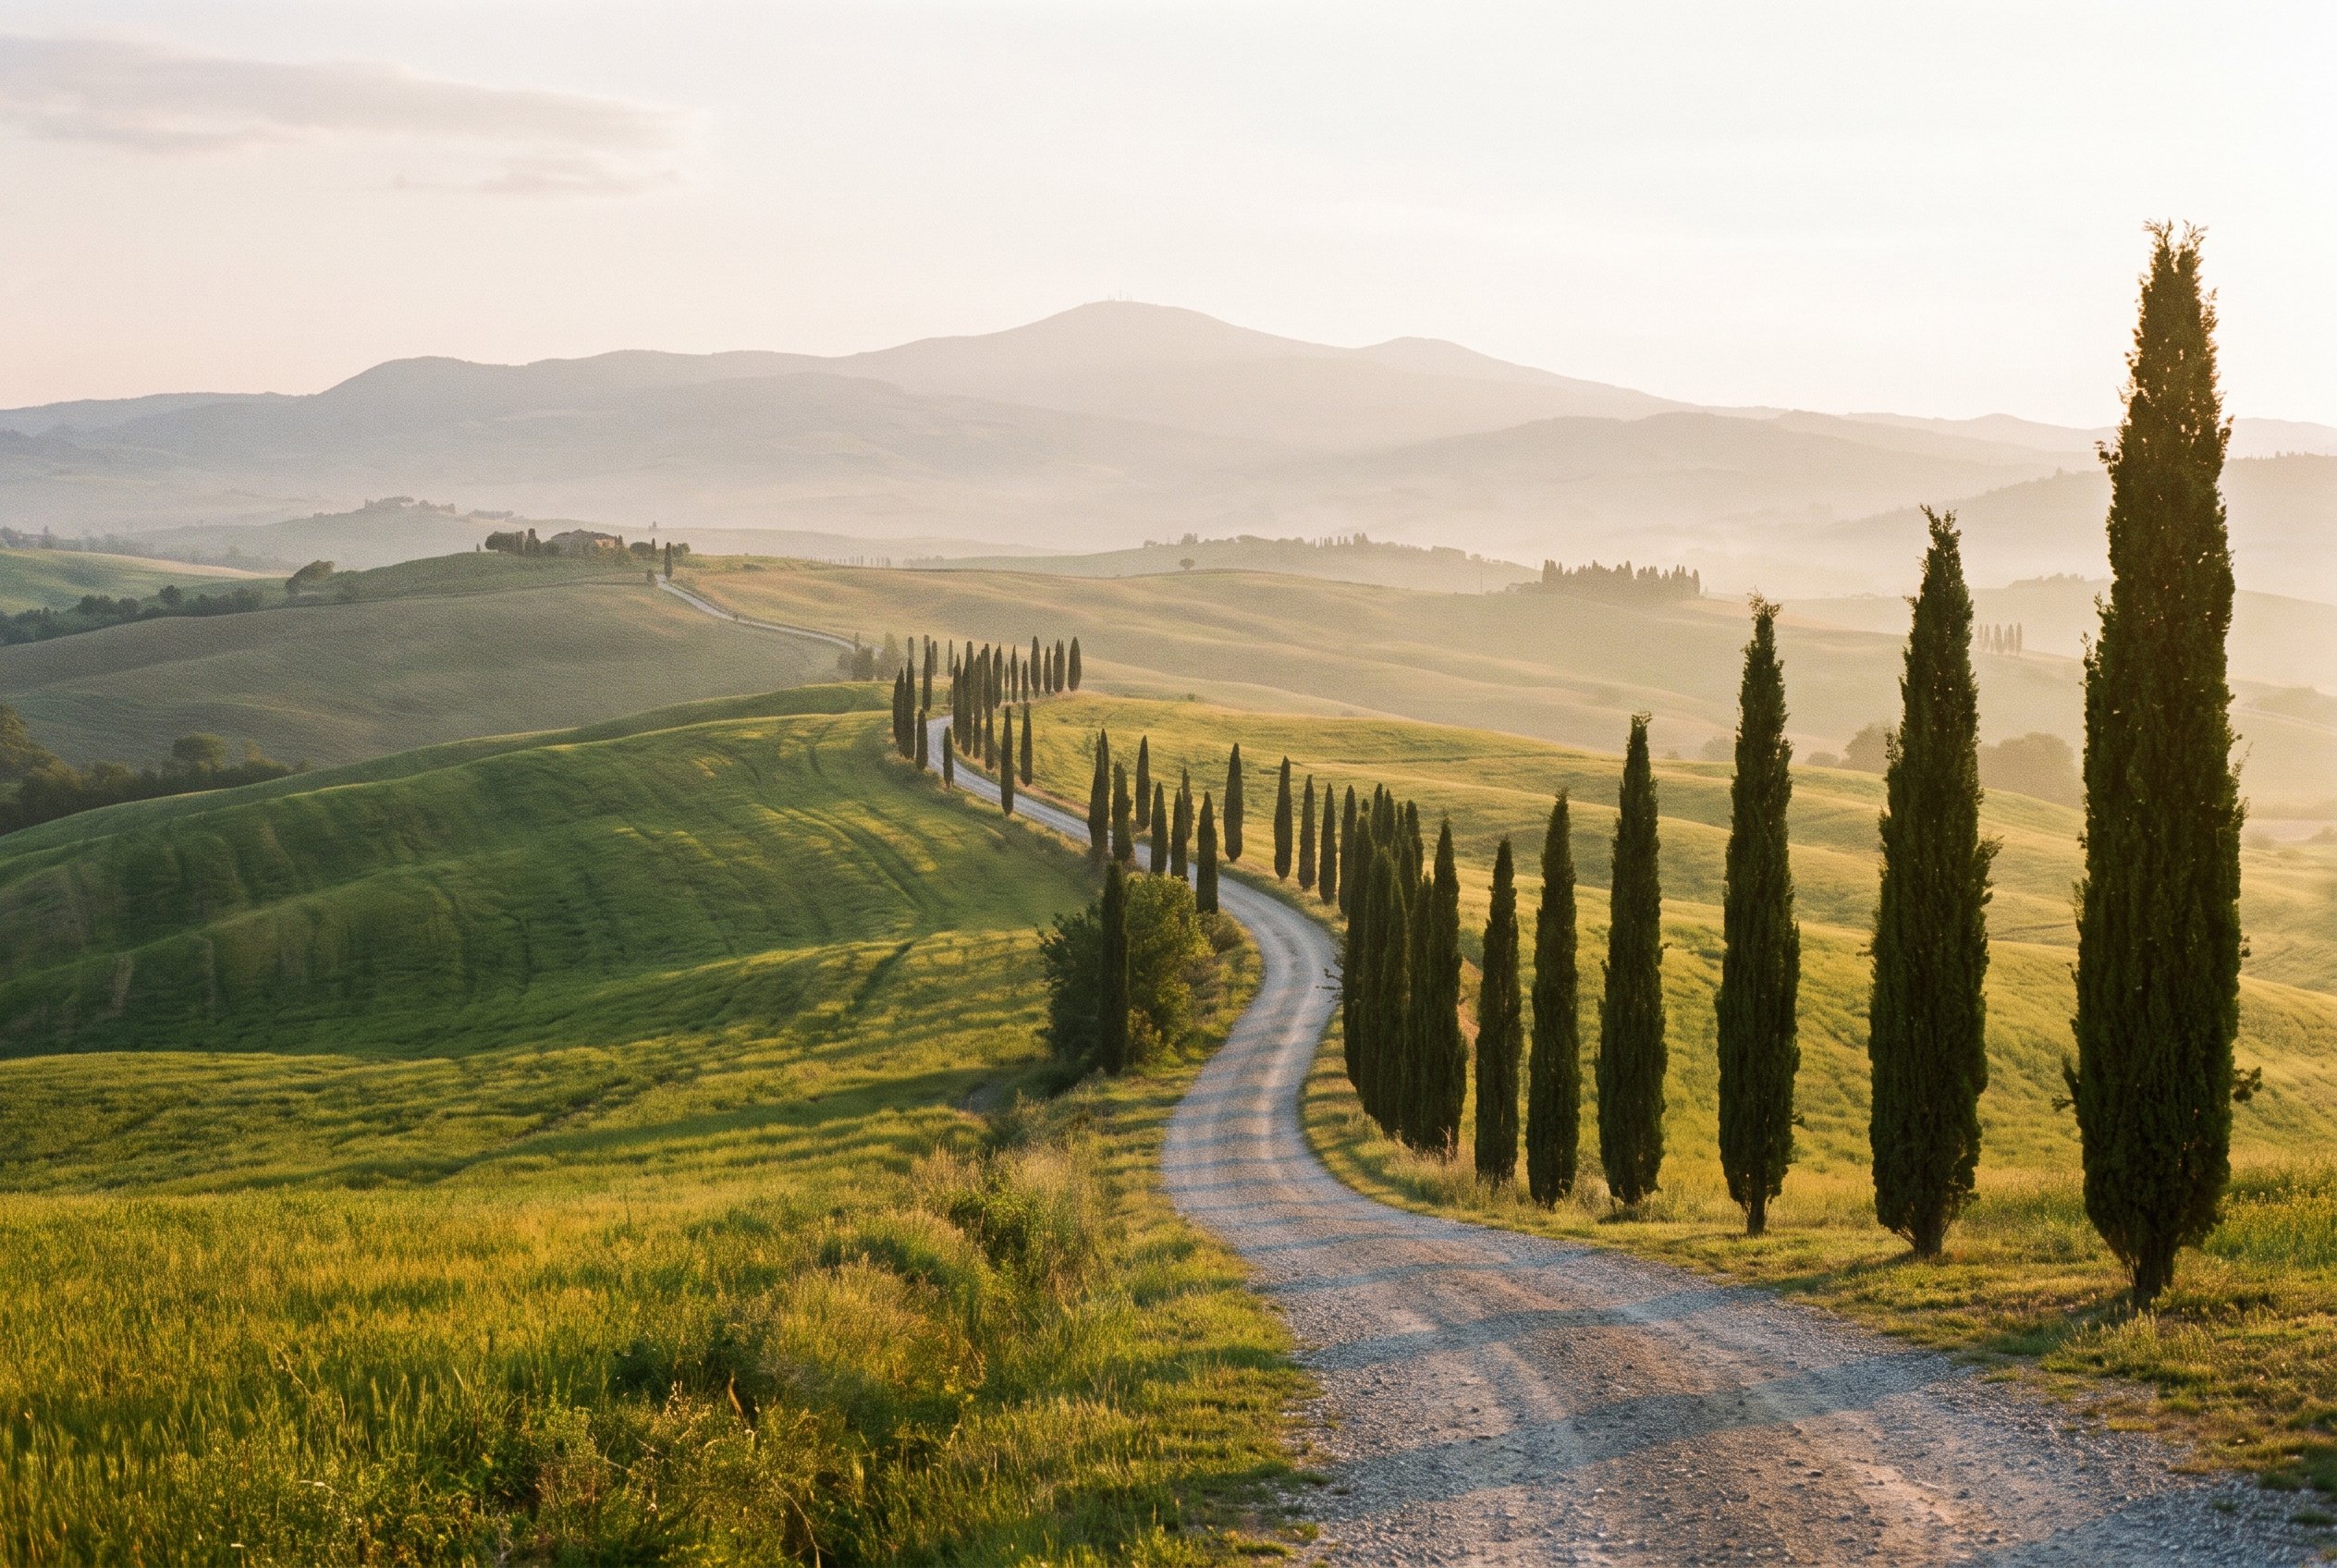
The Filters Every Tuscany Landscape Photographer Should Own
A focused, no filler guide to the polarizer, graduated ND, and solid ND filters that actually earn their place in a Val d'Orcia camera bag, with the strengths, brands, and scenarios where each one matters.
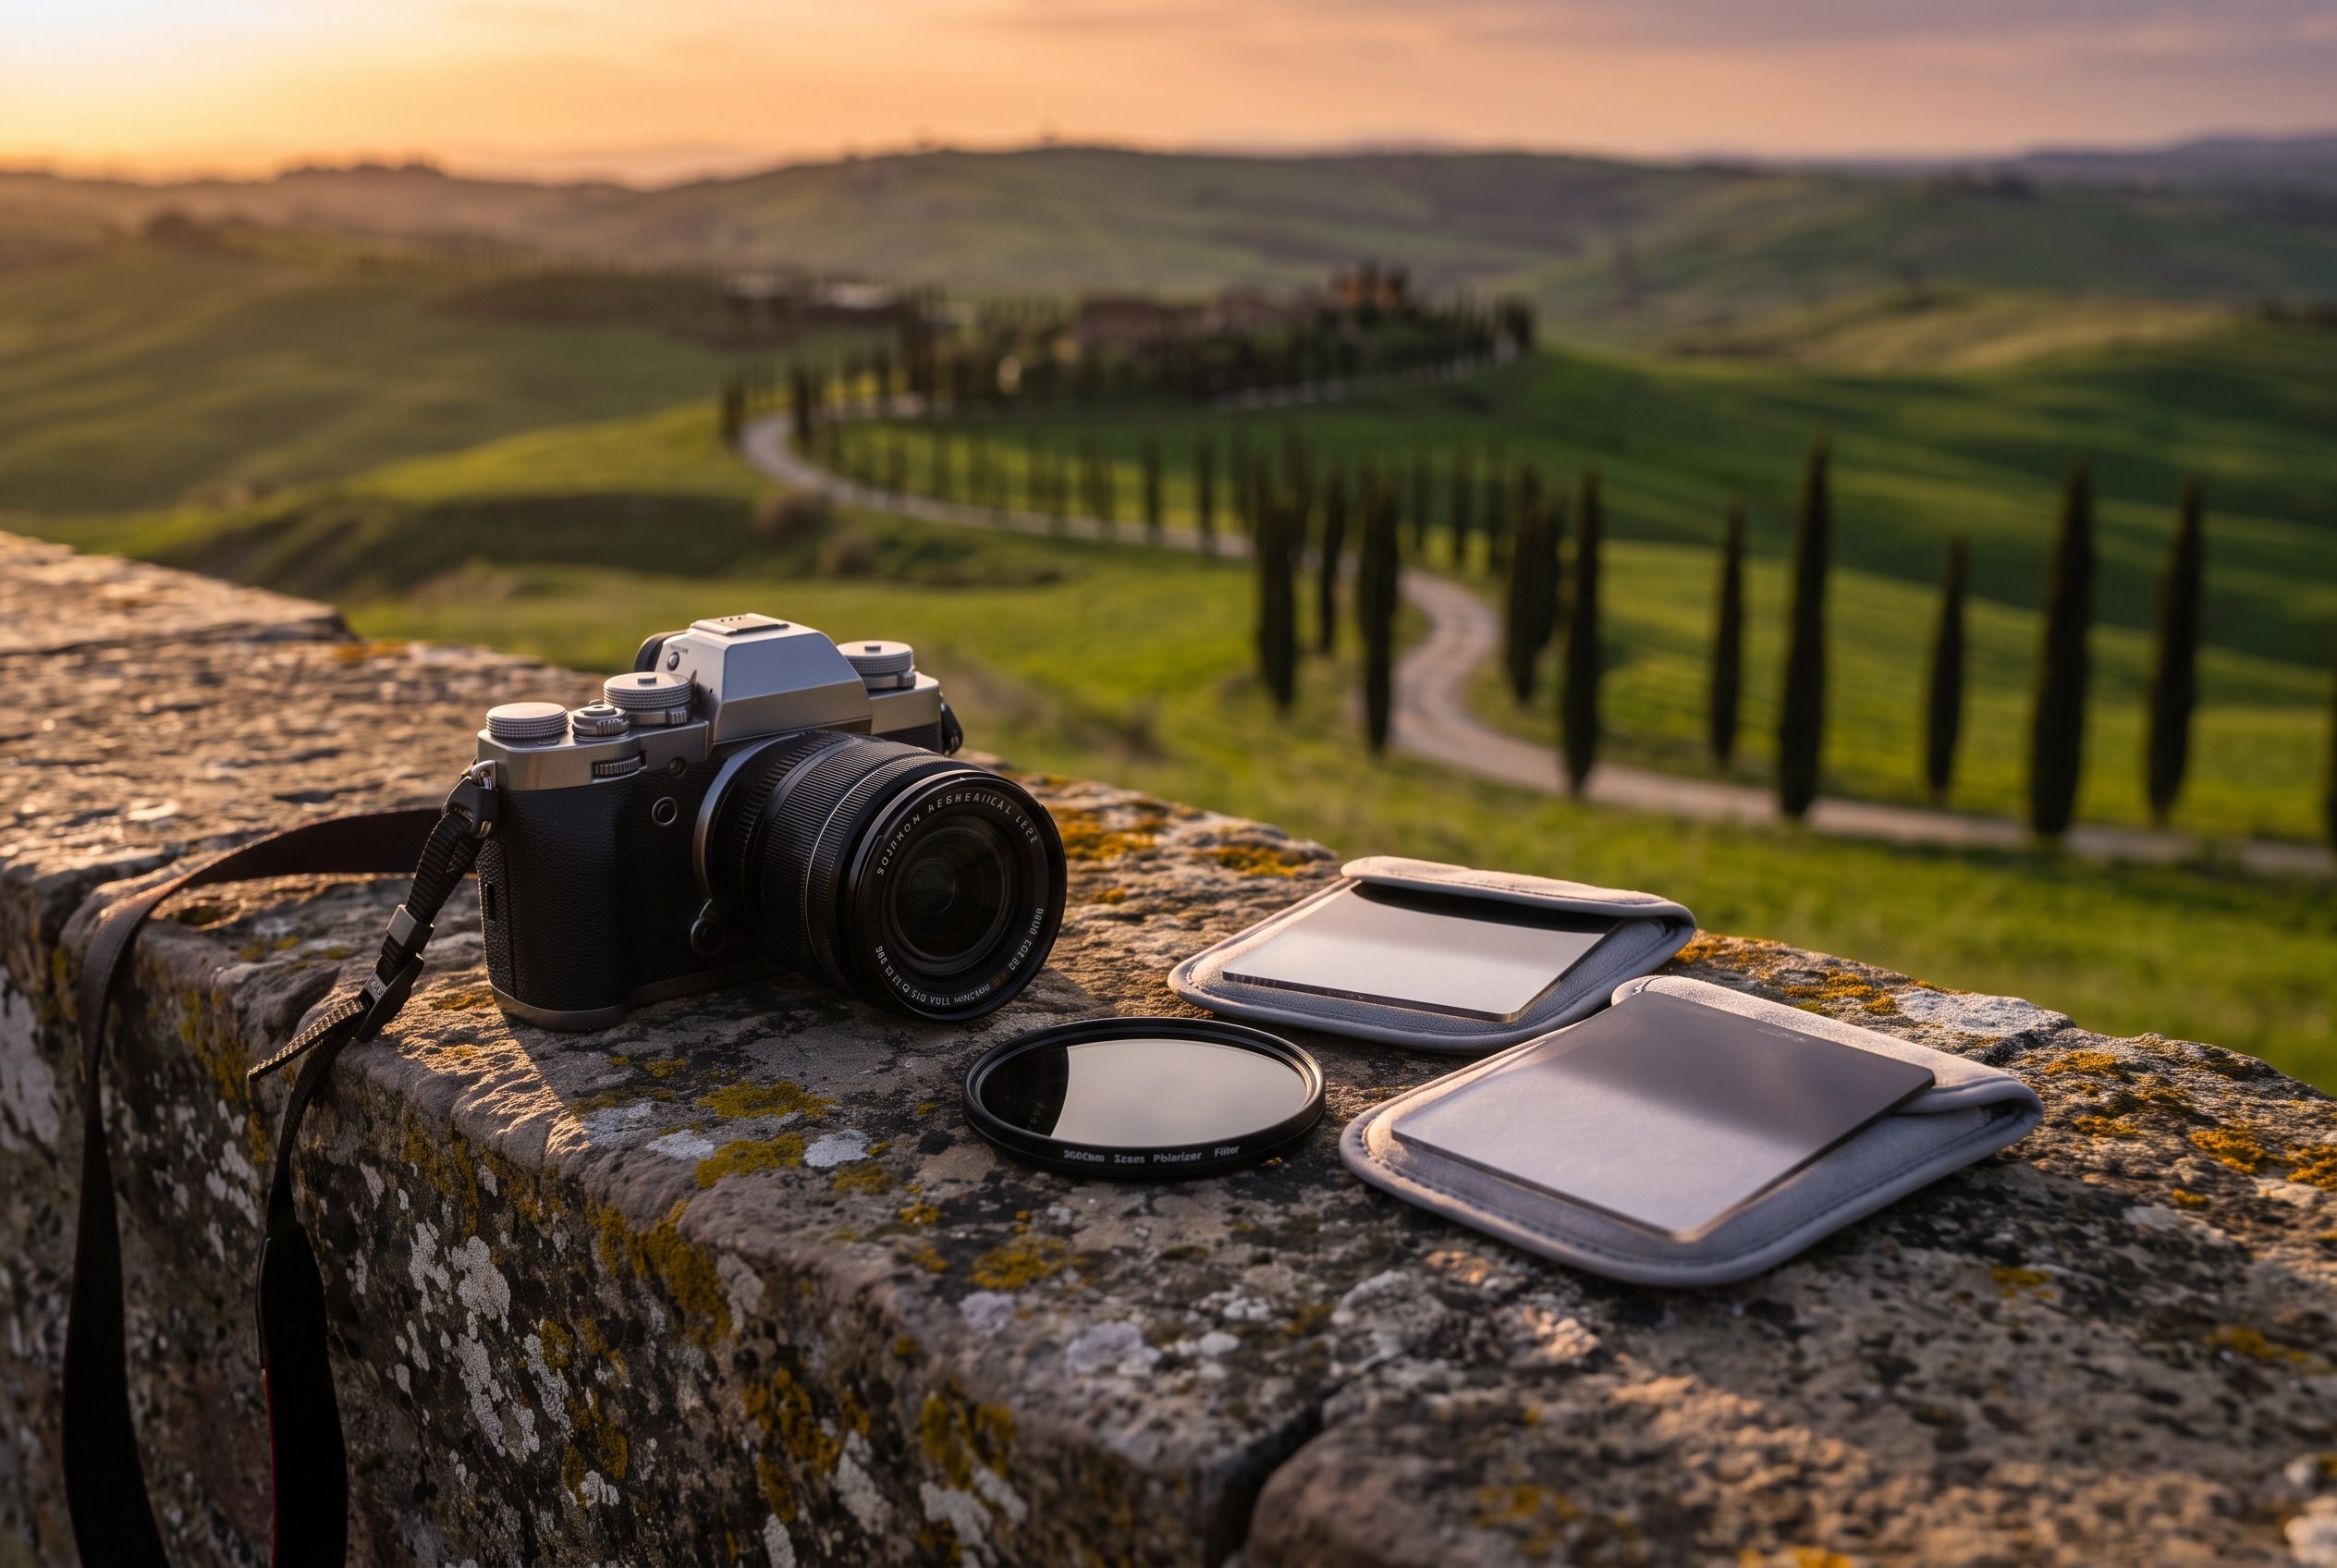
The Filters Every Tuscany Landscape Photographer Should Own
I have watched more photographers overspend on filters before a Tuscany trip than on almost any other piece of gear. It happens every time. Someone reads a gear list online, sees eight different pieces of glass recommended, and shows up in Val d'Orcia with a filter wallet that costs more than their tripod and a holder system they have never practiced attaching in the dark at 5am. Then they stand on a hillside near San Quirico fumbling with a magnetic adapter ring while the light they drove three hours to catch slips away.
You do not need eight filters here. You need three, maybe four if you are stubborn about long exposure work, and every one of them earns its place for a specific reason tied to how this particular landscape behaves. Val d'Orcia has a lot of haze, a lot of bright sky over dark hills, and a couple of genuinely good long exposure subjects if you know where to point the camera. This guide covers exactly what those filters are, what strength to buy, and which ones I would leave at home even though they show up on every generic gear listicle.
Key Takeaways
Three filters cover almost every situation you will run into photographing Val d'Orcia. A fourth is worth carrying if long exposure water or cloud work matters to you.
| Point | Details |
|---|---|
| The one filter to never skip | A circular polarizer, useful nearly every day of the year here, especially against summer haze |
| Best for hill and sky contrast | A 2 stop soft edge graduated ND, matched to Val d'Orcia's low, rolling horizon lines |
| Best for long exposure | A 6 stop solid ND for cloud movement over the hills and the water at Bagno Vignoni |
| Filter to mostly skip | A 10 stop ND, useful occasionally but overkill for most compositions in this region |
| System that matters more than the filter | A slim square or slot holder that will not vignette on a wide angle lens around 16-24mm |
| Budget reality | One good polarizer beats three cheap filters, buy in that order of priority |
Table of Contents
- Why filters matter more here than you think
- The circular polarizer
- Graduated ND filters
- Solid ND filters
- Screw-in vs square systems
- Filter comparison table
- What I actually pack
- Mistakes that ruin a filter shot
- Buying on a budget
- Frequently asked questions about filters in Tuscany
Why filters matter more here than you think
Val d'Orcia is deceptively hard on a sensor. The hills are usually a stop or two darker than the sky above them, especially in the hour after sunrise when the light is warm and low but the sky is already bright. Add in the haze that builds up through spring and summer, which I covered in detail in my piece on shooting through summer haze in Tuscany, and you have a landscape that genuinely benefits from glass in front of the lens rather than fixing everything in post. A polarizer cuts through atmospheric scatter in a way no slider in Lightroom can replicate convincingly. A graduated ND holds back a bright sky so you are not blending three bracketed exposures for a simple hillside shot. None of this is about chasing gimmicks. It is about spending less time on a laptop and more time actually looking at the view.
Pro Tip: Buy your filters to match your widest lens, not your average lens. A 100mm filter system that covers a 16-35mm wide angle will also cover anything longer, but the reverse is not true, and buying up in size later means rebuying your entire holder and adapter rings.
The circular polarizer
If I could only bring one filter to Val d'Orcia, it would be a circular polarizer, no question. It is the single most useful piece of glass for this landscape because it does three things at once: it cuts glare off leaves and stone, it deepens a blue sky without touching your white balance, and it reduces the milky haze scatter that settles over the hills from late spring through summer. I go into the physics and the exact rotation technique in my summer haze guide, but the short version is this: the effect is strongest when you are shooting at roughly 90 degrees to the sun, and it almost disappears when you are shooting directly into or away from it. Rotate the ring slowly while watching your live view screen rather than guessing, because the sweet spot shifts with every composition.
Buy a genuinely good one. This is the filter you will use on nearly every outing, so it is not the place to save forty dollars on a no name brand. I carry a B+W Kaesemann circular polarizer and have used Breakthrough Photography's X4 CPL on client trips with equally good results, both of which use high quality glass with a neutral color cast. Cheap polarizers, particularly ones bundled in ten piece filter kits, often introduce a faint magenta or green tint that is a genuine headache to correct across a whole gallery of images. Expect to pay somewhere between seventy and one hundred fifty dollars for a polarizer that will not compromise your files, in a thread size that matches your widest lens.
One thing worth knowing before you buy: a polarizer costs you roughly one to two stops of light, and on a very wide lens, somewhere around 16mm or wider on a full frame body, you can sometimes see uneven polarization across a big blue sky, a darker band running through part of the frame. It is not a defect in the filter, it is simply how polarization interacts with a very wide field of view. If you notice it, either back off the rotation slightly or accept it and correct locally in post. It is a minor tradeoff for what the filter gives you the rest of the time.
Graduated ND filters
A graduated neutral density filter, usually shortened to graduated ND or GND, is dark on one half and clear on the other, with a transition in between, and it exists to hold back a bright sky so it does not blow out while your foreground hills are correctly exposed. Val d'Orcia is genuinely one of the better landscapes for this kind of filter because the horizon lines are soft and rolling rather than sharp and flat, which matters a lot when you are choosing between a hard edge and a soft edge graduated ND.
A hard edge graduate has an abrupt transition line and works best against a flat horizon like an ocean. A soft edge graduate has a gradual transition and is the one you want for Val d'Orcia's undulating hills, cypress lined ridgelines, and hilltop towns that break the horizon at uneven heights. Using a hard edge grad here often leaves a visible dark band cutting across the top of a hill or a bell tower, which is one of the more common beginner mistakes I see on group trips. Stick with soft edge grads for almost everything in this region.
For density, a 2 stop (0.6 ND) soft edge grad is the one I reach for most often, enough to bring a bright morning sky back in line with the hills without looking obviously filtered. A 3 stop (0.9 ND) version earns its place on genuinely high contrast mornings, typically right around sunrise when the sky is still lit but the valley floor is in shadow. I would not bother buying a 1 stop grad specifically for Val d'Orcia. The contrast here rarely calls for anything that subtle, and you can achieve a similar effect with a quick local adjustment in post if you are only off by a third or half a stop.
Here is a real example from a morning near Pienza. Sunrise light was already hitting the sky while the terraced hills below the town walls were still in cool shadow, roughly a two and a half stop difference between the two when I metered them separately. I set my aperture to f/11 for depth of field across the layered hills, framed the horizon at about a third of the way up the frame, then slid a 2 stop soft edge graduate down until the transition line sat just above the ridgeline of the farthest hill. The result held detail in both the warm sky and the shadowed terraces in a single exposure, no bracketing, no blending three frames together back at the hotel. That is the entire case for carrying a graduated ND in this landscape: less time rebuilding a dynamic range problem in software, more time actually watching the light change.
Solid ND filters
A solid ND is uniformly dark across the entire filter and exists purely to slow your shutter speed down, letting you smooth moving water or drag clouds across the sky over a period of several seconds rather than freezing them. I wrote a much longer piece specifically about when this technique actually helps a Val d'Orcia photograph and when it works against the scene, which is worth reading in full if long exposure interests you: long exposure photography in Val d'Orcia. The short version for filter buying purposes is that a 6 stop ND covers almost every scenario you will actually run into here, whether that is cloud drag over the ridgelines or the thermal water at Bagno Vignoni.
A 6 stop filter on a scene metered at 1/60th of a second at your base ISO will put you somewhere around one second, enough to smooth moving water into a soft blur or streak fast moving clouds without erasing all texture from the sky. A 10 stop filter pushes that same scene out to roughly fifteen to thirty seconds, which sounds dramatic but frequently overcooks a Val d'Orcia composition, flattening cloud texture into a featureless smear and stripping all the character out of a scene that usually looks better with some visible movement retained. I own a 10 stop and it stays in the bag on most trips. Buy the 6 stop first, and only add a 10 stop later if you find yourself consistently wanting longer exposures than it can give you.
Pro Tip: Meter your exposure before attaching a strong ND filter, not after. Dial in your settings using the unfiltered scene, then use an ND calculator app or a simple stop chart to work out your filtered shutter speed. Trying to meter through a 10 stop filter directly often confuses your camera's light meter entirely.
Screw-in vs square systems
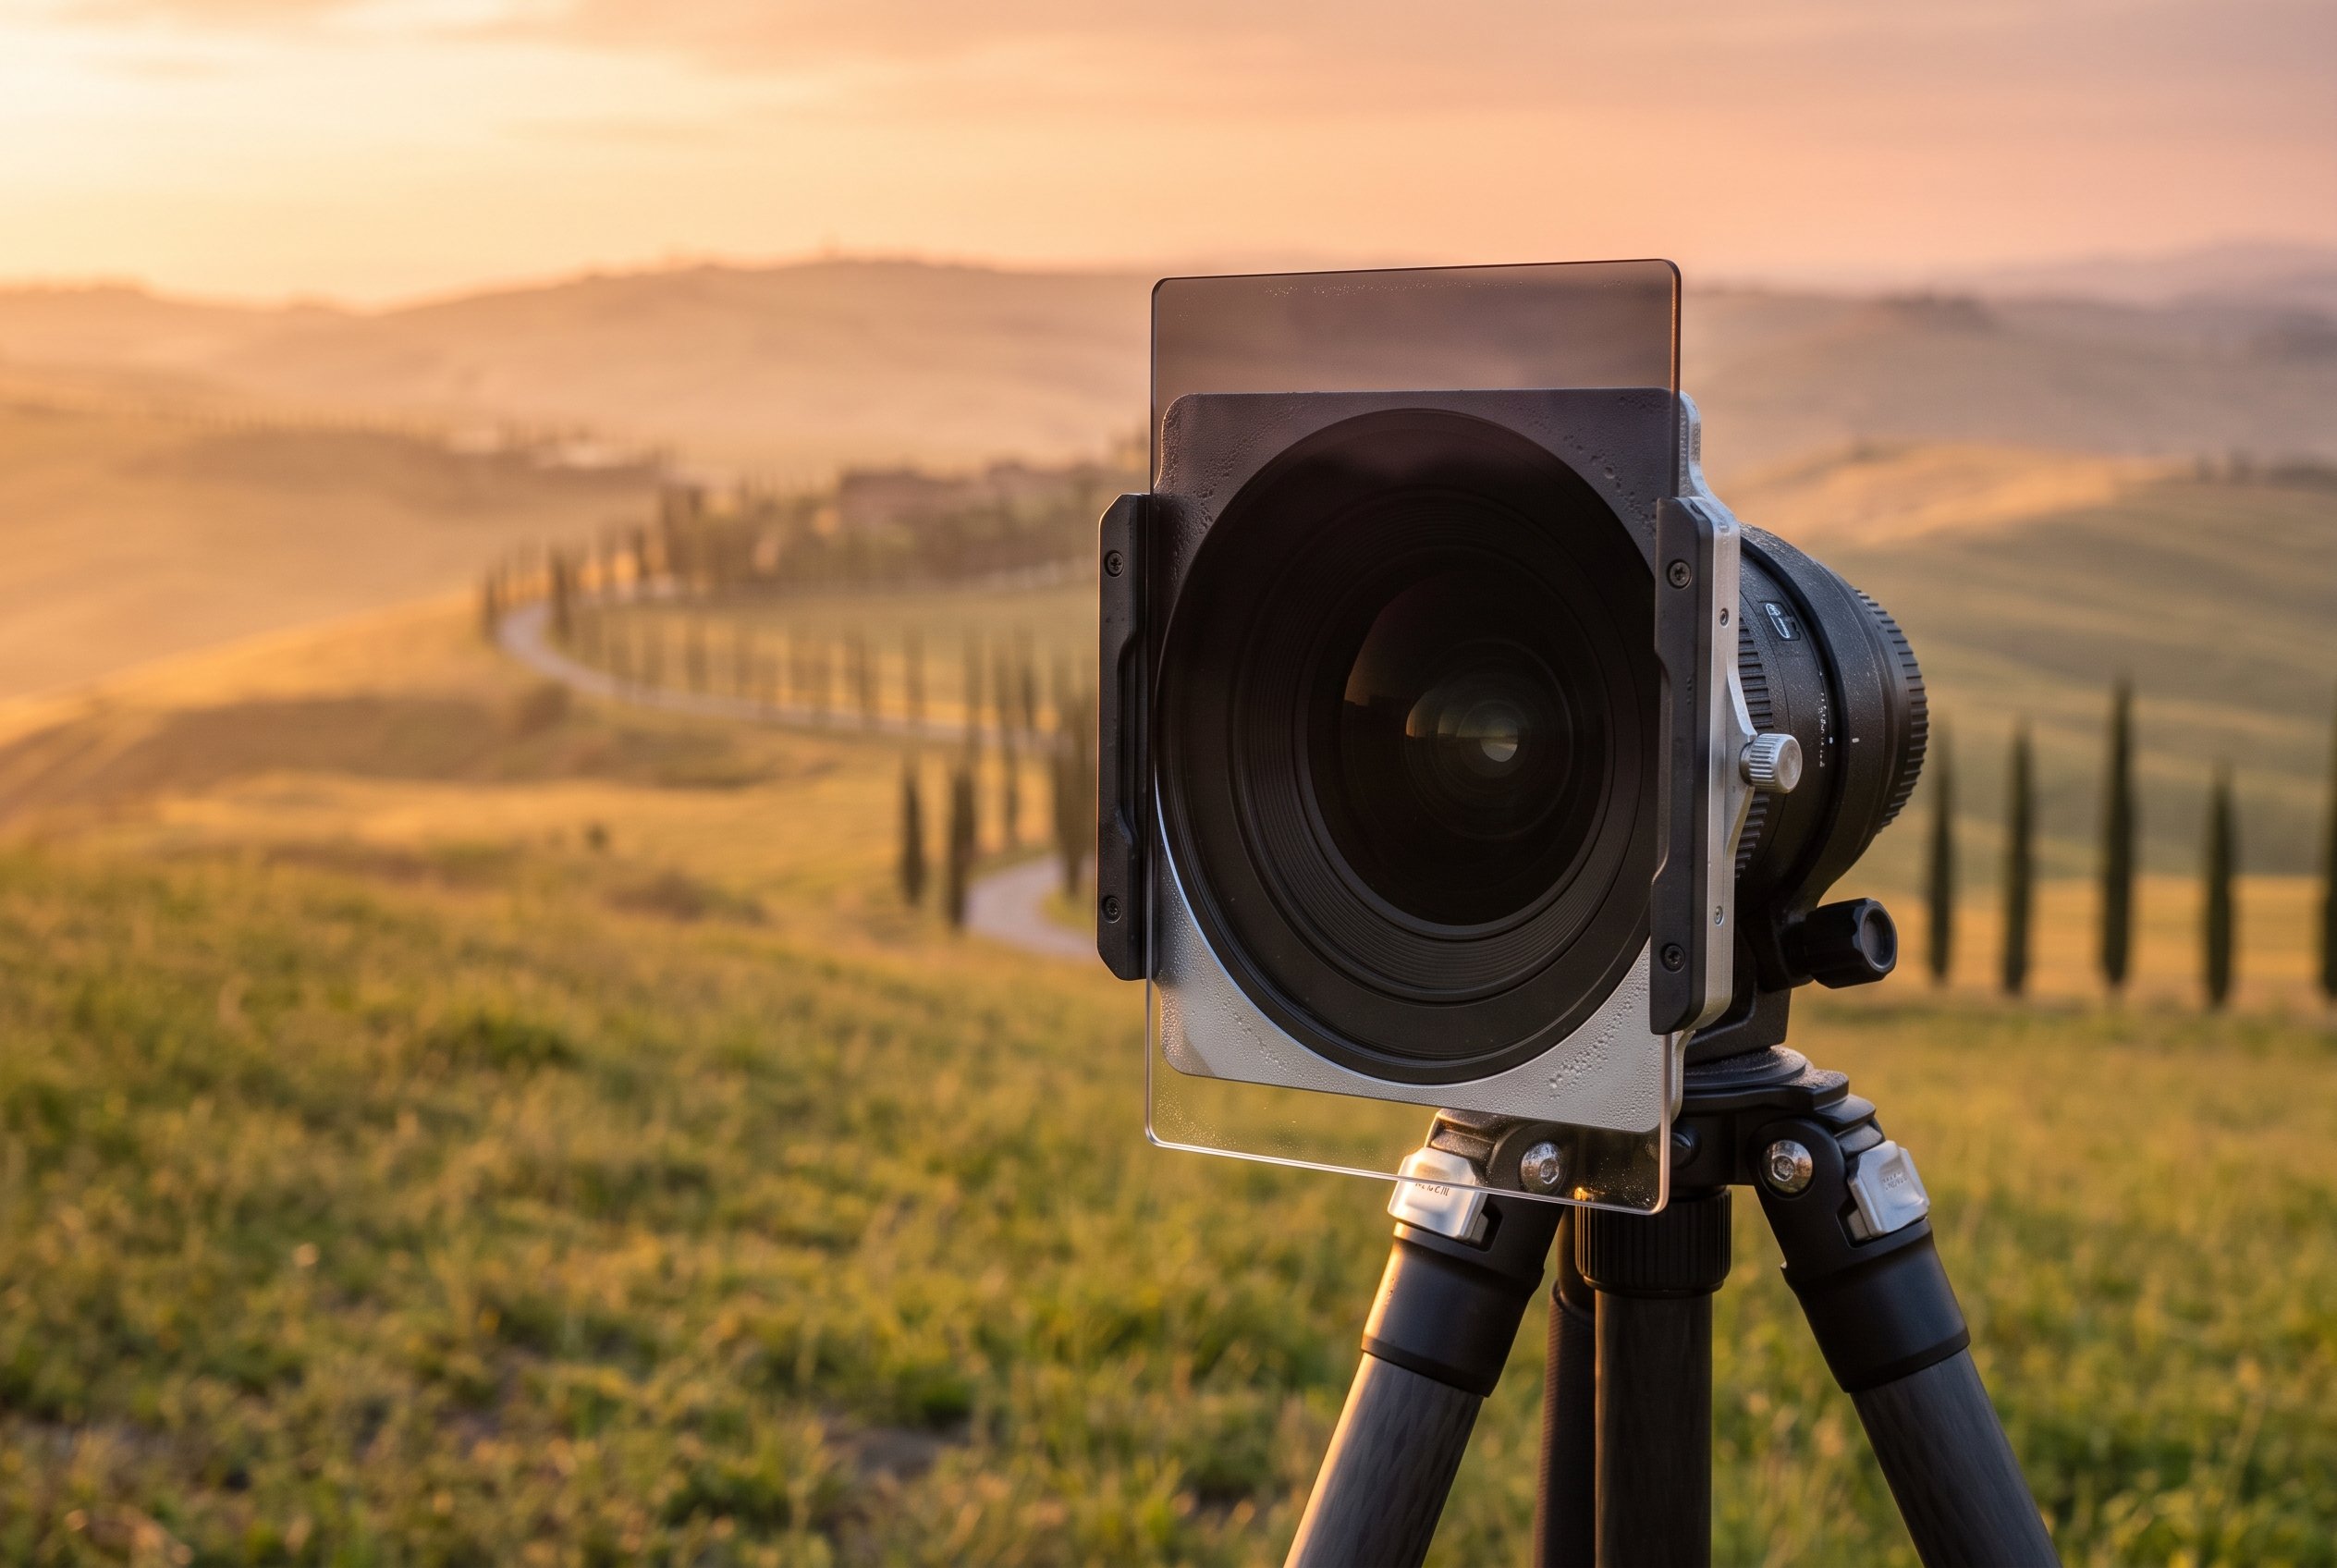
Your polarizer should almost always be a screw-in circular filter, since a polarizer needs to rotate freely and a square filter in a fixed slot cannot do that properly. Your graduated NDs, on the other hand, work far better as square or rectangular filters in a slot holder, because a graduate needs to slide up and down so you can position the transition line exactly where your horizon falls in the frame. A screw-in graduate fixes that line in the center of the lens permanently, which rarely lines up with where you actually want it.
A slot holder does add bulk and one more thing to pack, but it is worth it the moment you photograph a hilltop town like Pienza or Monticchiello where the skyline sits well above center frame. I use a 100mm system, which is the common standard from brands like Lee Filters, NiSi, and Formatt-Hitech, and it accepts both my graduated and solid NDs in the same holder, stacked together when a scene genuinely calls for both. If you shoot with a wide lens around 16-24mm on a full frame body, pay close attention to how many filter slots you actually use at once. Stacking a polarizer, a grad, and a solid ND together on anything wider than about 20mm will often show soft vignetting in the corners, particularly with a thicker budget holder. Thin, aluminum-frame holders from the better manufacturers cut this down significantly.
Filter comparison table
| Filter | Typical strength | Best Val d'Orcia use | Skip it if |
|---|---|---|---|
| Circular polarizer | N/A (rotational) | Haze reduction, sky saturation, cutting glare off stone and foliage | Never skip this one |
| Soft edge graduated ND | 2 stop (0.6) | Balancing a bright sky over rolling hills at sunrise | Shooting flat, overcast light with little sky contrast |
| Soft edge graduated ND | 3 stop (0.9) | High contrast dawn light against a still dark valley floor | You already own the 2 stop and rarely see extreme contrast |
| Solid ND | 6 stop | Cloud drag over hills, smoothing water at Bagno Vignoni | You never shoot moving water or sky |
| Solid ND | 10 stop | Very long exposures of fast moving cloud fronts | Most everyday compositions here, use sparingly |
| Hard edge graduated ND | Any | Flat horizons like the sea | Almost always in Val d'Orcia's rolling terrain |
What I actually pack
On a typical week leading a group through Val d'Orcia, my filter pouch holds exactly four pieces of glass: a B+W circular polarizer, a NiSi 100mm holder with a 2 stop soft edge graduate, a 6 stop solid ND, and a spare polarizer in a smaller thread size for a second lens body I sometimes carry. That is genuinely it. I leave the 10 stop and the 3 stop graduate at home more often than I bring them, and I have never once wished I had packed a color grad or a star filter, both of which show up constantly on generic gear lists aimed at a much broader kind of landscape photography than what you will actually be doing here.
If you want to see this kit in action rather than just read about it, that is exactly the kind of hands-on detail we cover on our Tuscany photo tours. I walk small groups through the exact moments a polarizer or a graduate actually earns its place on a given morning, filter in hand, rather than having you guess it out alone on a hillside before sunrise. It is a much faster way to build the instinct for when to reach for glass and when to just leave the lens alone and let the light do the work.
Mistakes that ruin a filter shot
The single most common mistake I see on group trips is stacking too many filters on a wide lens and getting soft vignetting in the corners without noticing it until the laptop review that evening. Check your corners on the camera's LCD, zoomed in, before you walk away from a composition. The second mistake is forgetting that a polarizer needs re-rotating every time you change composition or camera angle, even slightly. Photographers get a beautiful result on one frame, recompose ten degrees to the left, and fire off five more frames without touching the ring, wondering later why the sky looks flat in half the set.
The third mistake, and probably the most expensive one, is buying a bundled filter kit from an unfamiliar brand because it is cheap and includes everything at once. These kits are almost always built around thick, low quality glass that introduces a visible color cast, usually a warm yellow or cool blue shift depending on the batch, and that cast is a genuine pain to correct consistently across dozens of images from a single trip. Spend your money on one or two well made filters from an established brand rather than eight mediocre ones.
Buying on a budget
If your budget only stretches to one filter this year, buy the circular polarizer and nothing else. It is useful on every single outing regardless of season, while the graduated and solid NDs are situational. If you can stretch to two, add a 2 stop soft edge graduate next, since it solves the sky-versus-hills contrast problem that comes up on a large share of sunrise shoots here. The solid ND is the third priority, not the first, despite how often long exposure work gets hyped online. It produces dramatic images occasionally rather than consistently useful ones on every outing.
Expect to spend somewhere in the range of two hundred to four hundred dollars total for a genuinely good three filter kit including a holder, depending on brand and filter size. That is not a small outlay, but compare it to the cost of flights and lodging for a Tuscany trip and it is a reasonable investment for the images you will actually bring home. My longer piece on choosing the right lens for Tuscany photography covers a similar priority order if you are also weighing lens purchases against filter purchases on a limited budget, and the short answer there is the same as here: buy fewer, better pieces of glass rather than a long list of mediocre ones.
Frequently asked questions about filters in Tuscany
Do I need a UV filter to protect my lens in Tuscany? Not for image quality reasons. Modern lenses do not need UV correction the way film cameras once did. Some photographers still use a UV filter purely as physical protection against dust and scratches, which is a personal call, but it adds nothing to your images here and a cheap one can slightly reduce sharpness and contrast.
Can I use a variable ND instead of fixed strength filters? You can, and it is more convenient for a single travel filter, but variable NDs are prone to an X shaped dark cross artifact at their extreme settings, particularly visible in the wide, even skies typical of Val d'Orcia. Fixed strength filters from a reputable brand avoid this problem entirely.
Will a polarizer help with the fog in autumn? Not really. Polarizers work on reflected and scattered light off surfaces like leaves, water, and haze particles, while fog is a much denser, more uniform scattering medium that a polarizer barely affects. For fog photography, exposure technique and timing matter far more than filtration.
What size filters should I buy? Match your holder and polarizer to your widest lens's filter thread, then use step-up rings for any smaller lenses you also carry. It is far cheaper than buying separate filter sets for every lens in your bag.
Is a circular polarizer different from a linear polarizer? Yes, and this matters. Nearly every modern mirrorless or DSLR camera needs a circular polarizer, not a linear one, because linear polarization can interfere with autofocus and metering sensors. Double check the listing before you buy, since both are sold widely and look nearly identical.
Do I need to bring lens caps or filter pouches, or can I just carry filters loose in a bag pocket? Bring a proper padded filter pouch or wallet. Square graduated and solid NDs scratch easily against zippers, coins, or a second lens body if they are tossed loose into a camera bag, and a single deep scratch across the glass can introduce a visible flare or soft spot in every image shot with that filter afterward. A basic neoprene wallet costs very little compared to the filters themselves and takes up almost no room.