How to Photograph a Sunrise: Planning, Settings, and the 40 Minutes That Matter
A minute by minute walkthrough of a real sunrise shoot, from checking the cloud forecast the night before to the exact settings and the bracketing decision as the light changes.
How to Photograph a Sunrise: Planning, Settings, and the 40 Minutes That Matter
Most sunrise advice you will find online boils down to "arrive early and use a tripod." That is not wrong, exactly, but it skips the part that actually determines whether you come home with a strong frame or a flat, disappointing one. A sunrise is not a single moment. It is a sequence of light changes that starts roughly forty minutes before the sun clears the horizon and keeps shifting for another twenty minutes after it does, and almost every setting decision you make depends on exactly where you are in that sequence.
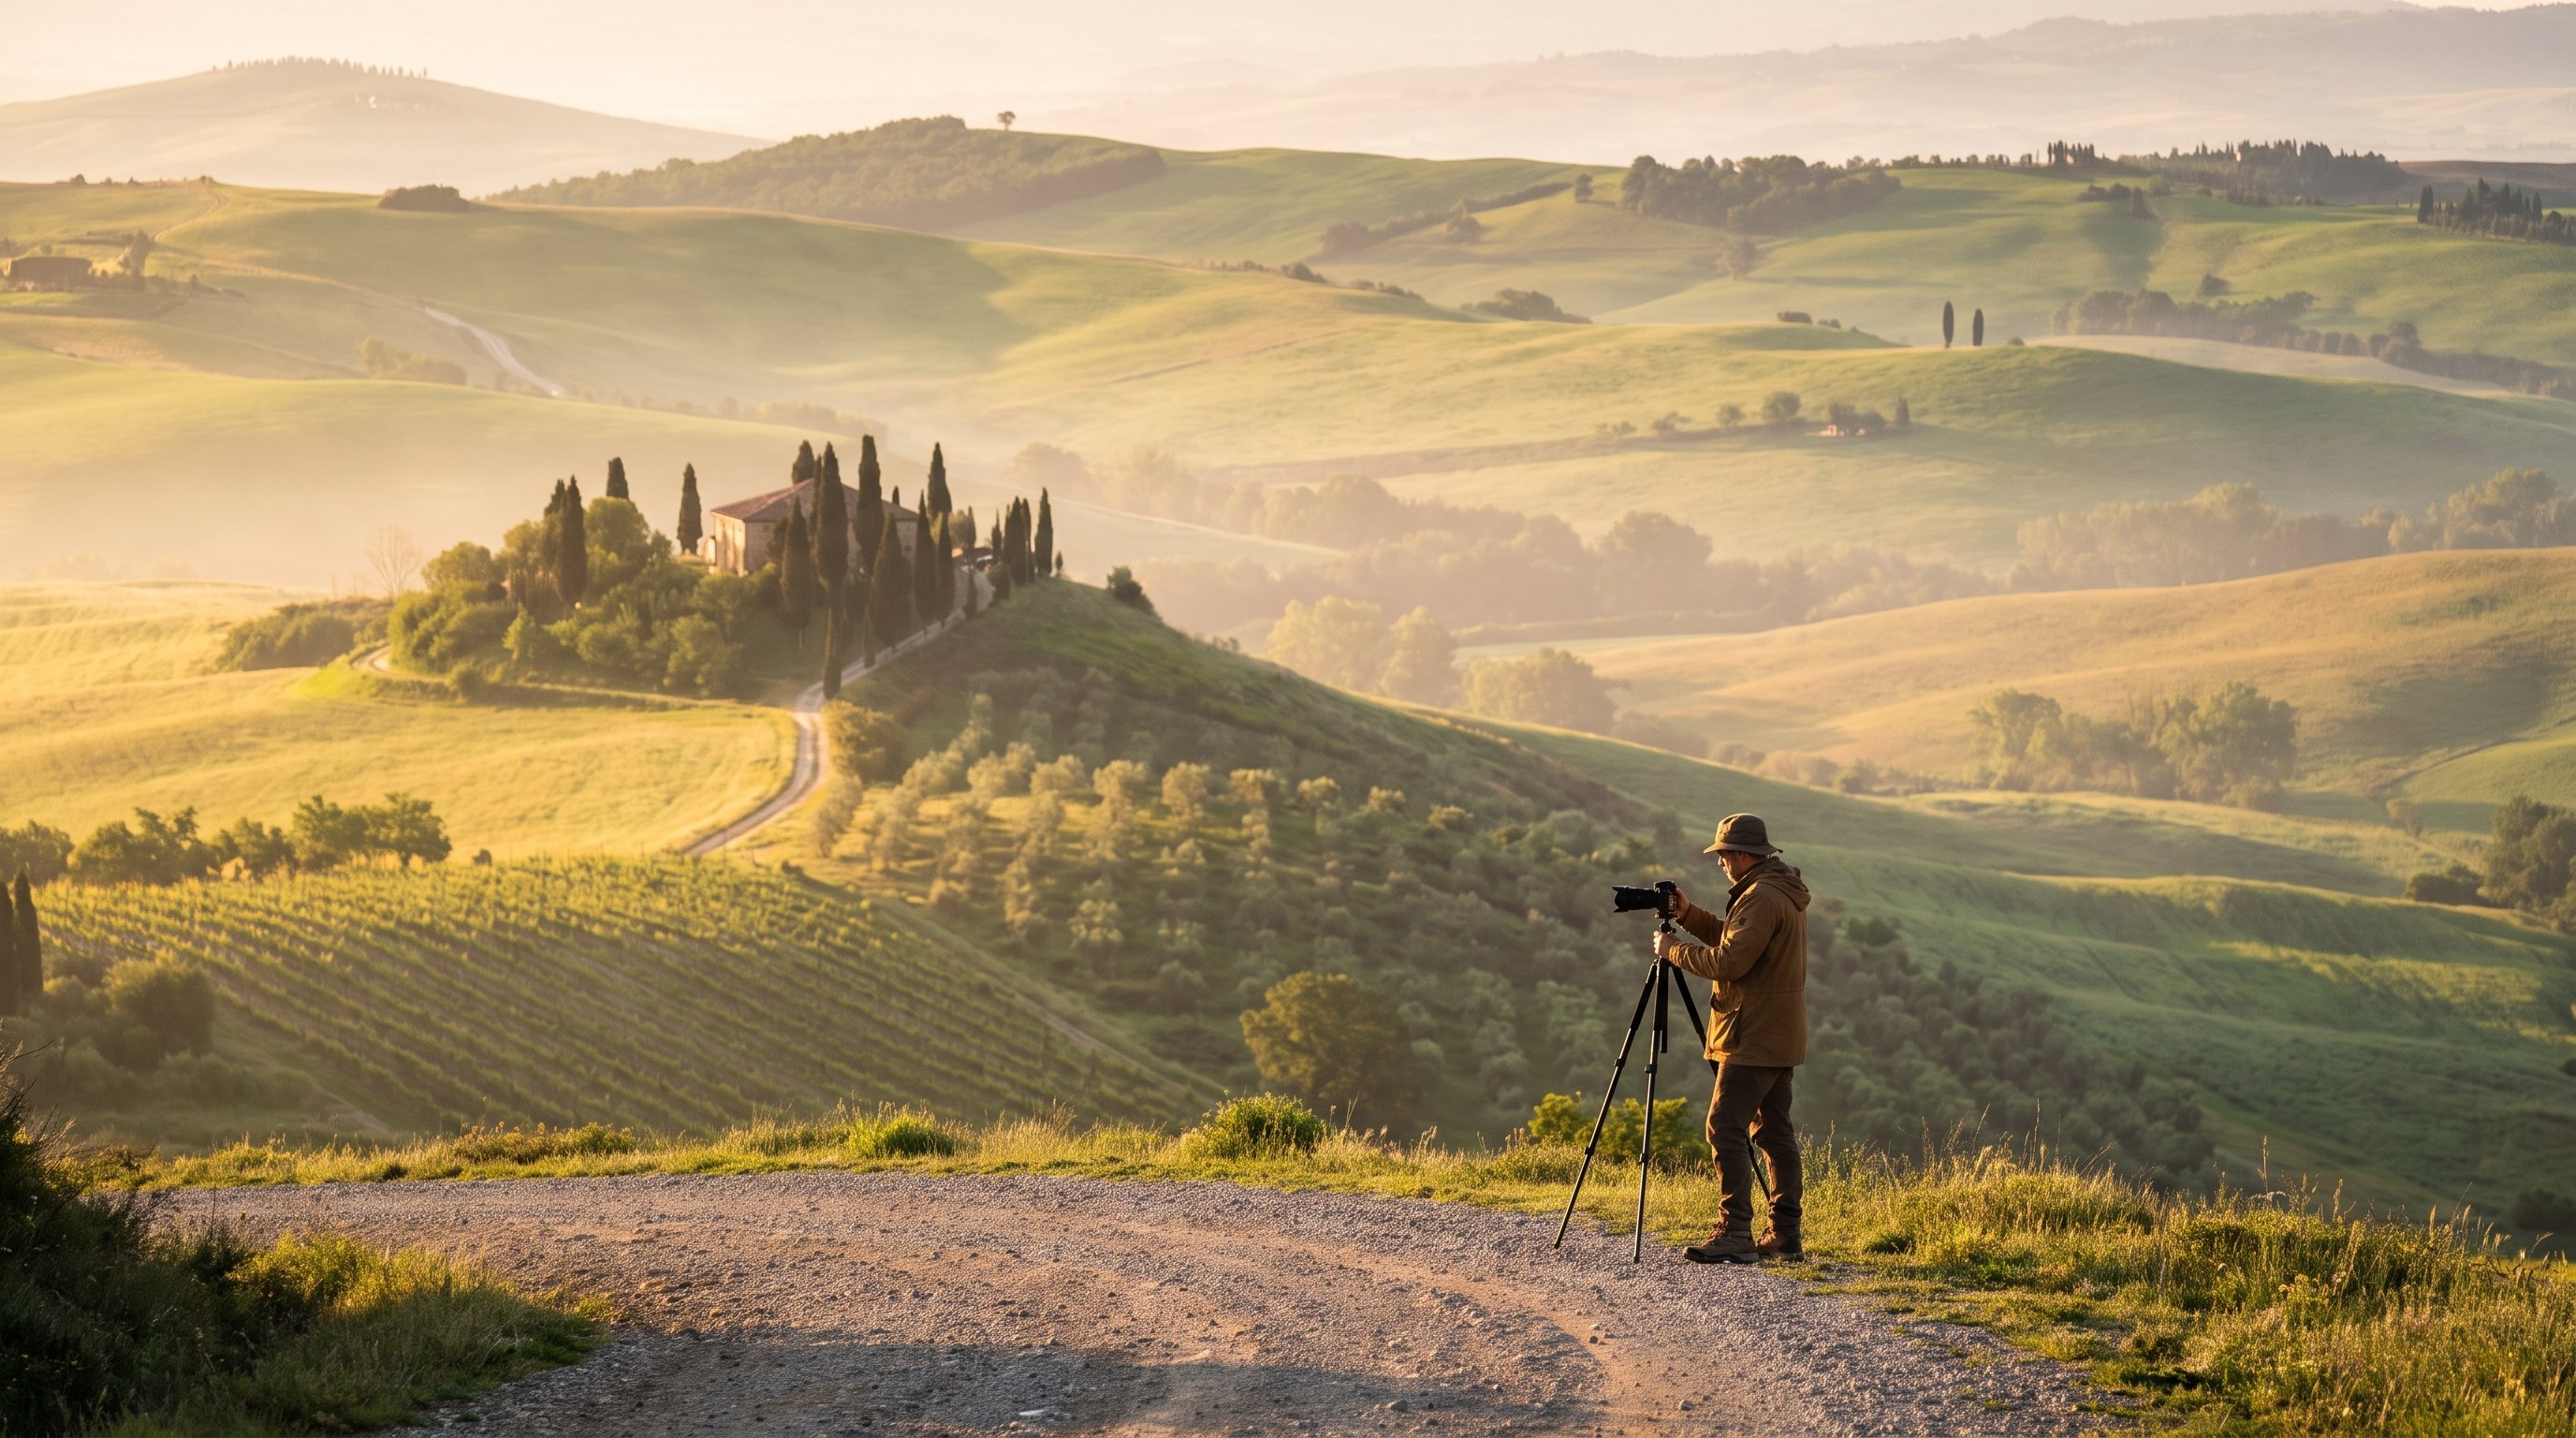
I lead photography tours that put groups in front of alpenglow on Dolomite peaks and fog pooling over Val d'Orcia at an hour most travelers are still asleep, and the single biggest difference between a group that comes home with keepers and one that does not is whether they understood the shoot as a sequence rather than a single button press. This guide walks through that sequence from the night before to the moment the light flattens out, with the settings, the gear, and the decision points that actually matter at each stage.
Key Takeaways
A sunrise shoot is a 40 to 60 minute sequence, not a single moment, and your settings should move through it rather than stay fixed.
| Point | Details |
|---|---|
| When to arrive | At the start of civil twilight, roughly 30 to 40 minutes before the published sunrise time, not at sunrise itself |
| Why the window shrinks or stretches | Twilight length depends on latitude and season, and mountain terrain can delay the moment direct light actually reaches you well past the almanac sunrise time |
| Night before prep | Check a cloud layer forecast, not just a sunrise time, since mid and high cloud is what actually produces color |
| The exposure problem | Blue hour and early twilight often exceed what one RAW frame can hold, which is when bracketing earns its place |
| When to stop bracketing | Once the sun clears the horizon and the dynamic range between sky and foreground settles down, a single frame is usually enough |
| Biggest avoidable mistake | Treating "sunrise" as one flat setting instead of a moving target that changes roughly every five to ten minutes |
Table of Contents
- Why sunrise rewards planning: the 40 minutes that matter
- The night before: reading the cloud forecast
- Arrival and blue hour: setting up in the dark
- Metering as the sky brightens: a moving target
- The bracketing vs. single frame decision
- Gear and settings cheat sheet
- Common mistakes
- A Dolomites sunrise: putting it all together
- FAQ
Why sunrise rewards planning: the 40 minutes that matter
The reason sunrise photography rewards planning more than almost any other kind of landscape shoot is that the sky is doing most of the work before the sun is even visible. Astronomers divide the period before sunrise into three phases: astronomical twilight, when the sun is still far enough below the horizon that it barely affects the sky; nautical twilight, when the horizon becomes visible and the first real color starts to build; and civil twilight, the final stretch before sunrise when the sky brightens quickly and most of the usable color happens. That progression is exactly why "arrive 30 to 45 minutes early" is not an arbitrary number. It roughly lines up with the start of civil twilight, which is when the light actually becomes worth shooting.
This matters more in the mountains than almost anywhere else. The National Park Service notes on its Death Valley visitor pages that the actual time the sun becomes visible varies by location because of terrain such as mountains, which means the published almanac sunrise time for a valley floor can be several minutes off from when direct light actually reaches you behind a ridge. In a range like the Dolomites, where you are often shooting from a pass or a lakeside at altitude with peaks on the horizon, that gap can be the difference between catching the first alpenglow and missing it entirely because you treated the printed sunrise time as gospel.
The National Park Service's own guidance for Zion is blunt about this too, noting that the best light generally falls in the hour before sunset and the hour after sunrise, a window that applies just as well in reverse to the hour before sunrise. Treat sunrise as the midpoint of a usable light window, not the start of one, and the planning that follows will make a lot more sense.
Pro Tip: Set two alarms. One for when you need to leave to arrive at the start of civil twilight, and a second, louder one for ten minutes later in case the first one does not wake you. I have never regretted the second alarm. I have regretted not setting it.
The night before: reading the cloud forecast
A completely clear sky and a completely overcast sky produce the two most disappointing sunrise photographs you can take. Clear skies give you a nice gradient but nothing to catch the color, and a solid cloud deck blocks the light before it ever reaches the horizon. What you actually want is mid level or high cloud with gaps, the kind that catches the warm light from below and turns it orange, pink, and sometimes a deep magenta that a clear sky never produces on its own.
This is why checking the forecast the night before is a real planning step, not an afterthought. Tools built for astronomers turn out to be excellent for this because they show cloud cover by altitude rather than a single vague percentage. Clear Outside, a free forecast tool published by UK telescope retailer First Light Optics, breaks cloud cover down hour by hour so you can see whether tomorrow's sky is likely to be the useless flat gray kind or the broken, textured kind that makes a sunrise worth getting up for. Windy is a good second opinion, showing cloud and wind layers on a map rather than a single location forecast, which is useful if you have more than one viewpoint in mind and want to see which one is likely to have the clearest approach to the horizon.
Scout your composition in daylight the evening before if you possibly can. Finding a foreground, checking where the sun will actually rise relative to the landmarks in your frame, and walking the approach to your viewpoint while you can still see the ground are all things that take five minutes in daylight and become genuinely risky in the dark on uneven mountain terrain. Note where you are standing relative to any ledge or drop, because you will be setting up again in the dark a few hours later and will not want to be guessing.
Arrival and blue hour: setting up in the dark
Arrive at the start of civil twilight, which in practice means arriving while it is still properly dark. Bring a headlamp. This sounds obvious until you are the person fumbling with a phone flashlight in one hand while trying to set up a tripod with the other, which is exactly the scenario the Park Service warns against when it tells hikers approaching viewpoints before sunrise to bring a headlamp or flashlight and plan to start the approach before first light rather than during it.
Once you are set up, lock in your composition before the sky starts doing anything interesting. This is the advantage of scouting the evening before: you already know roughly where your foreground sits and where the sun will rise, so in the dark you are confirming the frame rather than discovering it. Get your tripod stable, your horizon level, and your focus set (manually, on a distant point, since autofocus will struggle in near darkness) before the light starts changing quickly.
Shoot a few test exposures in this early blue hour window even if you do not expect to keep them. They tell you where your histogram sits, whether your foreground is readable or needs a touch of fill from a headlamp or a graduated filter, and whether your composition actually works once there is enough light to judge it. Nobody gets the final composition right on the first frame in the dark. Expect to adjust.
Metering as the sky brightens: a moving target
This is the section most sunrise guides skip, and it is the one that actually separates a flat set of images from a strong one. The sky brightens fast during civil twilight, often by a full stop or more every five to ten minutes, which means a setting that was correct when you arrived will be overexposing your sky within fifteen minutes if you do not touch it.
Work in manual mode so your exposure choices are deliberate, not whatever your camera's metering decides to average across a frame that is partly dark land and partly brightening sky. Check your histogram after every few frames rather than trusting the preview on your LCD, which lies in the dark more than at any other time of day. A histogram with the brightest data pushed close to, but not clipping, the right edge is usually what you want in the minutes before the sun appears, since you can recover shadow detail in post far more easily than you can recover a blown out sky.
As the sun actually breaks the horizon, the dynamic range in your scene changes again, often dramatically. The sky around the sun becomes far brighter while your foreground, if it is not directly lit yet, stays roughly where it was. This is the moment most photographers either underexpose the foreground to protect the sky or blow out the sky to protect the foreground, and it is also the moment to make the bracketing decision covered next.
Pro Tip: Switch your white balance off auto once you are in blue hour. Auto white balance is built to neutralize color, which is precisely what you do not want when the sky is doing something orange, pink, or magenta. A fixed daylight or slightly warm custom white balance keeps the color you actually came for instead of correcting it away.
The bracketing vs. single frame decision
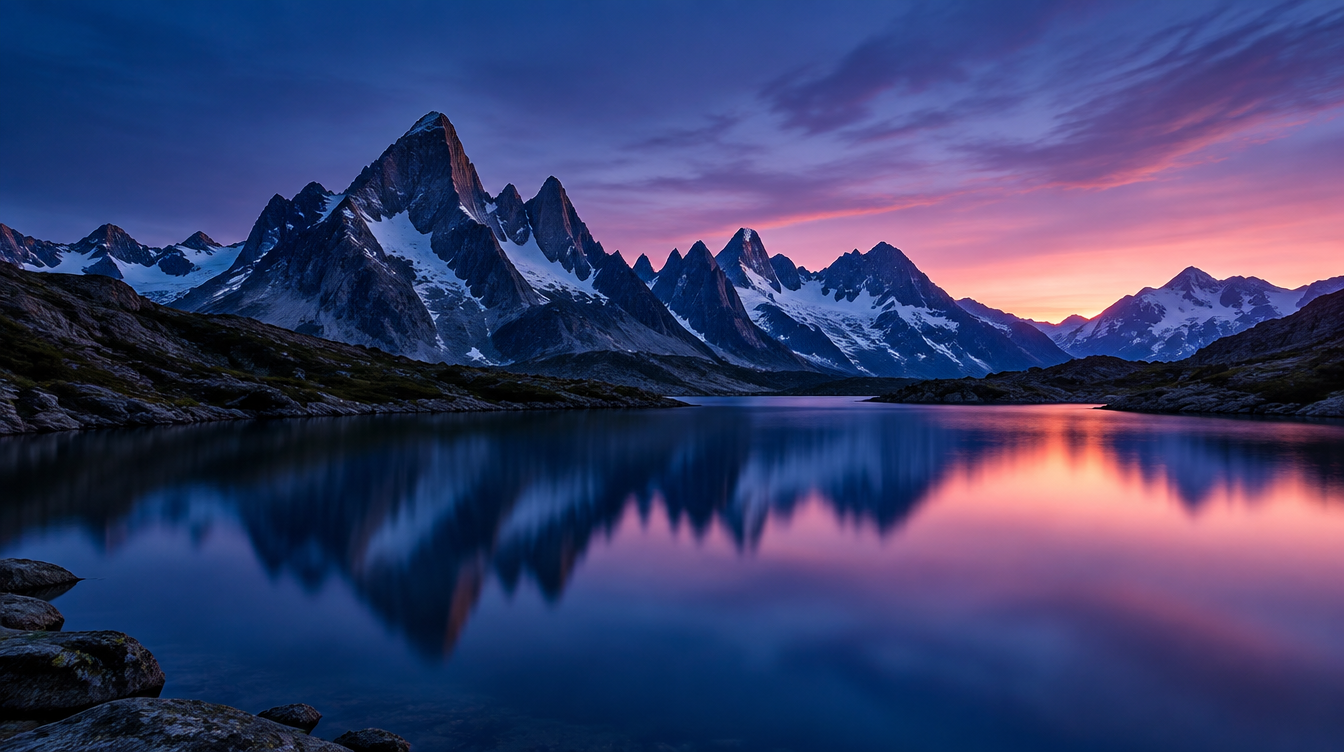
A single RAW file can hold a lot of dynamic range, but blue hour and the few minutes around actual sunrise can exceed it, especially when your foreground is still in shadow and your sky already has direct sun in it. That gap is exactly what exposure bracketing is for: taking several frames of the same composition at different exposures so you capture detail in both the shadows and the highlights, then blending them in post.
The decision rule I use on tours is simple. If you can see detail in both your darkest shadow and your brightest highlight on a single histogram without either end being clipped, shoot a single frame. The moment you have to choose between protecting the sky or protecting the foreground, because one or the other is clipping no matter what you do, switch to bracketing. In practice this usually means bracketing through the heart of blue hour and the minute or two around the sun actually clearing the horizon, then dropping back to single frames once the sun is fully up and the light levels across your scene even out.
Most modern cameras have an auto exposure bracketing mode that fires a set sequence, commonly three or five frames, at a chosen stop interval around your metered exposure with a single shutter press. Three frames at two stops apart is a reasonable starting point for a typical blue hour scene. Shoot more frames, at wider intervals, if your foreground is particularly dark, such as a shaded valley floor under a bright sky.
Gear and settings cheat sheet
These are starting points, not fixed rules, meant to move with you through the sequence rather than stay locked for the whole shoot.
| Stage | ISO | Aperture | Shutter / approach |
|---|---|---|---|
| Astronomical to nautical twilight | 800 to 1600 | f/8 to f/11 | Several seconds on a tripod, mirror lock up or electronic shutter if available |
| Civil twilight, early blue hour | 400 to 800 | f/8 to f/11 | 1 to 4 seconds, consider a 3 to 5 frame exposure bracket |
| Civil twilight, just before sunrise | 100 to 400 | f/8 to f/16 | 1/15 to 1 second, bracket if sky and foreground both need detail |
| Sun on horizon, first light | 100 | f/11 to f/16 | Fast enough to avoid clipping the sun's disc, single frame or a tight bracket |
| Sun fully up | 100 | f/8 to f/11 | Normal daylight shutter speed, single frame |
A sturdy tripod is non negotiable for the darker stages of this sequence, since shutter speeds of a second or more are common before the sun appears. A remote release or your camera's built in timer avoids the shake of a manual shutter press at slow speeds. A graduated neutral density filter can hold back a bright sky by a stop or two if you prefer to balance exposure in camera rather than bracket and blend later, though on a trip where conditions change quickly from one viewpoint to the next, bracketing tends to be the more flexible tool. A headlamp with a red light mode is worth packing specifically so you can check settings and change lenses without ruining your own night vision or anyone else's frame.
If you want more granular timing than "30 to 45 minutes before sunrise," a dedicated sun planning app that shows the exact start times of civil, nautical, and astronomical twilight for your date and location will tell you down to the minute when each phase begins, which is especially useful at higher latitudes in summer where twilight can stretch for a long time, or closer to the equator where it compresses into a short, fast window.
Common mistakes
Leaving auto white balance on. It is built to neutralize color casts, which quietly fights the exact orange and pink tones that make a sunrise worth photographing. Switch to a fixed white balance once the sky starts changing color.
Arriving at the published sunrise time. By the time the sun is technically up, you have missed the entire blue hour and the early civil twilight color that often outshoots the sun itself. Arrive at the start of twilight, not the end of it.
Setting up a composition in the dark with no daylight scouting. You lose time, you risk your footing on unfamiliar terrain, and you often settle for a weaker frame than the one you would have found with five minutes of daylight scouting the evening before.
Chasing the sun instead of working the light you already have. The thirty minutes before the sun clears the horizon are frequently more photogenic than the thirty minutes after, once the light flattens into ordinary daylight. Do not spend all your attention waiting for a sun that, once it arrives, may actually simplify your options rather than expand them.
Trusting a totally clear forecast. A cloudless sky gives you a clean gradient and nothing else. Check the cloud layer forecast, not just whether it says "clear," and look specifically for mid or high cloud with gaps rather than a solid overcast deck or an empty sky.
A Dolomites sunrise: putting it all together
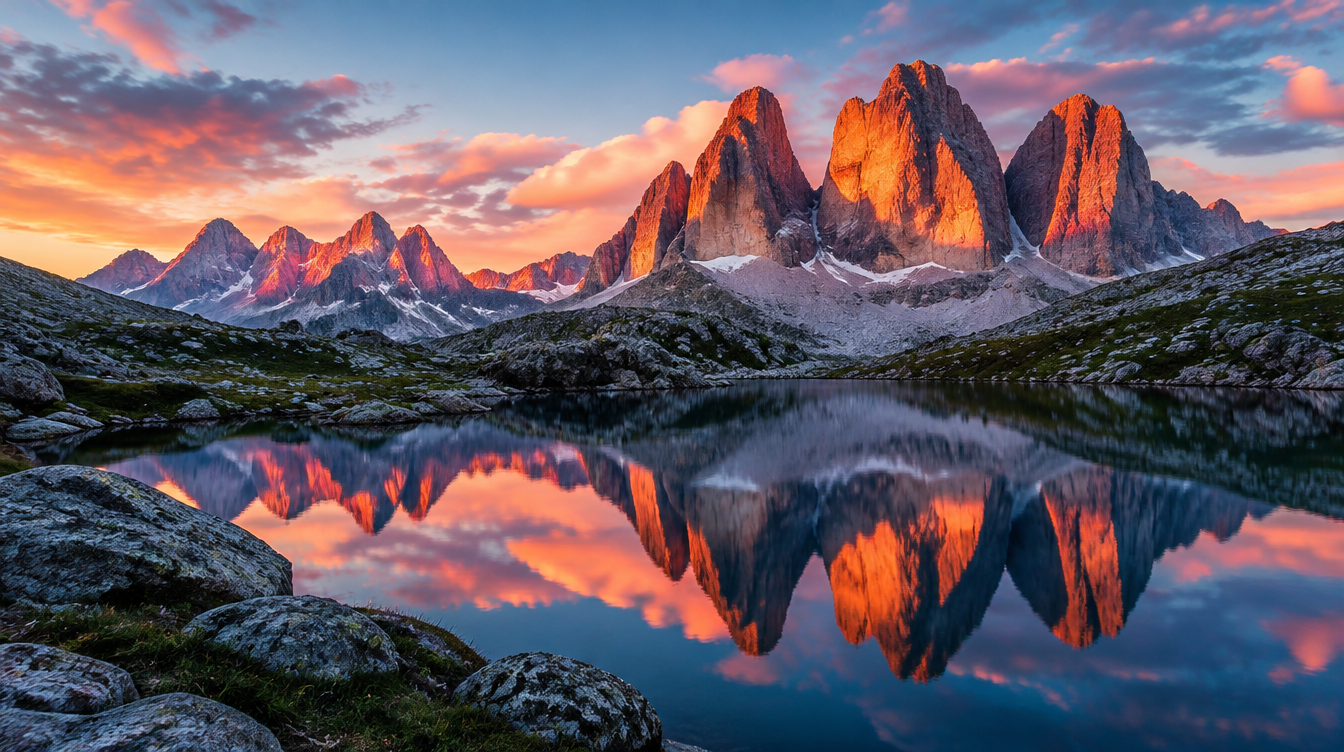
All of this comes together most dramatically in the mountains, which is exactly why a Dolomites sunrise is one of the shoots I look forward to most on any given year. A spot like Lago di Antorno, with the jagged profile of the Misurina group reflected in still water, turns the civil twilight color into a doubled image in the lake before the sun even clears the ridgeline. By the time direct light reaches peaks like the Tre Cime di Lavaredo, the rock itself lights up in the alpenglow that gives these mountains their reputation, a different and often more intense color story than a flat horizon sunrise because the light is hitting vertical rock faces rather than a distant line.
Altitude and terrain make the planning in this guide more important, not less. A pass like Passo Giau or a meadow at Seiseralm sits high enough that the actual sunrise, the moment direct light clears the surrounding peaks, can land noticeably later than the almanac time for the valley below, which is the same terrain effect the National Park Service describes at Death Valley. Scouting the evening before, checking a cloud layer forecast rather than a flat sunrise time, and being ready to bracket through the early color before the light settles are not optional extras here. They are the difference between a forgettable gray mountain photo and the kind of alpenglow image that justifies setting an alarm for four in the morning.
If you want to shoot mornings like this without doing all the scouting and local knowledge building yourself, our Dolomites Photo Tour is built around exactly this kind of sunrise, with sunrise sessions at Lago di Antorno and Seiseralm already worked into the itinerary alongside marquee locations like Tre Cime di Lavaredo and Passo Giau, across eight days and seven nights. You show up with your gear and the settings in this guide, and the viewpoint, the timing, and the local knowledge of which morning is worth the alarm clock are already handled.
FAQ
What camera settings should I use for sunrise photography? There is no single setting, because the light changes continuously through the sequence. Start around ISO 800 to 1600 at f/8 to f/11 during early twilight, drop ISO as the sky brightens, and settle near ISO 100 at f/8 to f/11 once the sun is fully up. The gear and settings cheat sheet above walks through each stage in more detail.
What time should I arrive before sunrise? Aim for the start of civil twilight, roughly 30 to 40 minutes before the published sunrise time in most locations, rather than a flat "30 minutes" rule. In mountain terrain, build in extra margin, since surrounding peaks can delay the moment direct light actually reaches you well past the almanac sunrise time.
Do I need a tripod for sunrise photography? Yes, for nearly all of the sequence before the sun is fully up. Shutter speeds of a second or longer are common during blue hour and early civil twilight, and a tripod is the only reliable way to keep those frames sharp.
What white balance should I use for sunrise? Avoid auto white balance once the sky starts showing color. It is designed to neutralize casts, which fights the warm tones you are trying to capture. A fixed daylight setting, or a slightly warm custom value, preserves the color instead of correcting it away.
Should I bracket my exposures at sunrise? Bracket whenever your histogram shows you cannot hold detail in both the darkest shadow and the brightest highlight in a single frame, which is common through blue hour and the minute or two around the sun clearing the horizon. Once the sun is up and the light evens out across the scene, a single frame is usually enough.
Is a cloudy sky bad for sunrise photos? A completely overcast sky blocks the light before it reaches the horizon, and a completely clear sky gives you a clean but flat gradient with nothing to catch the color. Mid or high cloud with gaps is the condition that actually produces the richest color, which is why checking a cloud layer forecast the night before is more useful than checking whether tomorrow is simply "clear" or "cloudy."
What's the difference between golden hour and blue hour at sunrise? Blue hour comes first, the period of civil twilight before the sun rises when the sky takes on cool, often purple or blue tones. Golden hour follows sunrise, when the sun is low enough that its light is warm and soft. Both are usable, but they call for different white balance choices and different exposure approaches, which is why treating sunrise as one single moment undersells how much the light actually changes in under an hour.
Our broader Landscape Photography Guide covers this same light reading skill across daytime, blue hour, and night shooting if you want the full picture beyond sunrise specifically, and our guide to chasing valley fog in Val d'Orcia walks through a similarly weather dependent, planning heavy shoot if fog rather than alpenglow is more your target.
Sources
- Clear Outside (First Light Optics): hour by hour cloud layer forecasts
- Windy: wind and cloud layer mapping tool
- NOAA Global Monitoring Laboratory: solar position and sunrise/sunset calculation methodology
- National Park Service, Zion: guidance on best light and approaching viewpoints before sunrise
- National Park Service, Badlands: named sunrise viewpoints
- National Park Service, Death Valley: how terrain shifts actual sunrise timing