Hyperfocal Distance vs Focus Stacking: Getting Everything Sharp
When hyperfocal focusing gets a landscape sharp in one frame, exactly where it breaks down on close foregrounds and high resolution sensors, and a full field and software workflow for focus stacking when it does.
Hyperfocal Distance vs Focus Stacking: Getting Everything Sharp
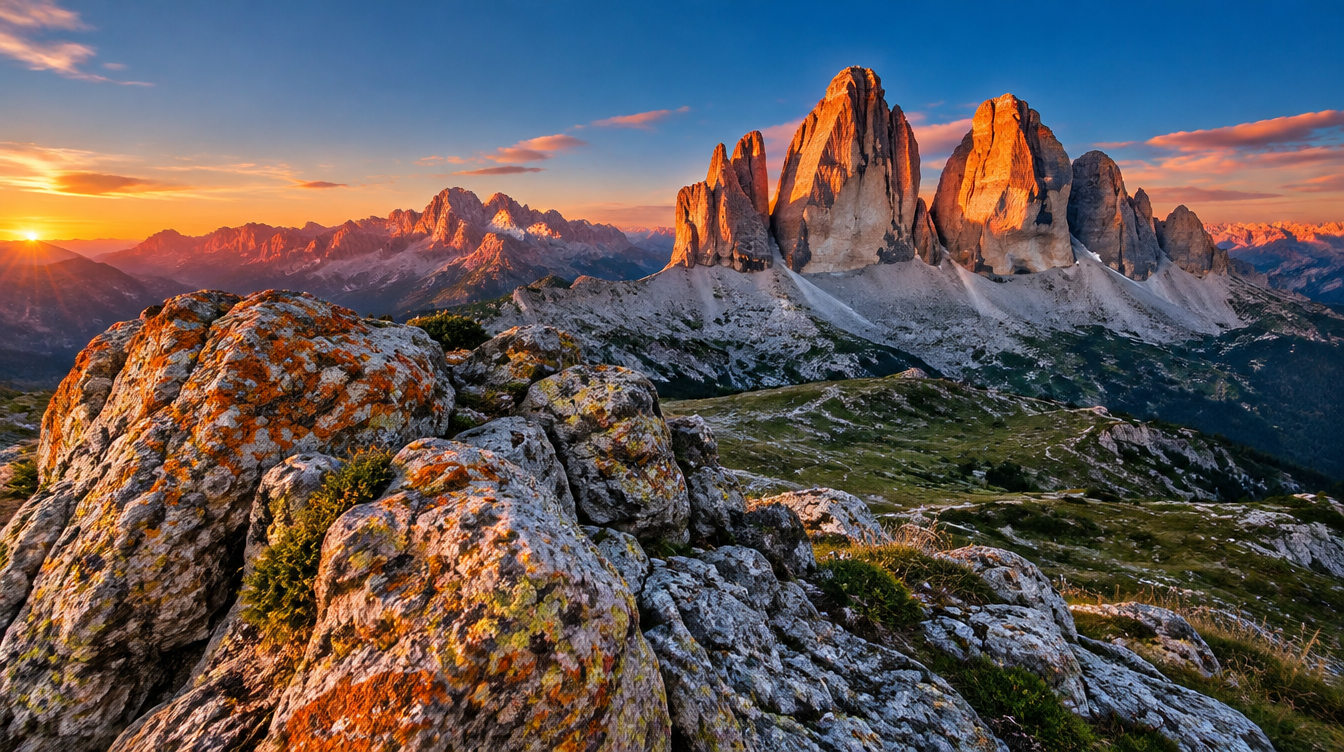
I still remember the first time a guest on one of our Dolomites trips handed me their camera, convinced their lens was broken. They had focused on a lichen covered rock about two feet from the tripod, framed the Tre Cime peaks rising behind it, and come home with a foreground that looked carved from granite and a background that looked like it had been shot through a shower door. Nothing was wrong with the lens. They had simply run into the oldest problem in landscape photography: a single frame can only hold so much in focus at once, no matter how good your gear is.
There are two real tools for solving that problem, and most articles treat them as if you have to pick a side. Hyperfocal distance is the classic answer, a single focus point calculated to stretch sharpness from close to the camera all the way to infinity. Focus stacking is the newer answer, shooting several frames at different focus points and blending them later. Neither one is universally right. The honest version of this guide is a decision framework: when hyperfocal focusing is genuinely enough, exactly where it breaks down, and the field and software workflow for stacking when it does. This builds directly on the settings and aperture guidance in our guide to the best camera settings for landscape photography, and it is one more piece of the bigger picture in our complete landscape photography guide.
Key Takeaways
Hyperfocal focusing is a single calculated point that maximizes sharpness in one frame. Focus stacking blends multiple frames and wins whenever hyperfocal math runs out of room.
| Point | Details |
|---|---|
| Hyperfocal formula | H is approximately equal to focal length squared, divided by f-number times circle of confusion (H ≈ f²/(N·c)) |
| When hyperfocal is enough | Wide to standard lenses, a foreground element more than a few feet away, moderate resolution sensors |
| When hyperfocal fails | Close foregrounds under roughly 2 to 3 feet, very high resolution sensors, telephoto focal lengths |
| Best stacking aperture | Roughly f/8 to f/11, the lens's sharpest range, not f/16 to f/22 |
| Typical frame count | 3 to 8 images for a landscape stack, far fewer than the dozens used in macro work |
| Main stacking risk | Wind moved grass, drifting clouds, and moving water, which blend badly between frames |
Table of Contents
- Why everything sharp is harder than it looks
- What hyperfocal distance actually is
- When hyperfocal focusing is enough
- When hyperfocal focusing fails
- Focus stacking: the alternative for true front to back sharpness
- Field workflow: shooting a focus stack step by step
- Software workflow: blending the stack
- Common focus stacking problems: wind, water, and clouds
- Hyperfocal vs focus stacking: a quick decision guide
- Frequently asked questions
- Practice this in the Dolomites
Why everything sharp is harder than it looks
A lens can only perfectly focus on one distance at a time. Everything closer and everything farther is some degree of soft, and depth of field is just the zone on either side of that focus point where the softness stays small enough that your eye reads it as sharp. The frustrating part is that the zone is not symmetrical. Depth of field extends much farther behind your focus point than in front of it, and that imbalance gets worse the closer your subject sits to the lens, which is exactly why a close foreground rock is so much harder to keep sharp alongside a distant peak than two objects that are both far away.
That asymmetry is not a rule of thumb, it comes straight out of the optics. Wikipedia's entry on depth of field puts it plainly: photos taken at extremely close range have a proportionally much smaller depth of field, and the depth of field in front of the subject shrinks faster than the depth of field behind it as the subject gets closer (Wikipedia, Depth of field). Once you understand that one fact, both tools in this guide stop feeling like separate tricks and start feeling like two different ways of managing the same physical limit.
What hyperfocal distance actually is
Hyperfocal distance is the focus distance beyond which everything in your frame appears acceptably sharp, all the way to infinity. Focus there instead of on your subject, and sharpness extends from roughly half the hyperfocal distance out to the horizon. Wikipedia's definition is the cleanest version of this: the hyperfocal distance is entirely dependent on what level of sharpness is considered acceptable, which is why the formula needs one more input than just your lens and aperture (Wikipedia, Hyperfocal distance).
That third input is the circle of confusion, the diameter of the blur spot a lens produces for a point that is not perfectly in focus. Fix an acceptable circle of confusion and you can solve the depth of field equations for a single number: the hyperfocal distance. The formula is H is approximately equal to f squared divided by N times c, where f is focal length, N is your f-number, and c is the circle of confusion (Wikipedia, Circle of confusion). DOFMaster's own worked example uses a circle of confusion of 0.019mm for a typical digital sensor, versus the older 0.030mm figure that film era hyperfocal charts were built around, which is one reason an old printed depth of field chart from the film days will quietly mislead you on a modern digital body (DOFMaster, Hyperfocal Distance Guide).
PhotoPills makes a point worth repeating because so many photographers get it backward: hyperfocal distance depends only on focal length, aperture, and circle of confusion, never on how far away your actual subject is (PhotoPills, Ultimate Guide to Hyperfocal Distance). Their default calculator assumptions, an 8 by 10 inch print viewed from 10 inches away, are the standard visual acuity assumption behind most circle of confusion defaults. Change the viewing assumption and the "acceptable sharpness" threshold moves with it, which is why two hyperfocal calculators can give you slightly different numbers for the same lens and aperture.
One popular shortcut deserves to be retired. You have probably heard that you should focus roughly a third of the way into a scene. A long running photography forum thread flags this directly as a myth: the real hyperfocal point depends entirely on your specific lens, focal length, and aperture, not on a fixed fraction of how deep the scene is. Use a calculator or a lens's own distance scale instead of a rule that was never actually tied to the physics.
Pro Tip: If your lens has a distance scale printed on the barrel, you do not need an app at all in the field. Set your aperture, find the depth of field marks for that f-stop on either side of the distance scale, and rotate focus until the infinity mark lines up with the far depth of field line. That is your hyperfocal distance, read directly off the lens.
When hyperfocal focusing is enough
For most wide angle landscape compositions, hyperfocal focusing is not just adequate, it is the better choice, because it gets you a sharp frame in one shot with no alignment or blending required afterward. It works well whenever your nearest important element sits more than a few feet from the lens, you are shooting in the 16mm to 35mm range where hyperfocal distances stay short enough to be practical, and your sensor resolution is moderate enough that the acceptable circle of confusion is not unreasonably tight.
A rolling hillside with a path thirty feet away leading toward distant peaks, a wide shot of a valley with no foreground subject closer than ten or fifteen feet, a village street shot with the nearest building fifteen feet off: all of these sit comfortably within what a single well calculated hyperfocal point can deliver at f/11. The moment you want a flower, a rock, or a patch of ice that is close enough to touch sharp in the same frame as a mountain a mile away, the math starts working against you.
When hyperfocal focusing fails
Hyperfocal focusing runs into two concrete failure modes, and almost no article puts a number on either one. The first is a close foreground. Because depth of field in front of the focus point shrinks disproportionately as a subject gets nearer the lens, a foreground element inside roughly two to three feet simply falls outside even a well calculated hyperfocal zone at a reasonable aperture. You can chase it by stopping down further, but that runs straight into the second failure mode.
Diffraction is a hard physical limit, not a soft guideline. As light passes through a small aperture opening it spreads out, forming what optics call an Airy disk, and at small apertures like f/22 most modern lenses are limited by diffraction alone rather than by any flaw in their construction (Wikipedia, Diffraction-limited system). The size of that blur spot depends only on f-number and the wavelength of light, which means it does not care how many megapixels your sensor has. What does matter is how many megapixels those pixels are spread across: on sensors above roughly 40 to 50 megapixels, the same physical Airy disk covers more individual photosites, so diffraction becomes visible at wider apertures than it would on a lower resolution body. Cambridge in Colour frames the resulting practical sweet spot as typically f/8 to f/16, balancing lens aberrations against diffraction loss on either side of that range.
Put those two failure modes together and you get the real-world trap: a close foreground forces you toward a smaller aperture to extend depth of field, but a high resolution modern sensor starts losing real sharpness to diffraction right around the same f/16 to f/22 range you would need. There is no single aperture that escapes both problems at once, which is exactly the gap focus stacking exists to fill.
Focus stacking: the alternative for true front to back sharpness
Focus stacking, sometimes called focal plane merging or focus bracketing, combines several images shot at different focus distances into a single composite with more depth of field than any individual frame could hold. Wikipedia's summary gets straight to why this matters for landscape work: focus stacking allows the depth of field of images taken at the sharpest aperture to be effectively increased (Wikipedia, Focus stacking). Instead of stopping down into diffraction territory to force one frame to cover everything, you shoot each frame at the aperture where your lens is actually at its best, typically f/8 to f/11, and let software assemble the full depth of field afterward.
This is the trade that makes focus stacking worth the extra field time. You give up a little speed and simplicity, and in exchange you get a final image that is sharper at every distance than a single frame could ever be, because no part of it was ever forced through a diffraction-limited aperture to buy depth.
Field workflow: shooting a focus stack step by step
The field side of focus stacking is simpler than it sounds. Lock the camera on a solid tripod so framing stays identical between frames, since any shift makes blending much harder later. Pick your sharpest aperture, which for most landscape lenses sits in that f/8 to f/11 range discussed in our guide to the best camera settings for landscape photography, and keep it fixed for every frame in the stack.
Switch to manual focus so the camera cannot hunt between frames, and shoot a sequence working from your closest important element to the farthest. A typical landscape stack does not need many frames: landscape photographer Dave Morrow, quoted by Imaging Resource, says he usually needs three to eight images for a landscape, compared with the dozens of frames macro photographers often shoot because depth of field at close range is so much thinner (Imaging Resource, When Stopping Down Simply Isn't Enough). Overlap your focus points generously rather than spacing them too far apart, since a gap between frames shows up as a soft band in the final blend that no software step can fully rescue.
Pro Tip: Shoot one extra frame focused at infinity even if you think your farthest frame already covers it. Mountain ridgelines and distant rock faces often read as sharp on the camera's small screen but reveal softness once you view the final blend at full resolution, and that spare frame costs you nothing in the field.
Software workflow: blending the stack
For occasional use, Adobe Photoshop handles the whole blend in two steps. Select your frames, run Edit, then Auto-Align Layers to correct any small handheld or wind-induced shift, then run Edit, then Auto-Blend Layers and choose Stack Images rather than Panorama as the blend method. Photoshop then analyzes each layer for the sharpest regions and merges them into one composite with extended depth of field. Adobe's own documentation notes the real limitation to plan around: Auto-Blend Layers only works on RGB or grayscale images and does not support Smart Objects, Video Layers, 3D Layers, or Background Layers, so flatten or convert anything unusual before you start (Adobe, Auto-Blend Layers Command Overview).
If you are stacking regularly, dedicated software like Helicon Focus or Zerene Stacker gives you more control over how the algorithm chooses which pixels to keep, and both make it far easier to manually retouch a specific region if the automatic blend gets confused. For a one-off landscape stack from a trip, Photoshop's built-in tool is genuinely good enough, and it means one less application to learn.
Common focus stacking problems: wind, water, and clouds
Focus stacking assumes the scene itself holds still between frames, and landscapes rarely cooperate completely. Wind moved grass, drifting clouds, and moving water are the classic failure case. Blending software can misread the slightly different position of a moving element in each frame as a focus difference, which shows up as a stutter or ripple artifact right where the motion happened. Photographers who have run into this on real mountain shoots describe exactly that pattern when clouds drift between frames: the software tries to blend two different cloud positions as if they were two different focus distances, and the result looks broken in a way that is obvious even to someone who was not there.
There are three practical fixes, and which one you reach for depends on how much of the frame is affected. If only a small region is moving, mask that area out and paint it back in from a single source frame instead of letting the automatic blend guess. If the motion covers more of the scene, shoot your stack faster and at a wider spacing to freeze more of it, accepting a slightly less perfect blend in exchange for less visible artifacting. If neither works, consider whether the scene actually needs a long exposure instead of a sharp stack. A smoothed, silky waterfall or a streaked sky often looks better embracing the motion than fighting it, which brings the decision back to composition rather than technique.
Hyperfocal vs focus stacking: a quick decision guide
Composition decides most of this before you ever touch the aperture ring. If your frame does not actually need a close foreground anchor, as covered in our guide to landscape composition, foreground, and leading lines, hyperfocal focusing alone will usually get you there faster. The table below is the version of this decision I actually use in the field.
| Scene | Recommended approach |
|---|---|
| Wide shot, nearest element 10+ feet away | Hyperfocal focusing at f/8 to f/11 |
| Close foreground rock or flower under 2 to 3 feet, distant peak behind it | Focus stacking, 3 to 8 frames |
| High resolution body (40+ megapixels) with any close foreground | Focus stacking, since diffraction limits hyperfocal headroom sooner |
| Telephoto compression shot, 70-200mm range | Focus stacking, since hyperfocal distances become impractically long at longer focal lengths |
| Scene with moving water, grass, or clouds in the frame | Hyperfocal focusing, or a single long exposure, rather than a stack |
| Fast changing light, limited time for multiple frames | Hyperfocal focusing, since it only costs one exposure |
Frequently asked questions
Does hyperfocal distance work with any lens? Every lens has a hyperfocal distance at any given aperture, since it is just a function of focal length, aperture, and circle of confusion. It is only practical on wide to standard lenses, though. A 28mm lens at f/16 might have a hyperfocal distance around 5 to 6 feet, while a 200mm lens at the same aperture can be well over 200 feet away, which makes hyperfocal focusing close to useless for a telephoto landscape shot.
How many images do you need to focus stack a landscape? There is no fixed number. Plan so every important element in the frame is sharp in at least one frame, and overlap your focus points generously. Landscape stacks commonly land in the three to eight frame range, far fewer than the dozens of frames macro photographers need because their subjects sit so much closer to the lens.
Can you focus stack handheld? Yes, though it is more forgiving for close-up work than for a wide landscape. Some modern cameras include an in-camera focus bracketing mode that shoots the sequence automatically. Without that, bracing against a tree, a rock, or your own knee and shifting your weight slightly forward between frames can work, but a tripod still gives you cleaner alignment for a landscape-scale stack.
Does focus stacking work for moving subjects like water or clouds? Not cleanly. Wind moved grass, drifting clouds, and moving water create stutter or ripple artifacts where the blending software misreads motion as a focus difference. The fixes are masking the affected area back in from one source frame, shooting faster to freeze more motion, or switching to a single long exposure for that element instead.
What aperture should you use when focus stacking? Shoot every frame at your lens's sharpest aperture, typically f/8 to f/11, rather than stopping down toward f/16 or f/22 for more depth of field in a single shot. The entire point of stacking is avoiding the diffraction softness that a smaller aperture would introduce.
Does a high resolution sensor change hyperfocal focusing? Yes. The same physical circle of confusion covers more individual pixels on a high megapixel sensor, which means diffraction's resolution penalty becomes visible at wider apertures than it would on a lower resolution body, narrowing your practical hyperfocal aperture range before focus stacking becomes the better option.
What software do you use to blend a focus stack? Photoshop's Auto-Blend Layers with the Stack Images option handles occasional landscape stacks well. For regular use, dedicated tools like Helicon Focus or Zerene Stacker give finer control over the blend and make manual touch-ups easier.
Is the "focus a third of the way into the scene" rule accurate? No. It gets repeated often enough to sound authoritative, but the real hyperfocal point depends on your specific lens, focal length, and aperture, not on a fixed fraction of how deep the scene is. Use a calculator, your lens's distance scale, or the formula itself instead.
Practice this in the Dolomites
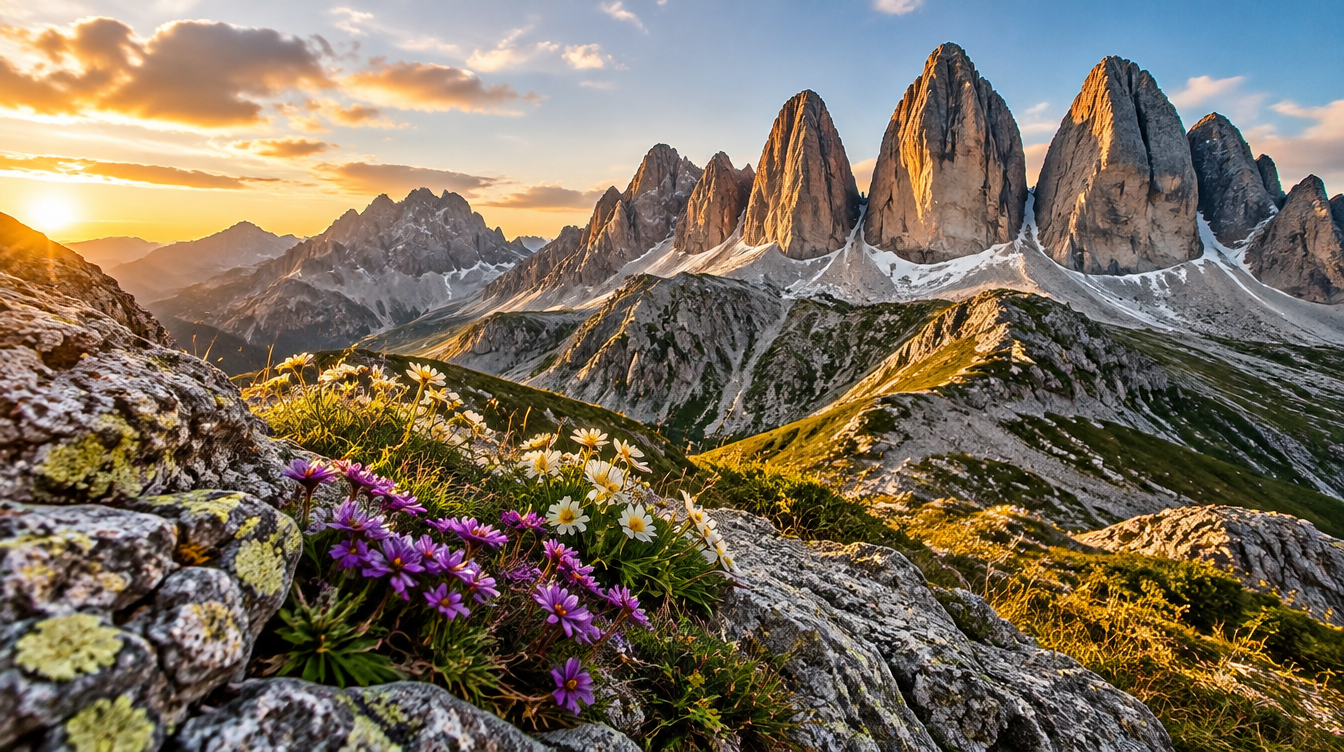
This exact problem, a close rock face or alpine meadow in the foreground with a sheer peak sharp behind it, is the defining composition of a Dolomites trip. Passo Giau at sunset lights up the rocky pinnacles and sheer walls around you, Passo delle Erbe pairs close alpine meadow foreground with distant cliffs, and the three-peak silhouette at Tre Cime di Lavaredo is the kind of near-far composition where hyperfocal math and focus stacking both earn their keep in the same morning. Our Dolomites photo tour runs as an 8 day, 7 night small-group trip built around exactly this kind of alpenglow and golden hour light, with guides on hand to walk you through the focus stacking workflow in this guide on location rather than from a screen back home. Departure dates open on a rolling basis, so joining the waiting list is the best way to get in line for the next one.
Sources
- Wikipedia: Hyperfocal distance
- Wikipedia: Circle of confusion
- Wikipedia: Depth of field
- Wikipedia: Diffraction-limited system
- Wikipedia: Focus stacking
- Adobe Photoshop: Auto-Blend Layers Command Overview
- PhotoPills: Ultimate Guide to Hyperfocal Distance
- DOFMaster: Hyperfocal Distance Guide
- Cambridge in Colour: Diffraction Limited Photography
- Imaging Resource: When Stopping Down Simply Isn't Enough