The Biggest Mistakes Photographers Make in Val d'Orcia (and How to Avoid Them)
From trespassing on farmland to missing the fog window, here are the most common and most avoidable mistakes photographers make in Val d'Orcia, and exactly how to sidestep every one of them.
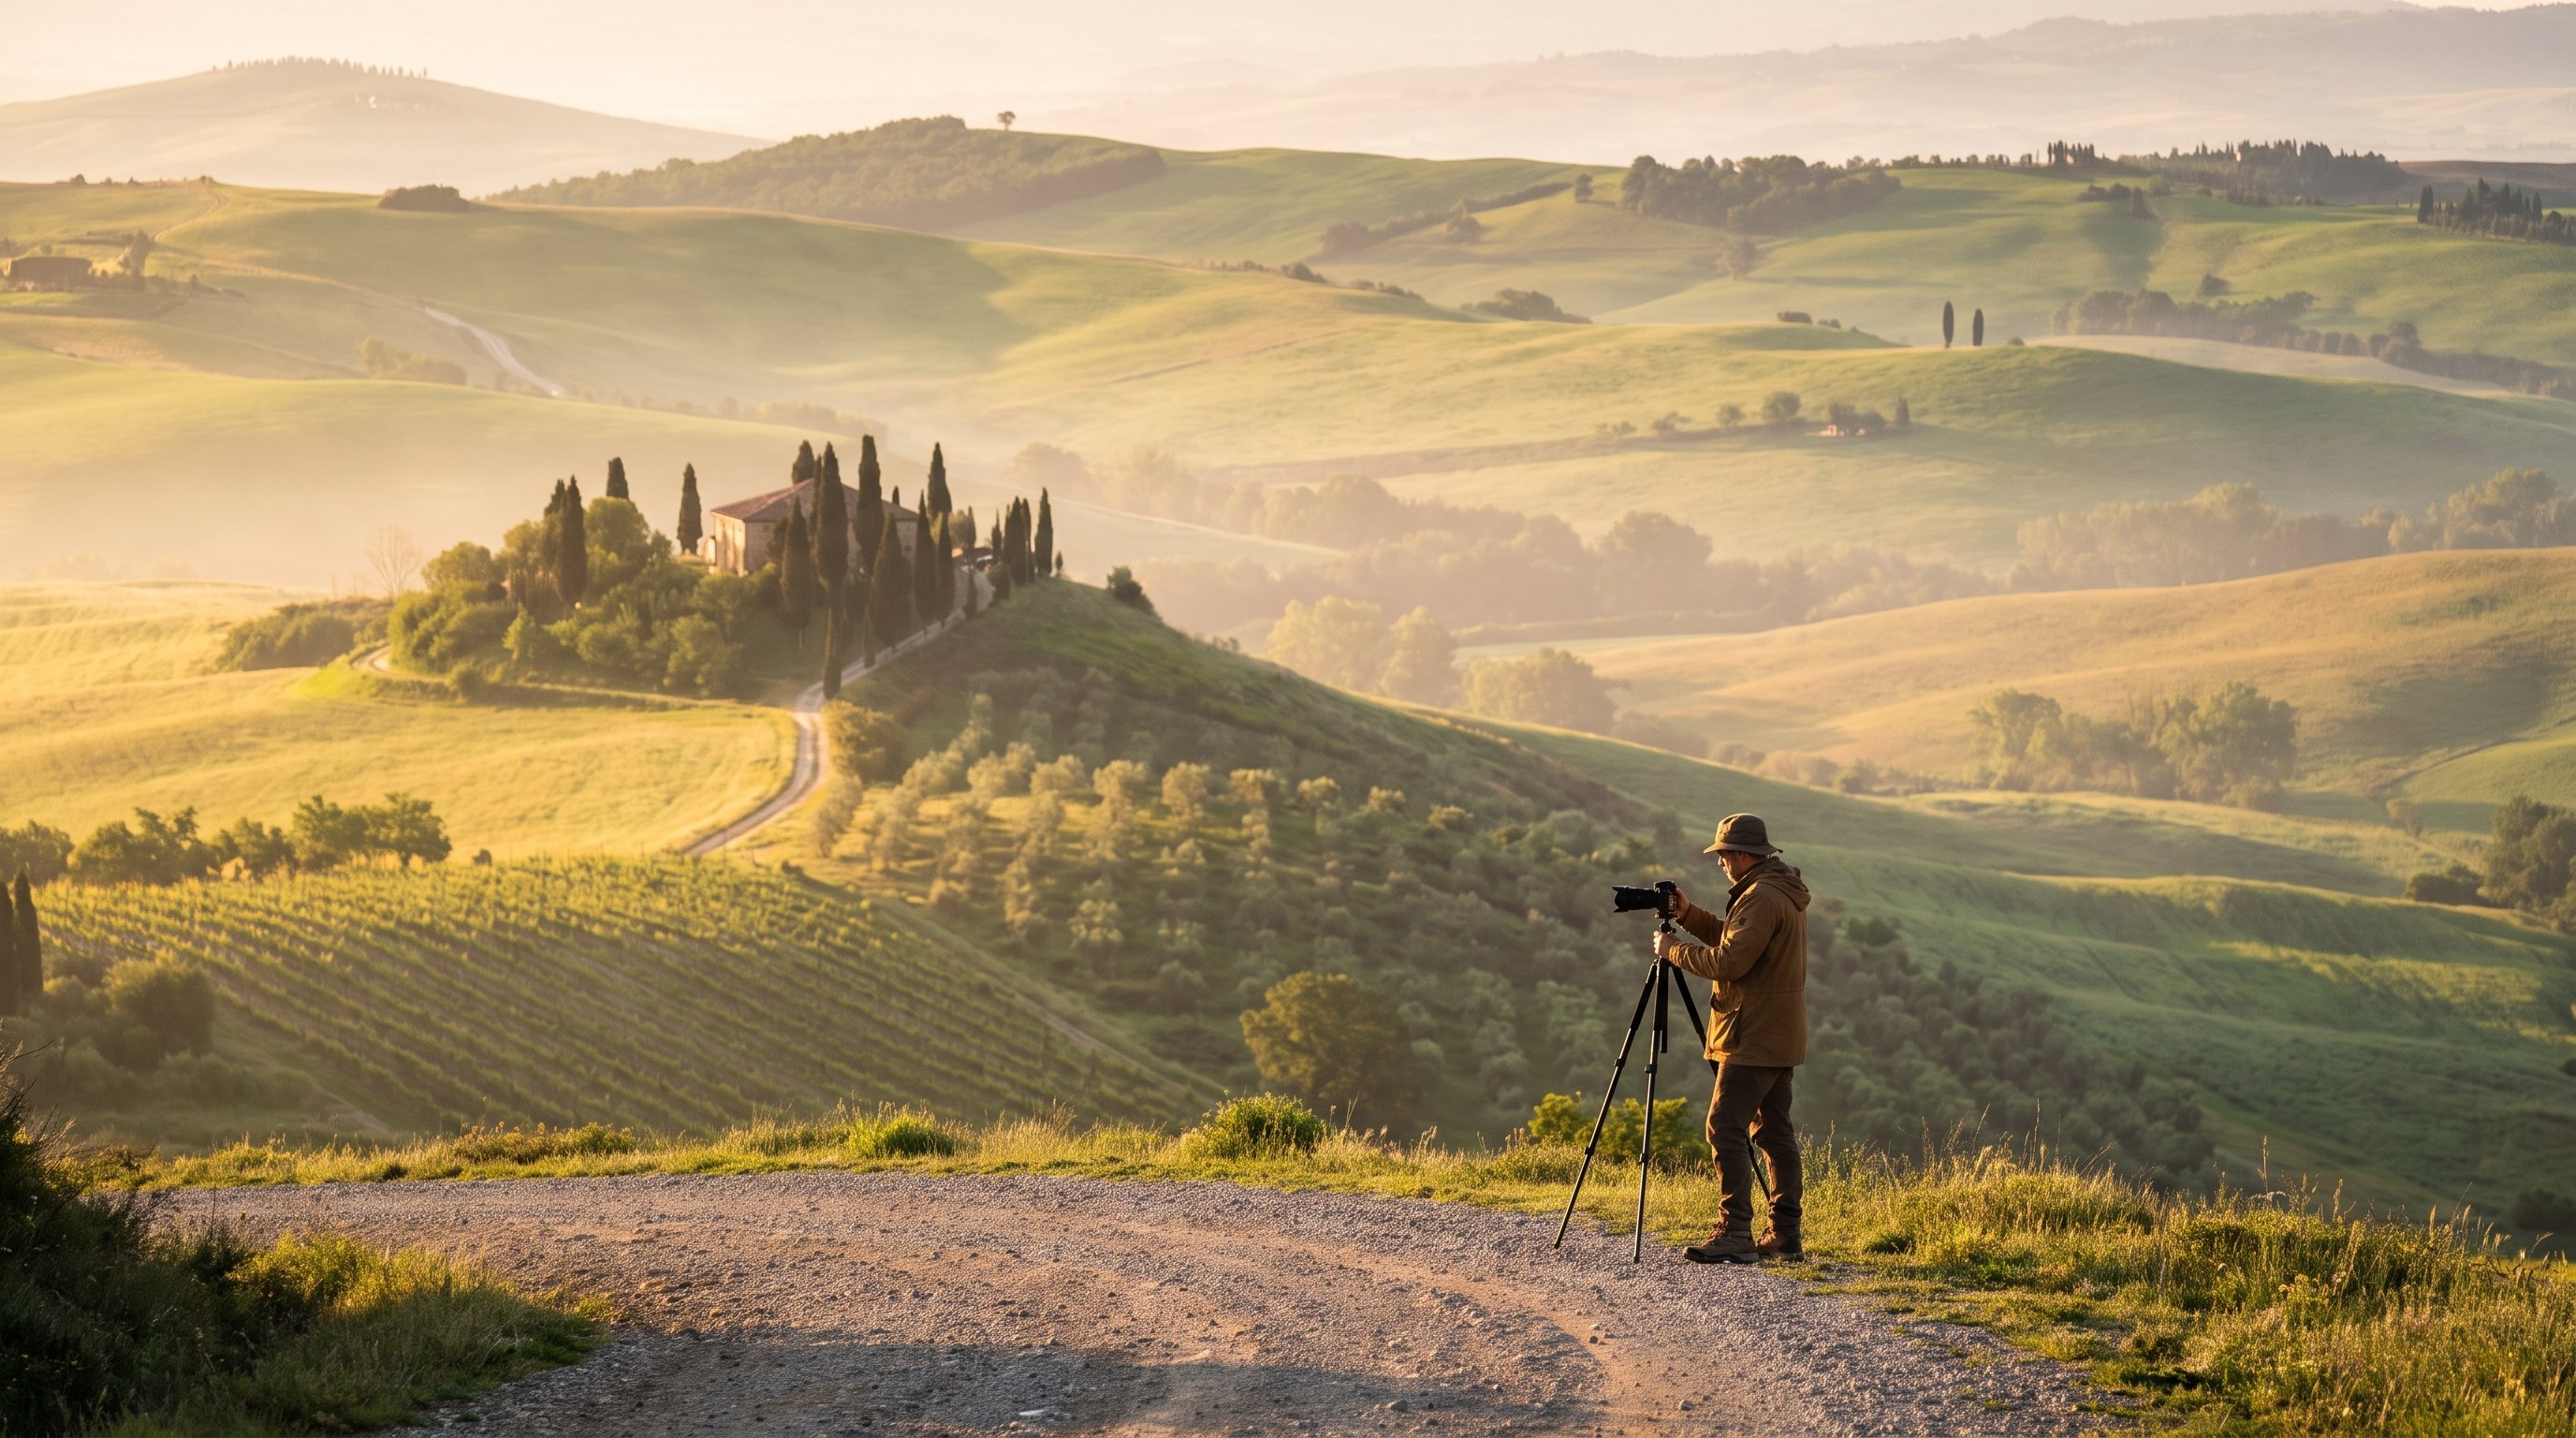
The Biggest Mistakes Photographers Make in Val d'Orcia (and How to Avoid Them)
I have led enough groups through Val d'Orcia now that I can predict, almost to the minute, which mistake someone on the trip is about to make. It is never malice and it is never laziness. It is almost always the same handful of assumptions that make total sense back home and then quietly wreck a morning here. You plan a trip around a handful of photographs you have seen online, you land jetlagged, and you walk straight into one of these traps before you even realize there was a trap to avoid.
This is not a generic "top tips" list written from a desk somewhere. Every mistake below is one I have personally made, watched a client make, or fixed in the field with about four minutes of daylight left. Some of these will cost you a photograph. A couple of them can cost you a fine, or worse, access to land that photographers before you have already made harder to reach. Read this before your trip, not after, and you will get home with a much stronger set of images than the version of you who winged it.
Key Takeaways
Most Val d'Orcia photography disappointments trace back to a small set of avoidable mistakes, not bad luck or bad light.
| Point | Details |
|---|---|
| Most common mistake | Trespassing on farmland for a cleaner angle, which damages access for every photographer after you |
| Most avoidable mistake | Shooting flat midday light because the itinerary was not built around sunrise and sunset |
| Most underestimated factor | Driving time between villages, which is longer and slower than the map suggests |
| Easiest fix | Check the fog forecast the night before, not days in advance, and set an alarm accordingly |
| Most expensive mistake | Driving into a ZTL zone and getting a camera enforced fine mailed to you months later |
| Most common gear mistake | Packing too much lens and not enough filter, then missing the shot while digging through a bag |
Table of Contents
- Mistake 1: Trespassing on private farmland
- Mistake 2: Shooting through the middle of the day
- Mistake 3: Underestimating driving distances
- Mistake 4: Missing the fog window entirely
- Mistake 5: Packing the wrong kit
- Mistake 6: Ignoring ZTL zones and drone rules
- Mistake 7: Chasing only the postcard shot
- Mistake 8: Not checking the forecast the night before
- The one habit that fixes most of this
- Frequently asked questions about avoiding these mistakes
- Quick reference: mistake and fix
Mistake 1: Trespassing on private farmland
This is the mistake I care about most, because it is the one that actively makes the trip worse for every photographer who comes after you. Nearly every cypress avenue, rolling hill vista, and iconic farmhouse view in Val d'Orcia sits on working agricultural land. Someone grows wheat, grapes, or olives on that hillside for a living, and a surprising number of the "secret" viewpoints shared in Instagram geotags require stepping off a public road and onto private property to get the angle in the photo.
I understand the temptation completely. You drive an hour to get to a spot, the light is perfect, and there is a slightly better composition twenty feet into a field that is clearly not fenced off. But every farmer who has found tire tracks through a planted crop, or a gate left open that let livestock wander, has a good reason to be less welcoming to the next photographer who shows up. Several of the classic cypress road pull offs near San Quirico that used to be freely accessible now have signage or informal barriers specifically because of years of this behavior.
Pro Tip: If a composition genuinely requires stepping off a public road, look for a farmhouse nearby and ask, in person, before you shoot. Most owners are perfectly happy to say yes to a photographer who asks, and openly hostile to one who does not. A few words of broken Italian and a friendly wave go a long way.
The good news is that you rarely need to trespass to get a strong image here. Val d'Orcia's public roads, especially the unpaved strade bianche, already run along ridgelines with sweeping views in almost every direction. Our guide to photographing the cypress road properly covers the specific pull offs and angles that work entirely from public land, which is the honest answer to "how do I get that shot" about ninety percent of the time.
Mistake 2: Shooting through the middle of the day
Every year I get a version of the same email after someone's independent trip: "the light just did not look like the photos I had seen." Nine times out of ten, the itinerary had them driving between villages from ten in the morning until four in the afternoon, sightseeing during exactly the hours the light is at its worst. Midday sun in Tuscany, especially from late spring through early autumn, sits high and hard, flattening the rolling hills that depend on raking side light to read as three dimensional in a photograph.
This is not a subtle effect. A hillside that looks sculptural and layered at 6:30am can look like a flat green or golden wall by 11am, with none of the shadow detail that separates one ridge from the next. If you have ever wondered why your own midday snapshots never match the postcard version of the same spot, this is almost always the reason, not your camera or your composition.
The fix is simple to state and genuinely hard to stick to on a first trip, because it means restructuring your entire day around two short windows rather than one long block. Shoot sunrise, nap or handle logistics and meals through the brutal middle hours, then shoot again from about two hours before sunset through blue hour. Save museum visits, grocery runs, and long lunches for the dead zone in between. If you want the full breakdown of which months make this easier or harder, our month by month guide to timing a Tuscany trip is the natural next read.
Mistake 3: Underestimating driving distances
On a map, Pienza to Bagno Vignoni looks like nothing, maybe fifteen minutes. In practice, once you add the single lane road behind a slow moving tractor, a photo stop you did not plan for, and the last five minutes of parking and walking in, that fifteen minutes routinely becomes twenty five or thirty. Multiply that by four or five moves in a single day and a loosely planned itinerary falls apart by early afternoon, usually right when the light is getting interesting again.
The villages in Val d'Orcia are close together as the crow flies but connected by winding two lane roads that rarely allow you to drive anywhere near the posted speed limit for long. Google Maps drive times are a reasonable starting point, but I add a flat twenty five percent buffer to every estimate when I am planning a shoot day here, and I have never regretted it. If you are renting a car for the trip, our guide on renting and driving in Tuscany as a US visitor covers the logistics side of this in more depth, including the unpaved roads that slow things down further.
| Route | Map estimate | Realistic drive time with a photo stop |
|---|---|---|
| Pienza to San Quirico d'Orcia | ~12 minutes | 20-25 minutes |
| San Quirico to Bagno Vignoni | ~9 minutes | 15-20 minutes |
| Pienza to Monticchiello | ~10 minutes | 18-22 minutes |
| San Quirico to a cypress road pull off | ~5 minutes | 10-15 minutes, plus parking |
Pro Tip: Plan your route the evening before in daylight if a location is unfamiliar, and treat your sunrise and sunset departure times as fixed anchors that everything else in the day bends around, never the other way around.
Mistake 4: Missing the fog window entirely
Fog over Val d'Orcia is the single most requested image on every trip I run, and it is also the one that photographers most reliably miss on a self planned visit, usually because they treat it as a lucky accident rather than something you can actually forecast. The valley fog that pools below hilltop towns like Pienza and San Quirico needs three specific conditions to form: a clear evening sky, calm wind, and a sharp overnight temperature drop, typically fifteen degrees Fahrenheit or more between the daytime high and the overnight low.
Photographers who miss the fog window usually make one of two errors. Either they check the weather days in advance and give up when a single forecast looks unpromising, without checking again the night before when the picture sharpens considerably, or they sleep in on the one morning the conditions actually line up because nobody told them to watch for it. The fog burns off fast too, often within an hour or two of sunrise, so arriving even twenty minutes late to a hilltop viewpoint can mean the difference between a career shot and an empty valley.
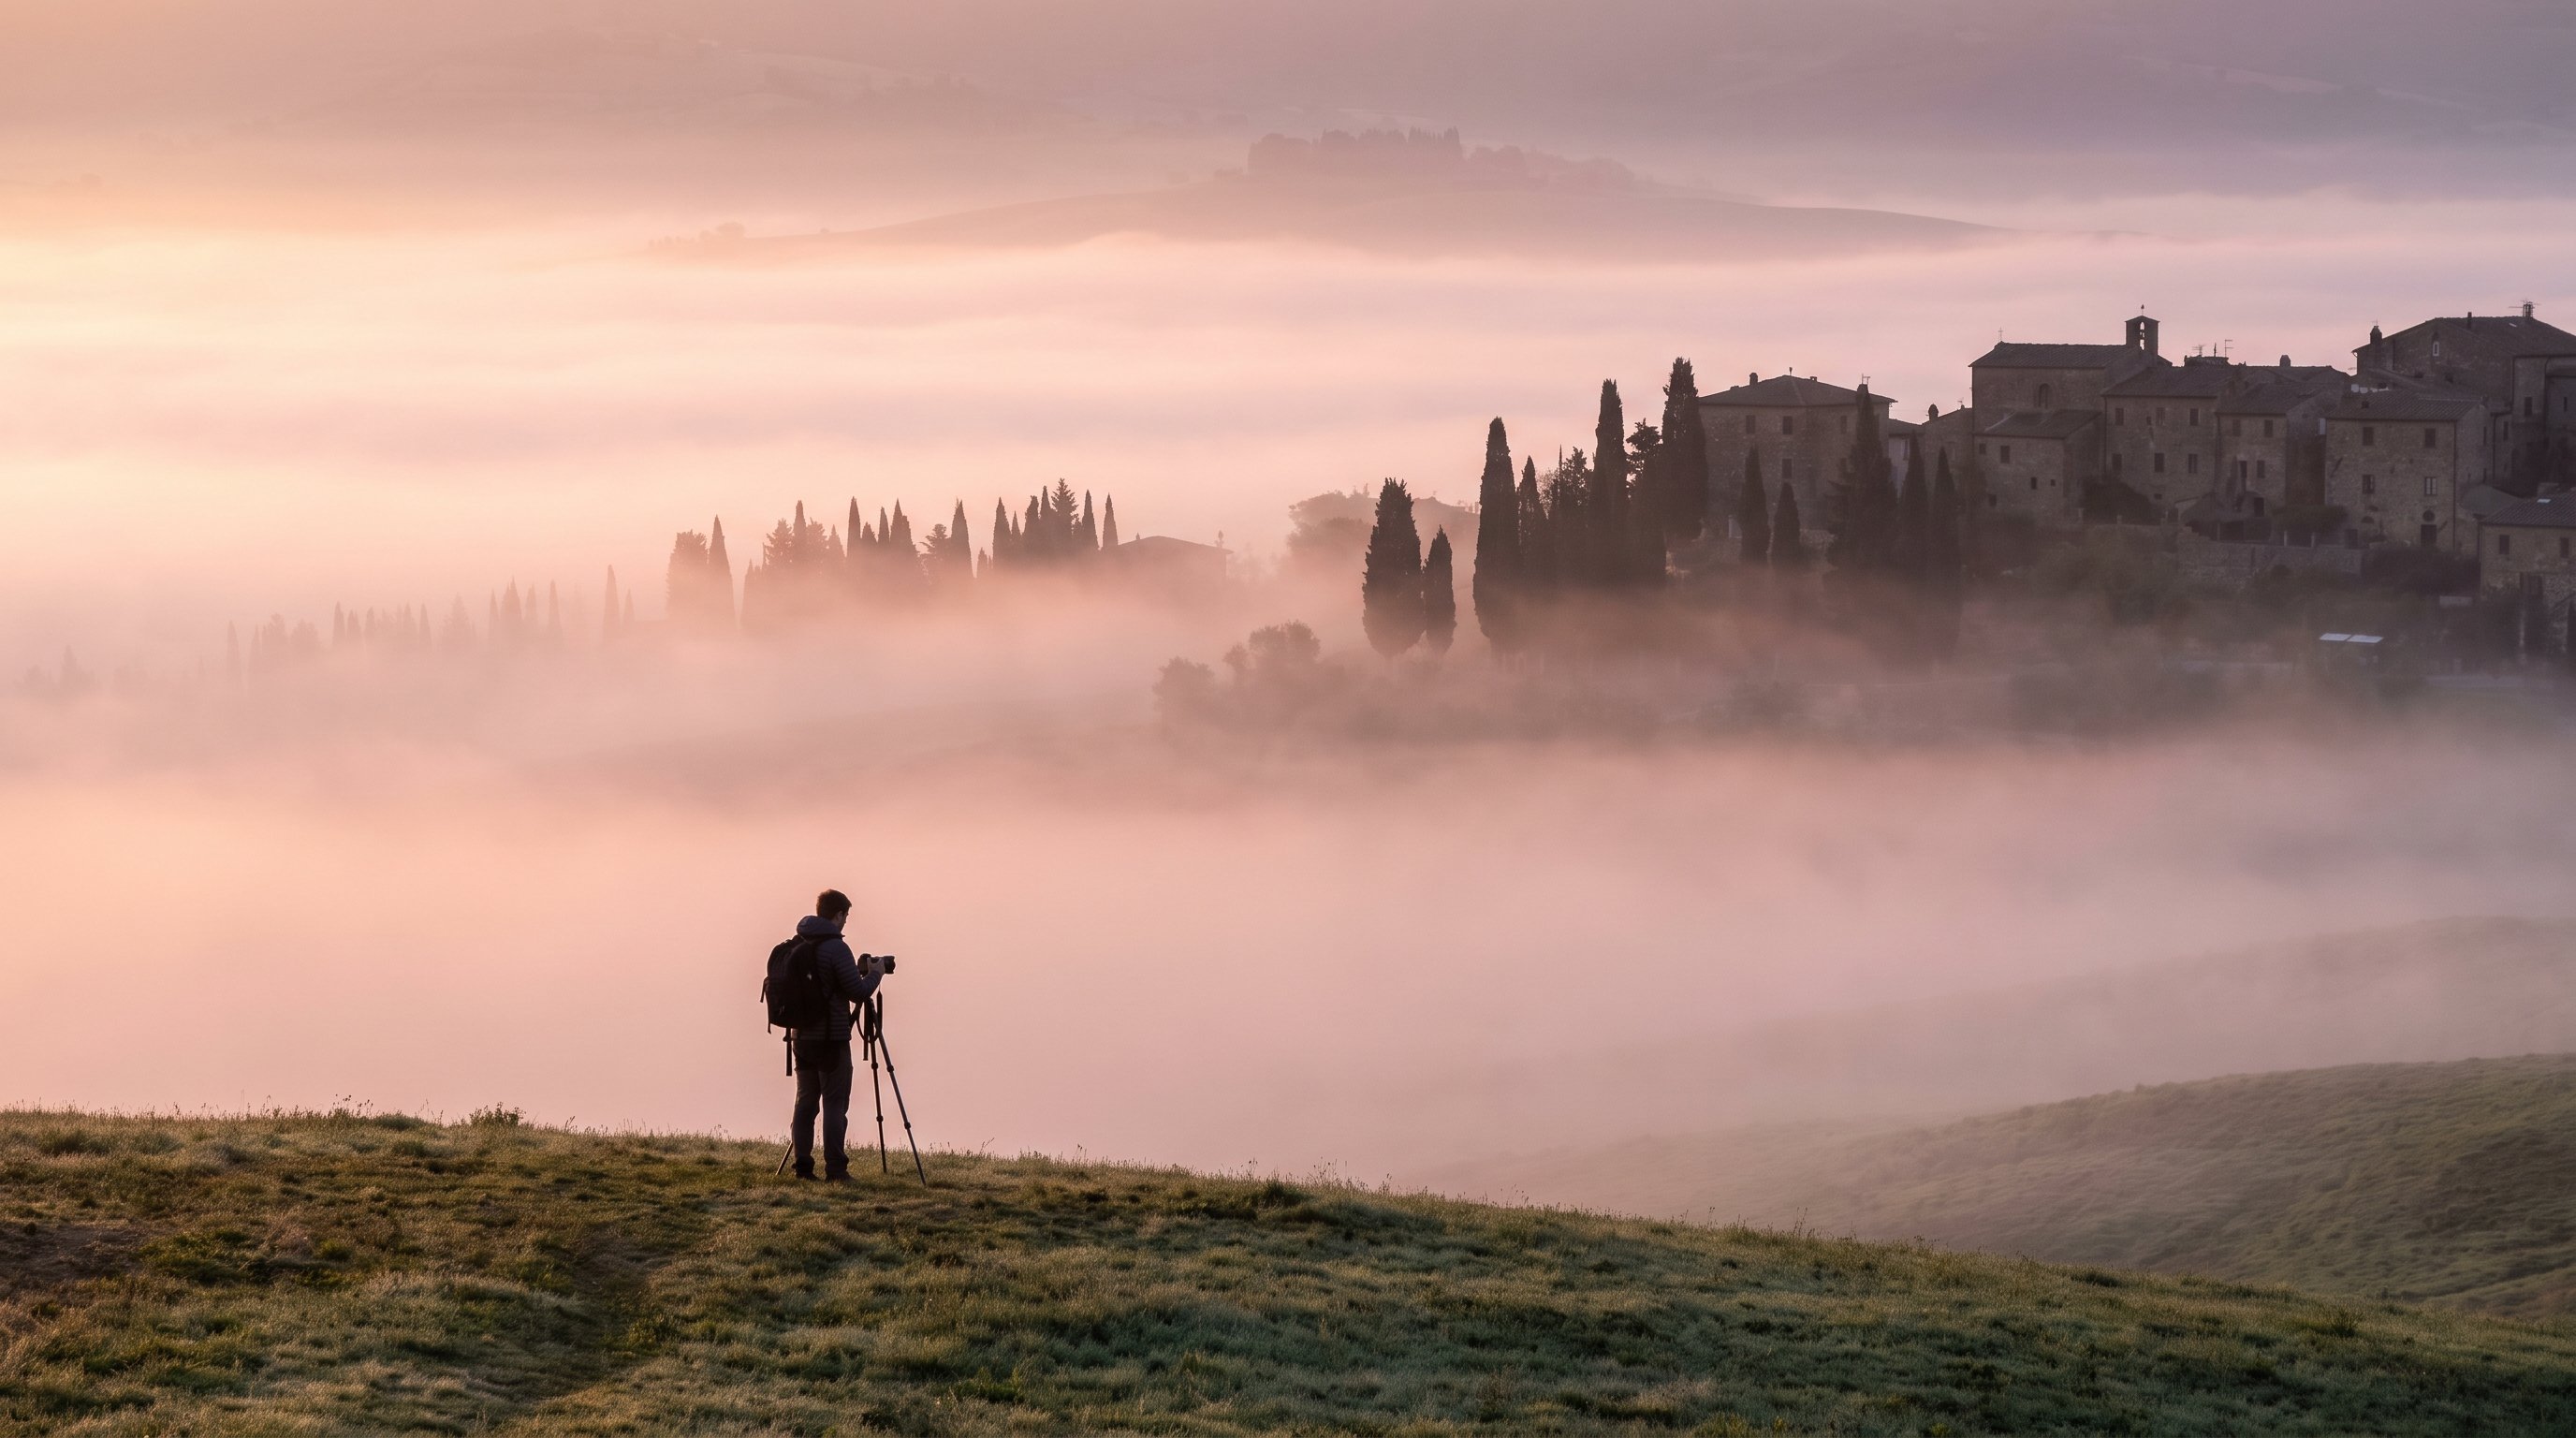
If a fog photograph matters to your trip, build in flexibility rather than a fixed schedule, and read our dedicated guide on how to actually catch the fog window before you land, so you already know which forecast signals to check and which hilltop spots work best for your specific conditions.
Mistake 5: Packing the wrong kit
I see two opposite versions of this mistake constantly. The first is the photographer who brings every lens they own, then spends golden hour standing in a field swapping glass instead of shooting, and misses the best five minutes of light changing a lens they did not really need to change. The second is the photographer who packs light to save weight and shows up without a circular polarizer or a graduated ND filter, then cannot deal with a hazy midday sky or a bright sky over dark hills that a thirty dollar piece of glass would have fixed completely.
For Val d'Orcia specifically, I recommend a wide zoom in the 16-35mm range for the classic rolling hill and cypress road compositions, a mid range zoom around 24-70mm for villages and general use, and a longer lens in the 70-200mm range for compressing distant hills and isolating a single farmhouse or line of trees against a layered background. That is genuinely enough glass for the vast majority of shots you will want here. A circular polarizer earns its place in every bag for cutting summer haze, and a two or three stop graduated ND filter solves the single most common exposure problem in this landscape: bright sky, dark foreground hills.
A sturdy tripod matters more here than in a lot of destinations, both for sunrise and sunset work in low light and for any long exposure you attempt on moving clouds over the hills. If you want the fuller breakdown of lens tradeoffs and a realistic one bag recommendation, our lens comparison guide for Tuscany photography goes deeper on exactly this decision.
Mistake 6: Ignoring ZTL zones and drone rules
Two specific legal mistakes catch visiting photographers more than anything else here, and both are completely avoidable with about ten minutes of homework before the trip. The first is driving into a ZTL, or Zona a Traffico Limitato, the restricted historic center found in nearly every Tuscan hill town including Pienza and San Quirico. These are enforced by camera, not a person, so there is no warning at the moment you drive through, just a fine that arrives by mail two or three months after you are already home.
The second is flying a drone without registering under EASA rules or checking local no fly zones, which cover the historic centers of most of these same hill towns. It is tempting to launch quickly for "just one shot" of a village skyline, but enforcement has gotten noticeably stricter in the last few years, and the penalties are not trivial. If a drone is part of your kit for this trip, read our guide on drone photography rules for US visitors before you fly a single flight, and our car rental guide for exactly how ZTL enforcement works and how to spot the signage.
Mistake 7: Chasing only the postcard shot
There is nothing wrong with wanting the classic cypress road image or the famous Pienza terrace view. Those compositions are famous for a reason. But I regularly meet photographers who plan an entire trip around three or four specific frames they saw online, shoot those exact spots, and completely miss everything else Val d'Orcia has to offer because they never budgeted time for it. Monticchiello, a quiet hilltop village with compositions just as strong as its more famous neighbors, gets skipped constantly for this exact reason.
The photographers who come home with the most interesting, personal portfolios are usually the ones who treat the well known spots as a starting point rather than the whole itinerary, and leave real time in the schedule for wandering a backstreet, following an unmarked farm road, or simply sitting in one spot through a full sunset instead of chasing five locations in one evening. Some of my favorite images from years of leading trips here came from ten unplanned minutes, not the shot list.
This is honestly one of the biggest arguments for traveling with a local guide rather than going in completely solo. On a WeShoot Val d'Orcia photography tour, the well known spots are still on the itinerary, but so are the quieter locations that take years of scouting to find on your own, timed against the actual light rather than a guess. If you are weighing whether that structure is worth it against planning everything yourself, our honest comparison of workshop versus self guided trips lays out the real tradeoffs.
Mistake 8: Not checking the forecast the night before
This sounds almost too simple to be its own mistake, but it explains more disappointing mornings than any single piece of gear or planning decision. A lot of visitors check the weather once, days before the trip, build their whole schedule around that early read, and then never look again. Weather in this part of Tuscany can shift meaningfully within twenty four hours, especially the specific combination of clear sky and cooling temperature that produces fog, or the cloud cover that turns a flat sunset into a dramatic one.
Make checking the forecast, along with cloud cover percentage and wind speed specifically, part of your evening routine on the trip, not a one time task before you left home. A clear evening with light wind is your cue to set an early alarm for fog potential. Thirty to sixty percent cloud cover with a break near the horizon is usually your best bet for a colorful sunset, since a completely clear sky often just fades to a flat pale color with no drama in the clouds at all.
The one habit that fixes most of this
If I had to compress every mistake on this list into one underlying cause, it would be planning the trip around a fixed schedule instead of around light and conditions. Nearly every mistake above gets easier to avoid the moment you build slack into your days, check conditions the night before rather than weeks in advance, and stay willing to change plans on short notice when the sky looks promising. That flexibility is genuinely difficult to manage solo, especially on a first trip when you do not yet have a feel for how fast fog burns off or how long a "quick" drive actually takes.
It is also exactly the piece of the trip a guided tour takes off your plate entirely. On a WeShoot photography tour through Val d'Orcia, someone else is already watching the forecast, already knows which back road avoids the ZTL, and already has a relationship with the farmer whose land has the best angle on that cypress row, so your only job each morning is showing up ready to shoot. If even a couple of the mistakes above sound like things you would rather not learn the hard way, it is worth looking at our Val d'Orcia photography tours before you finalize a solo itinerary.
Frequently asked questions about avoiding these mistakes
What is the single most common mistake first time visitors make? Shooting through the middle of the day instead of building the itinerary around sunrise and sunset. It costs more photographs than any other mistake on this list because it happens every single day of the trip, not just once.
Is it ever okay to step onto private farmland for a photo? Only if you ask the landowner first and get a clear yes. Most of the strongest compositions in Val d'Orcia are achievable entirely from public roads, so this is rarely worth the risk to access for future photographers.
How much extra time should I budget for driving between villages? Add at least twenty five percent to whatever Google Maps or Apple Maps estimates, and more if your route includes any unpaved sections or a stop for photos along the way.
Do I really need to worry about ZTL zones as a tourist? Yes. The cameras do not distinguish between a resident and a visiting photographer, and fines are billed to the rental car company, then passed on to you, sometimes months after you have already forgotten the trip.
Is a guided tour really necessary to avoid these mistakes? Not strictly necessary, but it removes the learning curve entirely. Everything in this article is knowledge that took years of trips to accumulate, and a good guide hands it to you on day one instead of day five.
Quick reference: mistake and fix
| Mistake | Fix |
|---|---|
| Trespassing on farmland | Ask the landowner first, or stick to the many strong public road angles |
| Shooting at midday | Build the day around two shooting windows, rest through the middle hours |
| Underestimating drive times | Add a 25 percent buffer to every map estimate |
| Missing the fog window | Check the forecast the night before, watch for clear sky and a big temperature drop |
| Wrong gear in the bag | Wide, mid, and short tele zoom plus a polarizer and a graduated ND covers nearly everything |
| ZTL fines and drone violations | Learn the signage and rules before you drive or fly, not after |
None of this is meant to make Val d'Orcia sound complicated. It is a genuinely forgiving landscape for photographers once you know the handful of things that trip people up, and every mistake above is completely avoidable with a little planning. Get the timing, the driving, and the local etiquette right, and the region delivers on every promise you have seen in someone else's photographs.