A Beginner's Guide to Photographing Tuscany: Start Here
A true beginner's entry point to photographing Val d'Orcia: the camera settings that matter, a simple first morning shot list, and the common mistakes that trip up most first time visitors.
A Beginner's Guide to Photographing Tuscany: Start Here
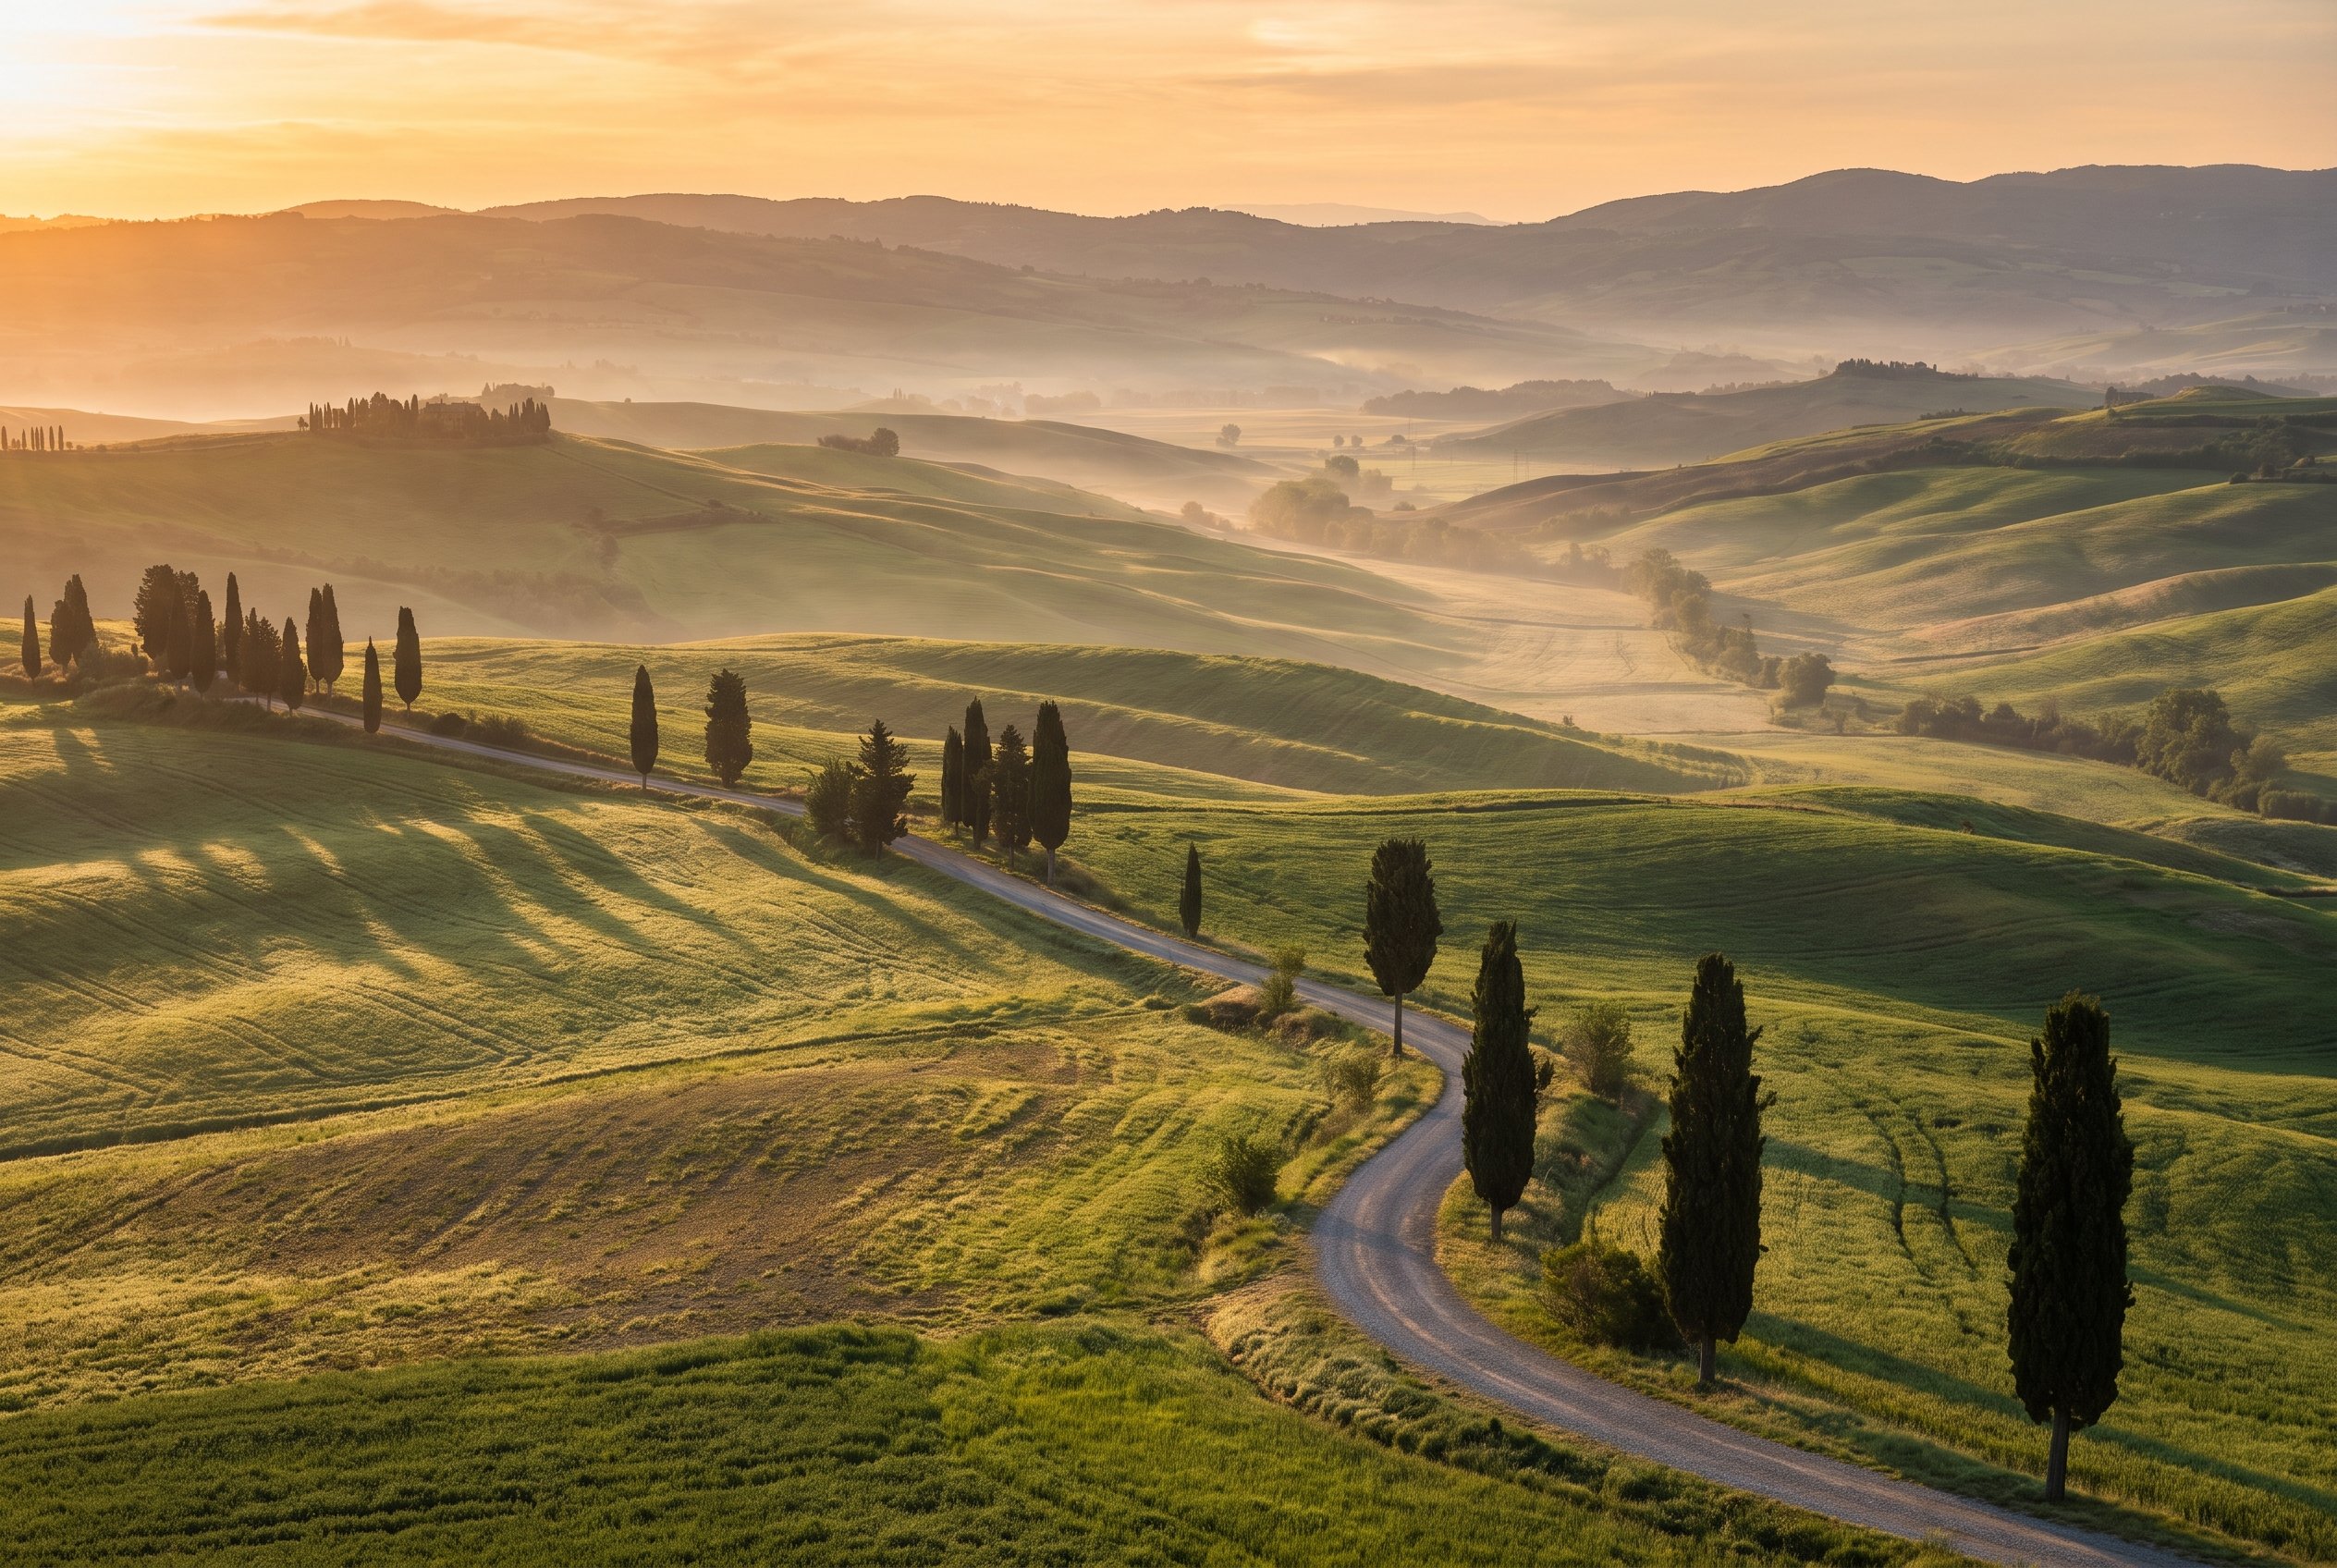
I remember the first time I set up a tripod on a farm road outside San Quirico d'Orcia, fumbling with a camera I barely understood, watching the sun come up over hills I had only ever seen in other people's photographs. I had read a dozen articles about golden hour and composition rules before that trip, and none of them had actually told me what to do when I was standing there in the cold at 5:45 in the morning with condensation on my lens and no idea which button did what. This guide is the one I wish someone had handed me back then.
You do not need years of experience or a bag full of expensive glass to come home from Tuscany with photographs you are proud of. You need to understand a handful of concepts, know roughly where to point your camera and when, and avoid the small handful of mistakes that trip up almost every first time visitor. That is what this guide covers, aimed squarely at someone who owns a camera, maybe has used it in auto mode a few times, and wants a real plan for their first Val d'Orcia trip rather than another list of vague inspiration.
Key Takeaways
You do not need a huge kit or years of practice to shoot Tuscany well. You need three camera settings, a basic shot list, and a plan for avoiding the mistakes that ruin most first trips.
| Point | Details |
|---|---|
| Minimum gear | Any camera with manual controls, one wide to normal zoom lens, and a tripod. That is genuinely enough. |
| Modes to learn | Aperture Priority for most shots, full Manual for sunrise and sunset, and a working understanding of Auto ISO |
| Best beginner window | Sunrise, because the light is soft, the roads are empty, and there is zero pressure from other tourists |
| Biggest first trip mistake | Shooting only at midday because that is when everyone is out and about |
| One rule that matters more than any other | Never step onto private farmland for a photo, no matter how good the shot looks from the road |
| Where to build confidence first | San Quirico d'Orcia, a compact, walkable town with strong compositions within a five minute radius |
Table of Contents
- You do not need a professional kit to start
- The three camera modes you actually need
- Understanding light before you touch a single setting
- A simple shot list for your first morning
- Composition basics that instantly improve a Tuscany photo
- Gear you can safely skip for your first trip
- Common mistakes first time visitors make
- A realistic first day timeline
- Frequently asked questions from beginners
- Where to go from here
You do not need a professional kit to start
Every gear forum on the internet will try to convince you that you need a full frame body, three lenses, and a filter kit before you are allowed to take a decent landscape photograph. Ignore that advice for your first trip. Any camera that lets you control aperture, shutter speed, and ISO independently is enough, whether that is a ten year old entry level DSLR, a mirrorless body you bought last month, or even a recent smartphone with a manual or "pro" shooting mode. What actually matters far more than the body is one decent lens in the 16 to 35mm range (or the crop sensor equivalent, roughly 10 to 22mm), because the wide, rolling compositions that make Val d'Orcia photographs recognizable rely on getting a lot of hillside and sky into one frame.
A tripod is the one piece of gear I would genuinely call non negotiable, and it does not need to be expensive. Sunrise and sunset in Tuscany both involve shooting in low light, and a tripod lets you keep your ISO low and your files clean instead of fighting noise in every shadow. Beyond the camera, one lens, and a tripod, everything else is a nice to have rather than a requirement. If you already own a circular polarizer, bring it, but do not go buy a full filter system for a first trip. You can add gear once you know what you actually reach for in the field, rather than guessing in advance.
Pro Tip: If you are torn between spending your remaining budget on a new lens or a better tripod, buy the tripod. A cheap, wobbly tripod will cost you sharp images at every single sunrise and sunset of your trip, while a mediocre lens will only cost you a bit of corner sharpness nobody but you will ever notice.
The three camera modes you actually need
You do not need to memorize every mode on your camera's dial. For a Tuscany trip, three settings will cover almost everything you photograph. Aperture Priority (marked A or Av) is your default for the middle of the day and for most walking around shots, because it lets you control depth of field while the camera handles shutter speed for you. Set your aperture somewhere between f/8 and f/11 for a typical wide landscape shot, since that range keeps both a foreground element and the distant hills reasonably sharp without diffraction softening the image, which starts to creep in past about f/13 on most crop sensor cameras and a bit later on full frame.
Full Manual mode becomes worth learning specifically for sunrise and sunset, when the light changes quickly and your camera's automatic metering can get confused by a bright sky next to dark hills. In Manual, a starting point for a golden hour landscape is f/8, ISO 100, and a shutter speed you adjust by checking your histogram rather than trusting the little preview on your screen, which almost always looks brighter than the actual exposure once you view it on a real monitor later. Auto ISO is worth turning on as a safety net during Manual mode use, capped around ISO 800 to 1600 depending on your camera's noise performance, so a sudden change in light does not leave you with a badly underexposed frame while you are busy composing.
| Situation | Recommended setting |
|---|---|
| Wide hillside shot, midday | Aperture Priority, f/8 to f/11, ISO 100 |
| Sunrise or sunset landscape | Manual, f/8, ISO 100, shutter set from the histogram |
| Handheld street shots in a village | Aperture Priority, f/5.6 to f/8, Auto ISO capped at 1600 |
| Foggy valley scene at dawn | Manual, f/9, ISO 100 to 200, exposure biased slightly bright |
| Cypress trees against a sunset sky | Manual, f/11, ISO 100, expose for the sky and lift shadows later |
Focus trips up almost as many beginners as exposure does. Autofocus works fine for most daylight shots, but at sunrise and sunset your camera will often hunt back and forth in low contrast light, especially when you are aiming at a hazy horizon with no hard edges for it to lock onto. Switch to manual focus for those shots, use your camera's magnified live view to zoom into a sharp edge, such as the trunk of a cypress tree or the corner of a farmhouse roughly a third of the way into the frame, and focus there rather than on the horizon itself. This rough approximation of the hyperfocal distance keeps both your foreground and the distant hills acceptably sharp at f/8 or f/11 without you needing to calculate anything precisely in the field.
Understanding light before you touch a single setting
Camera settings only matter once you understand the light you are working with, and Tuscany gives beginners an unusually forgiving classroom for learning this. Golden hour, the roughly 45 minutes after sunrise and before sunset, is when the low sun rakes across the hills sideways instead of hitting them from directly overhead, which is what creates the depth and texture you see in every classic Val d'Orcia photograph. In our full guide to timing a Tuscany trip month by month, you can see exactly when sunrise and sunset fall throughout the year, but the underlying principle stays the same regardless of season: the two hours around sunrise and sunset are worth far more of your effort than the six hours in the middle of the day.
Midday light between roughly 11am and 3pm is the hardest light to work with anywhere, and Tuscany is no exception. The sun sits high overhead, shadows go short and harsh, and the soft layering between hills that makes the region famous mostly disappears into flat, contrasty light. That does not mean you should put your camera away for those hours. It means you should shift what you are shooting, using midday for walking through village interiors where diffused light through narrow streets can actually work in your favor, or for scouting tomorrow's sunrise location while the light is bad anyway.
A simple shot list for your first morning
Rather than wandering aimlessly on your first sunrise, it helps enormously to have three or four planned shots before you even leave your accommodation. Pick a single hilltop viewpoint near San Quirico d'Orcia or Pienza the evening before, in daylight, so you already know where to park and where to stand. Arrive at least 30 minutes before official sunrise, because the sky often produces its best color in the 15 minutes before the sun actually clears the horizon, and that window is easy to miss if you show up right at the printed sunrise time.
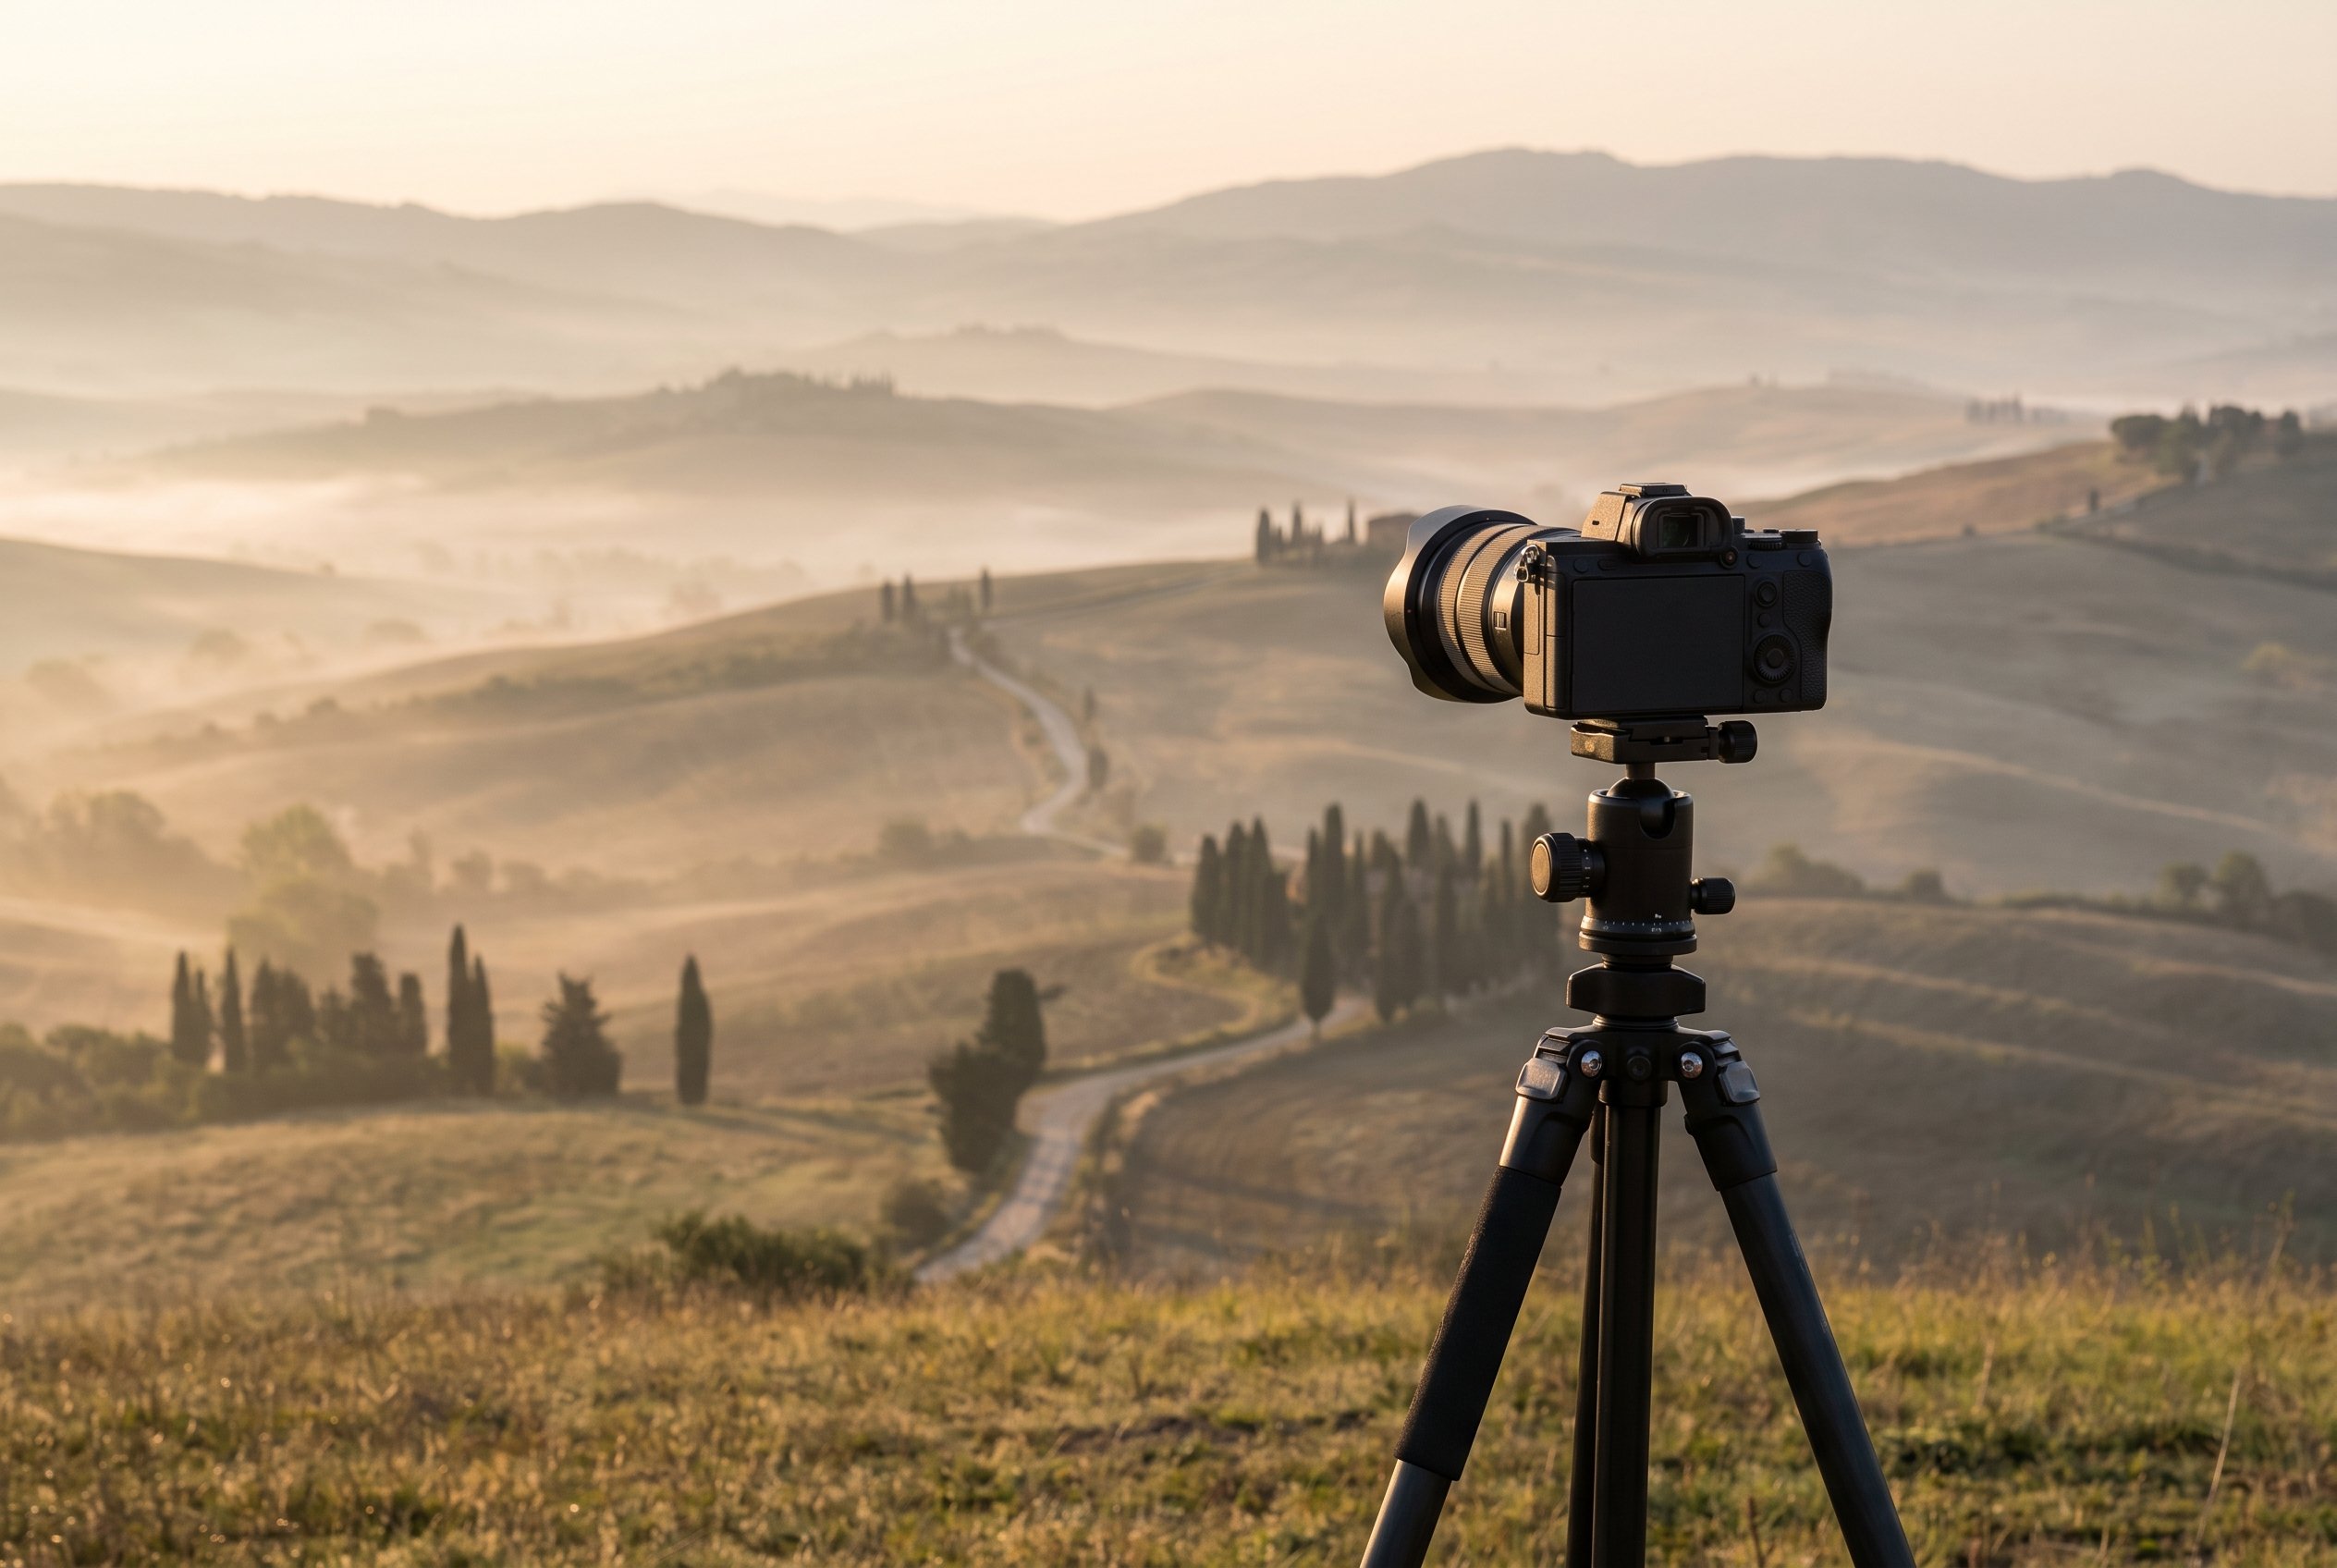
Your first shot should be a simple wide composition of the hills with whatever cypress trees or farmhouses sit in the frame, using a foreground element like a stretch of gravel road or a line of vines to lead the eye into the scene. Your second shot can be a tighter composition on a single subject, a lone tree or a distant hilltop town, which forces you to think about framing rather than just capturing everything in front of you. If fog is present, which becomes increasingly likely from mid autumn onward, your third shot is simply patience: fog scenes change fast, so stay in one spot for 15 or 20 minutes and keep shooting as the light and mist shift, rather than chasing a new location and missing the best moment entirely.
Pro Tip: Shoot in RAW format from your very first sunrise, not JPEG. RAW files hold far more shadow and highlight detail, which matters enormously in the high contrast light of sunrise, and it means a slightly wrong exposure in the field is still recoverable later rather than a wasted frame.
Composition basics that instantly improve a Tuscany photo
You do not need a photography degree to compose a strong landscape shot here, but a few habits will separate your photos from a typical tourist snapshot immediately. Give every wide shot a clear foreground anchor, whether that is a cypress tree, a stretch of road, or a farmhouse, because without one the eye has nowhere to land and the hills read as flat and generic. Pay attention to where the horizon sits in your frame rather than defaulting to dead center every time; placing it in the lower third emphasizes a dramatic sky, while placing it higher emphasizes the texture and pattern of the land itself.
We go much deeper into this in our dedicated piece on how to photograph rolling hills with real depth, but the short version for a first trip is this: shoot at an angle to the hills rather than straight on, use haze and shadow to create visible layers between the near, middle, and far ground, and do not be afraid to get low, even kneeling in the dirt on the edge of a public road, to exaggerate the size of a foreground element against the hills behind it.
Gear you can safely skip for your first trip
It is worth being just as clear about what not to buy as what to bring. A telephoto lens longer than 200mm is rarely necessary for the wide, sweeping compositions Val d'Orcia is known for, and it adds bulk and weight you will feel by day three of walking around hilltop towns. A full graduated ND filter system is genuinely useful for more advanced shooters but overkill for a first trip, since modern cameras have enough dynamic range to recover a properly exposed RAW file in editing without a physical filter. A second camera body as a backup makes sense for a professional on a paid assignment, not for someone learning the basics on their first international photography trip. Our full comparison of which lens to actually bring to Tuscany goes into more detail once you are ready to think about upgrading your kit for a second trip.
If learning all of this on your own feels like a lot to figure out in the field, that is exactly the gap a guided trip is built to close. On a WeShoot Val d'Orcia photo tour, a local guide already knows which hilltop turnouts catch the best light on a given morning and can walk you through camera settings in real time instead of you guessing alone in the dark before sunrise. It is a genuinely good way to compress a steep first trip learning curve into a few days of hands on practice with someone looking over your shoulder.
Common mistakes first time visitors make
The single most common mistake is treating a Tuscany trip like a normal vacation and sleeping through sunrise every day. The light that makes this region look the way it does in photographs exists for a narrow window at each end of the day, and skipping it means coming home with photos that look flat compared to the ones you saw online before you booked the trip. A close second mistake is trespassing on private farmland to get closer to a famous cypress row. Our guide to photographing Tuscany's cypress roads covers this in detail, but the short version is that almost every iconic cypress driveway sits on active farmland, and a strong photograph is always possible from the public road with a longer lens or a slightly different angle, without ever crossing a fence line.
Underestimating driving times between villages trips up a lot of first time visitors too. The distances on a map look small, but Val d'Orcia's roads wind through hills, and a 15 kilometer drive between two towns can easily take 25 or 30 minutes. Build real buffer time into any morning plan rather than assuming you can squeeze in one more stop before the light goes flat. And do not underestimate how cold it gets before sunrise, even in the warmer months. Bring a proper layer you can shed once the sun is up, because standing still on a hilltop at 5:30 in the morning is colder than the daytime forecast would suggest.
One more first trip mistake worth flagging: not backing up your photos as you go. Bring at least two memory cards and rotate between them, and copy files to a laptop, portable SSD, or a cloud backup every evening if you can. A lost or corrupted card on day two of a ten day trip is a genuinely heartbreaking way to lose your entire Val d'Orcia shoot, and it is completely avoidable with a five minute habit each night.
A realistic first day timeline
Here is roughly how a first full day should actually flow once you land in the region, based on what tends to work for people shooting Val d'Orcia for the first time. Adjust the exact clock times to whatever month you are visiting, since sunrise and sunset shift by hours across the year.
| Time | Activity |
|---|---|
| 30 minutes before sunrise | Arrive at your pre scouted hilltop viewpoint, tripod set up, camera in Manual mode |
| Sunrise to roughly 1 hour after | Shoot your planned shot list, then explore a little once the obvious shot is in the bag |
| Mid morning | Breakfast, then a slow walk through a village like San Quirico or Pienza for street level shots |
| Midday | Rest, edit yesterday's photos, scout tonight's sunset location, eat a proper Tuscan lunch |
| Two hours before sunset | Head to your scouted location, arriving with plenty of margin |
| Sunset to blue hour | Shoot golden hour, then stay another 15 to 20 minutes after the sun is down for the soft blue light |
Frequently asked questions from beginners
Do I need a full frame camera for Tuscany landscapes? No. A crop sensor camera or even a recent smartphone with manual controls can produce strong results. What matters far more is being in the right place at the right light, not the size of your sensor.
Is a tripod really necessary in summer when there is more light? Yes, because even in summer the strongest shooting windows are at sunrise and sunset, when light levels drop enough that a tripod still keeps your ISO low and your images clean.
Can I get good photos without waking up before sunrise? You can get pleasant photos, but the images that actually look like the ones that drew you to Tuscany in the first place almost always come from that early morning window. If you only wake up early once during your trip, make it count.
How much should a beginner spend on gear before the trip? Very little, if you already own a camera with manual controls. A sturdy travel tripod is the one purchase worth prioritizing if you do not already have one.
Should I shoot in black and white while I am still learning? Shoot in RAW and color in the field regardless, since a RAW file preserves the full color data even if you plan to convert an image to black and white later. Decide on black and white as a creative choice during editing, not as a setting you commit to while you are still learning basic exposure.
Where to go from here
Once the basics in this guide feel comfortable, the natural next step is our full Tuscany Photography Guide, which covers the best spots, seasons, and a complete itinerary in far more depth than a beginner focused piece like this one can. From there, the seasonal and location deep dives on our journal go much further into specific techniques, from timing the autumn fog to picking the right lens for a longer trip.
The most honest piece of advice I can give a first time visitor is this: do not let the technical side intimidate you into staying in bed at sunrise. A slightly imperfect exposure of the actual golden hour light over Val d'Orcia will always beat a technically perfect photo of a flat, hazy midday sky. Learn the three settings above, show up when the light is good, and the rest comes with practice, most of it earned in the field rather than from reading another article.