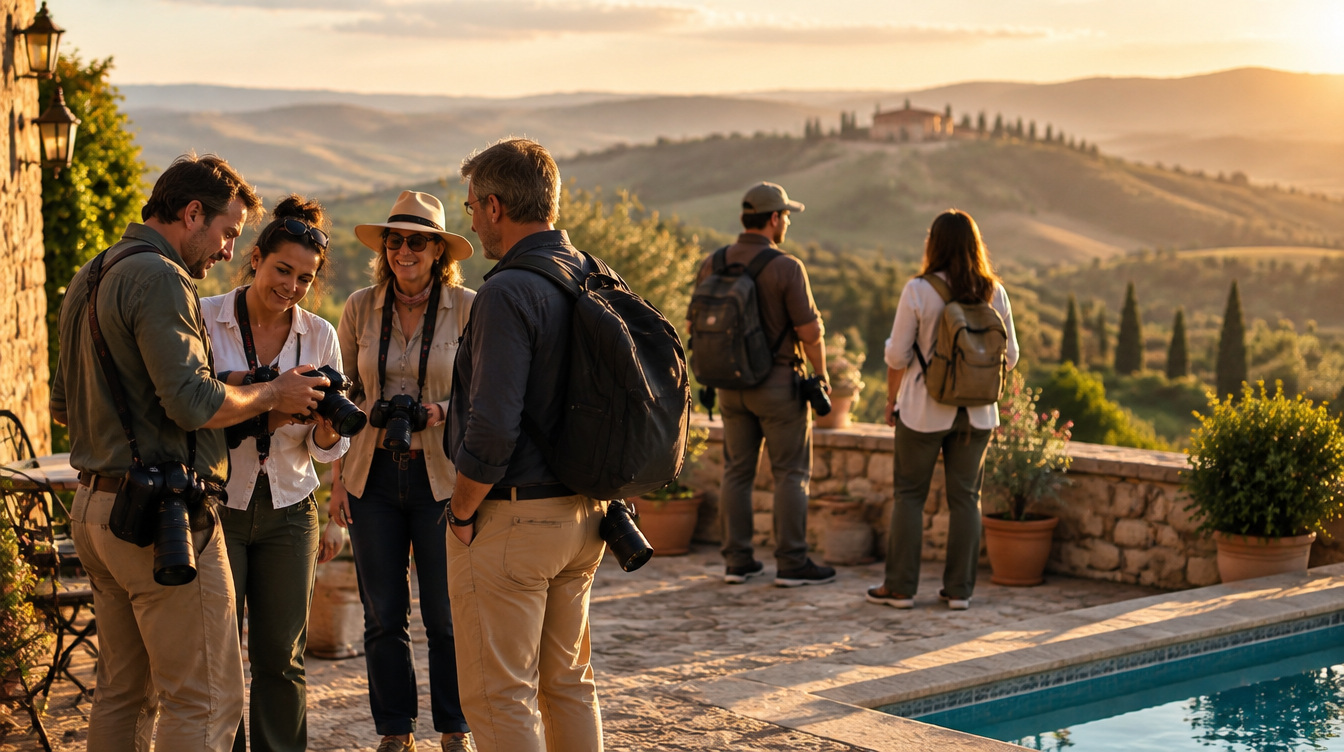
Your First Week in Val d'Orcia: A Sample 7 Day Photography Itinerary
A concrete, day by day plan for a first Val d'Orcia photography trip, tying together the villages, cypress roads, and fog window covered across this series into one realistic seven day week.
Your First Week in Val d'Orcia: A Sample 7 Day Photography Itinerary
Somewhere around the third time a reader asked me "okay but what would you actually do, day by day," I realized all the individual guides in this series were missing the one thing that ties a trip together: a schedule. It is one thing to know that Pienza has great terrace views or that the cypress roads near San Quirico photograph best in the last hour of light. It is another thing to figure out how to string seven days of shooting together without wasting half of them driving in circles or showing up at the wrong village at the wrong hour.
So here is the itinerary I would actually run, built from everything covered across this series. It assumes you are flying in from the US, renting a car, and basing yourself centrally in Val d'Orcia rather than hopping hotels every night, which in my experience is the single biggest quality of life improvement you can make on a photography trip like this. Treat every day here as a flexible template, not a rigid script. Weather, light, and your own energy levels will move things around, and that is fine. The point is to give you a realistic frame to build your own week from.
Key Takeaways
A full week in Val d'Orcia is enough time to cover the region's essential villages, catch at least one fog morning, and still leave room for rest, as long as you base yourself centrally and plan shoots around light rather than convenience.
| Point | Details |
|---|---|
| Where to base yourself | Pienza or San Quirico d'Orcia, both within 20 minutes of most locations in this itinerary |
| Best week length | 7 full days gives you two shots at fog, two flexible weather days, and time for every major village |
| Daily rhythm | Sunrise shoot, midday rest or scouting, sunset shoot, repeat |
| Built in flex | Day 6 is intentionally unplanned to absorb bad weather or a repeat visit to your favorite spot |
| One essential rule | Never schedule your only fog attempt on day 1. Fog needs a clear evening and a cold overnight drop, and you cannot control when that happens |
Table of Contents
- How to use this itinerary
- Day 1: arrival and a gentle first sunset
- Day 2: Pienza and the terrace light
- Day 3: the cypress roads and Monticchiello
- Day 4: Bagno Vignoni and a slower afternoon
- Day 5: the fog attempt
- Day 6: your flex day
- Day 7: last light and departure
- The full week at a glance
- What I pack for a week like this
- Frequently asked questions
How to use this itinerary
Before the day by day breakdown, a few ground rules that make this whole week actually work. First, land a day earlier than you think you need to. Jet lag from the US is real, and trying to shoot a meaningful sunrise on the same morning you land off an eight or nine hour flight almost never goes well. Give yourself the arrival evening to settle in and treat day one of this itinerary as your first full day in the country, not your travel day.
Second, this itinerary assumes a rental car. Val d'Orcia is not a region you can shoot properly on foot or by relying on the sparse local bus network. If you have not driven in Italy before, I go into the specifics of manual transmissions, ZTL restricted zones, and rural road conditions in a separate guide, but the short version is: get comfortable with a stick shift before you land, or pay the extra fee for an automatic, because you will be driving narrow gravel farm roads to reach some of these viewpoints.
Third, and this is the part people underestimate most, build real rest into the middle of every day. Shooting a 5am sunrise and then trying to power through until a 9pm sunset without a break is a good way to burn out by day three. The long midday break most locals already take, roughly 1pm to 4pm when the light is flat and harsh anyway, is not wasted time. Use it to eat well, review your files, nap, or just sit somewhere with a glass of Vino Nobile di Montepulciano and let your eyes rest.
Pro Tip: Book a centrally located base, ideally in or just outside Pienza or San Quirico d'Orcia, for the entire week rather than moving hotels every one or two nights. The time you save not packing and unpacking a car every day adds up to real extra shooting time by the end of the week.
Day 1: arrival and a gentle first sunset
Assuming you landed the day before and slept, day one should be light. Pick up your rental car in the morning, drive to your base in Pienza or San Quirico, and spend the afternoon simply getting oriented. Walk the town center without your camera, or with just a 35mm equivalent lens on your body if you cannot resist, and figure out where the light will fall at different times of day. This scouting pays off every single day for the rest of the week.
For your first sunset, keep it simple and low pressure. The viewpoint just outside San Quirico's walls, looking back at the town with the surrounding hills behind it, is an easy five minute walk from the historic center and gives you a forgiving first sunset without requiring a long drive on your first jet lagged evening. Shoot with a standard zoom, somewhere around 24 to 70mm, and do not overthink the composition. The goal tonight is calibration, not your best shot of the trip.
Day 2: Pienza and the terrace light
Day two is your full Pienza day. Get to Piazza Pio II before 8am if you can, well before the tour buses arrive from Siena and Florence, and you will have the Renaissance architecture almost to yourself. The famous terrace views over Val d'Orcia, just behind the Duomo, work best in the hour after sunrise when the low side light rakes across the hills and pulls out real texture and depth. A polarizer earns its keep here, cutting the morning haze just enough to punch up the contrast between the hills and sky without looking artificial.
Spend the midday break exploring Pienza's food scene, since this is the pecorino cheese capital of the region and the shops along Corso Il Rossellino are worth a slow browse even if photography is not on your mind for an hour or two. For sunset, drive roughly fifteen minutes toward the fields south of town where you can frame Pienza itself sitting on its ridge with the hills falling away in front of it. A 70 to 200mm lens compresses the layers of hills beautifully from this distance and is one of the most underused lenses I see visiting photographers bring to Tuscany.
Day 3: the cypress roads and Monticchiello
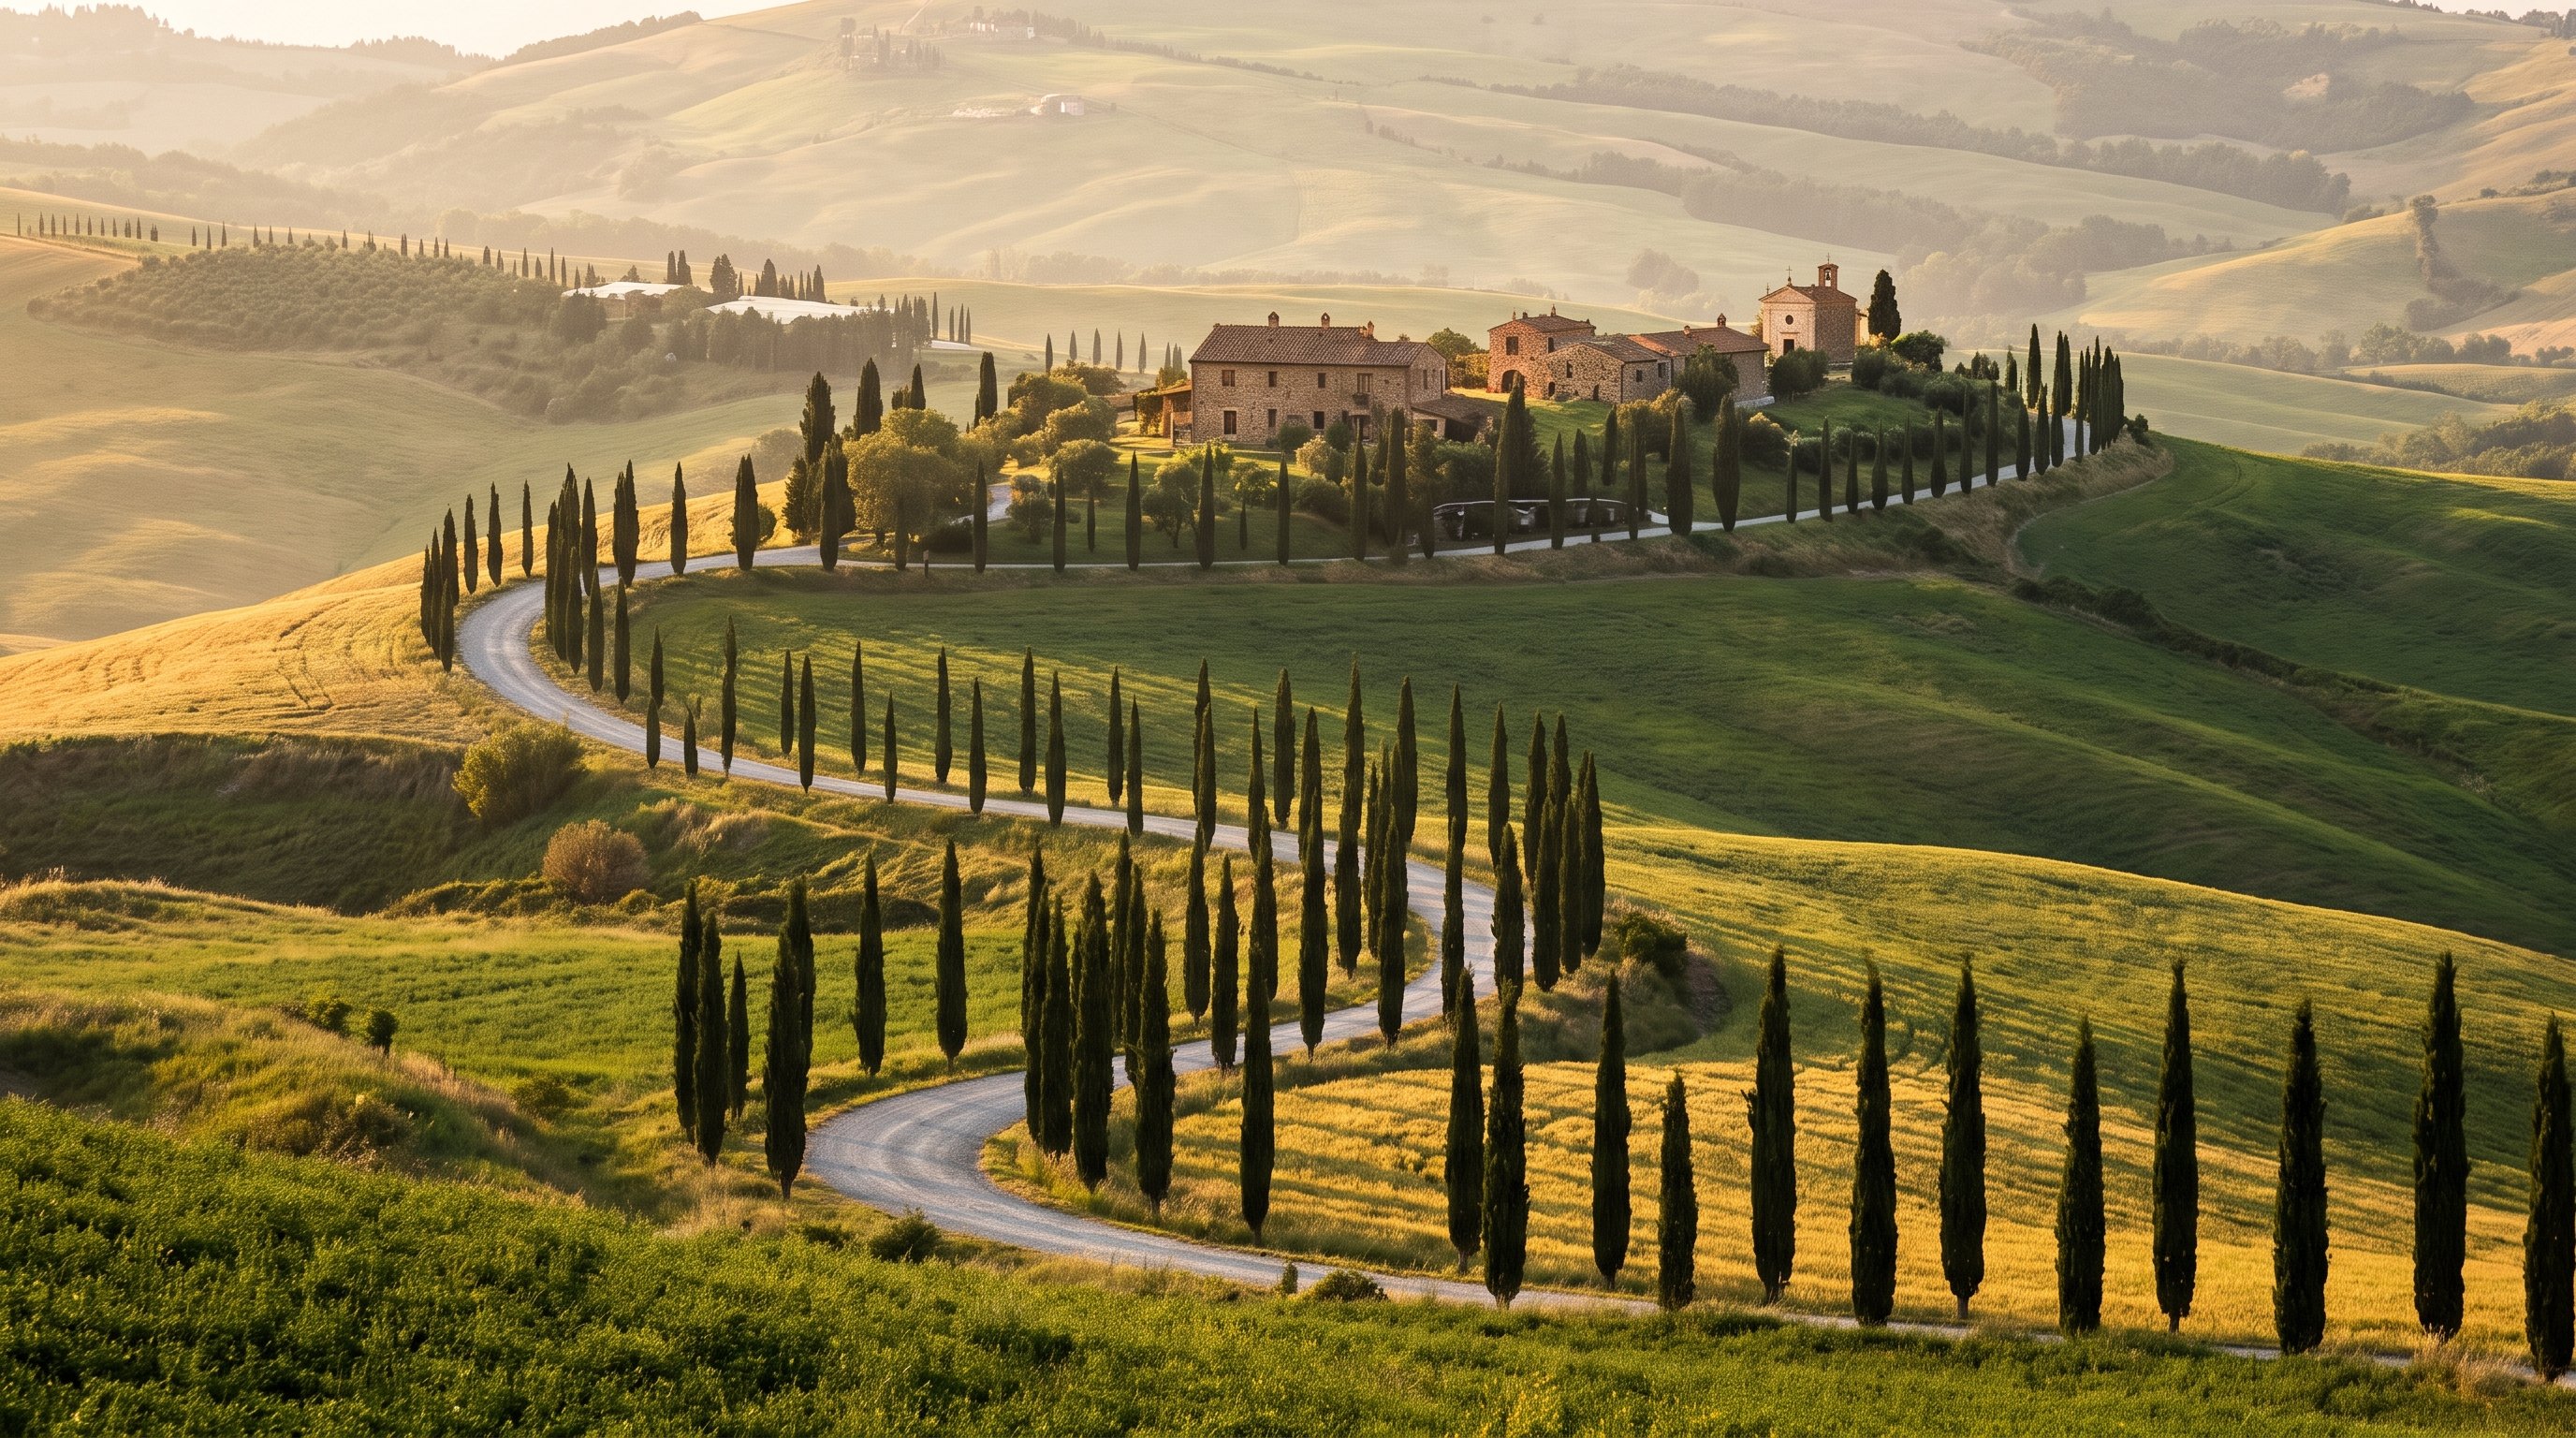
Day three is built around two of the most photographed subjects in the entire region, so plan for a longer day. Start at sunrise on one of the famous cypress lined farm roads near San Quirico. Direction matters enormously here: you want the sun rising behind or alongside the row of trees rather than directly in front of your lens, both for the light and to avoid a flare you cannot control. Stick to the public gravel roads and do not walk into the surrounding fields, which are private working farmland even when there is no visible fence.
After the cypress shoot and a proper midday break, head to Monticchiello in the afternoon. This is the village I point people toward once they have already seen Pienza and San Quirico and want something quieter with equally strong compositions. The narrow stone streets and the view back toward Pienza from just outside its walls are both worth your time, and because almost nobody stops here, you can take your time with a tripod without dodging other visitors' phones.
A trip built entirely around checklist locations can start to feel like work rather than a vacation, which is part of why WeShoot's guided Tuscany photo tours exist. A local photographer who already knows which cypress road is quiet at 6:15am on a Tuesday and which field access is actually permitted saves you the trial and error built into a self planned week like this one, and gets you to the light instead of past it.
Day 4: Bagno Vignoni and a slower afternoon
By day four, most people are feeling the accumulated early mornings, so this is a deliberately lighter day built around one unusual location. Bagno Vignoni is the small village whose entire central piazza is a rectangular pool of thermal water rather than a paved square, and it photographs completely differently depending on conditions. On a still, cool morning the water acts as a near perfect mirror for the surrounding stone buildings, and in colder months you can sometimes catch steam rising off the surface at sunrise, which is worth setting an early alarm for if the overnight temperature has dropped sharply.
Bring a small remote shutter release or use your camera's two second timer for the reflection shots, since even a light touch on the shutter button can introduce enough vibration to blur the water's surface at the shutter speeds you will likely be using indoors near the pool's edge. After Bagno Vignoni, take the rest of the day easy. This is a good afternoon for a wine tasting around Montalcino, twenty five minutes away, or simply staying in and doing a real edit pass on your files from the first three days while the shots are still fresh in your memory.
| Condition | What it means for Bagno Vignoni |
|---|---|
| Still air, no wind | Best reflection quality, shoot immediately after sunrise |
| Clear sky, cold overnight low | Best chance of steam rising off the water |
| Overcast, mild | Flatter light but still workable, softer reflections |
| Midday, any season | Avoid. Direct overhead sun kills the reflection and the crowds are heaviest |
Day 5: the fog attempt
Day five is when I schedule the week's dedicated fog attempt, deliberately placed in the middle of the trip rather than the beginning, because by now you have had several nights to actually watch the forecast rather than guessing blind on arrival. The setup to look for is simple: a clear evening sky, calm wind, and an overnight temperature drop of at least fifteen degrees Fahrenheit between the daytime high and the nighttime low. When those three line up, fog pooling in the valley the following dawn is genuinely likely.
If the forecast looks right the night before, set an alarm well before sunrise, at least 45 minutes earlier than you think you need, and get to a hilltop viewpoint above the valley floor. The classic shots are hilltop towns like Pienza or San Quirico appearing to float above a sea of white, so position yourself on high ground looking across at the town rather than trying to shoot from inside it. A telephoto in the 100 to 200mm range compresses the fog layers beautifully and is my most used lens on a morning like this.
Pro Tip: The fog window typically closes fast, often within an hour or two of sunrise once direct light hits the valley floor. Have your composition roughly planned before the light gets good so you are not still fumbling with a tripod head while the fog is already burning off in front of you.
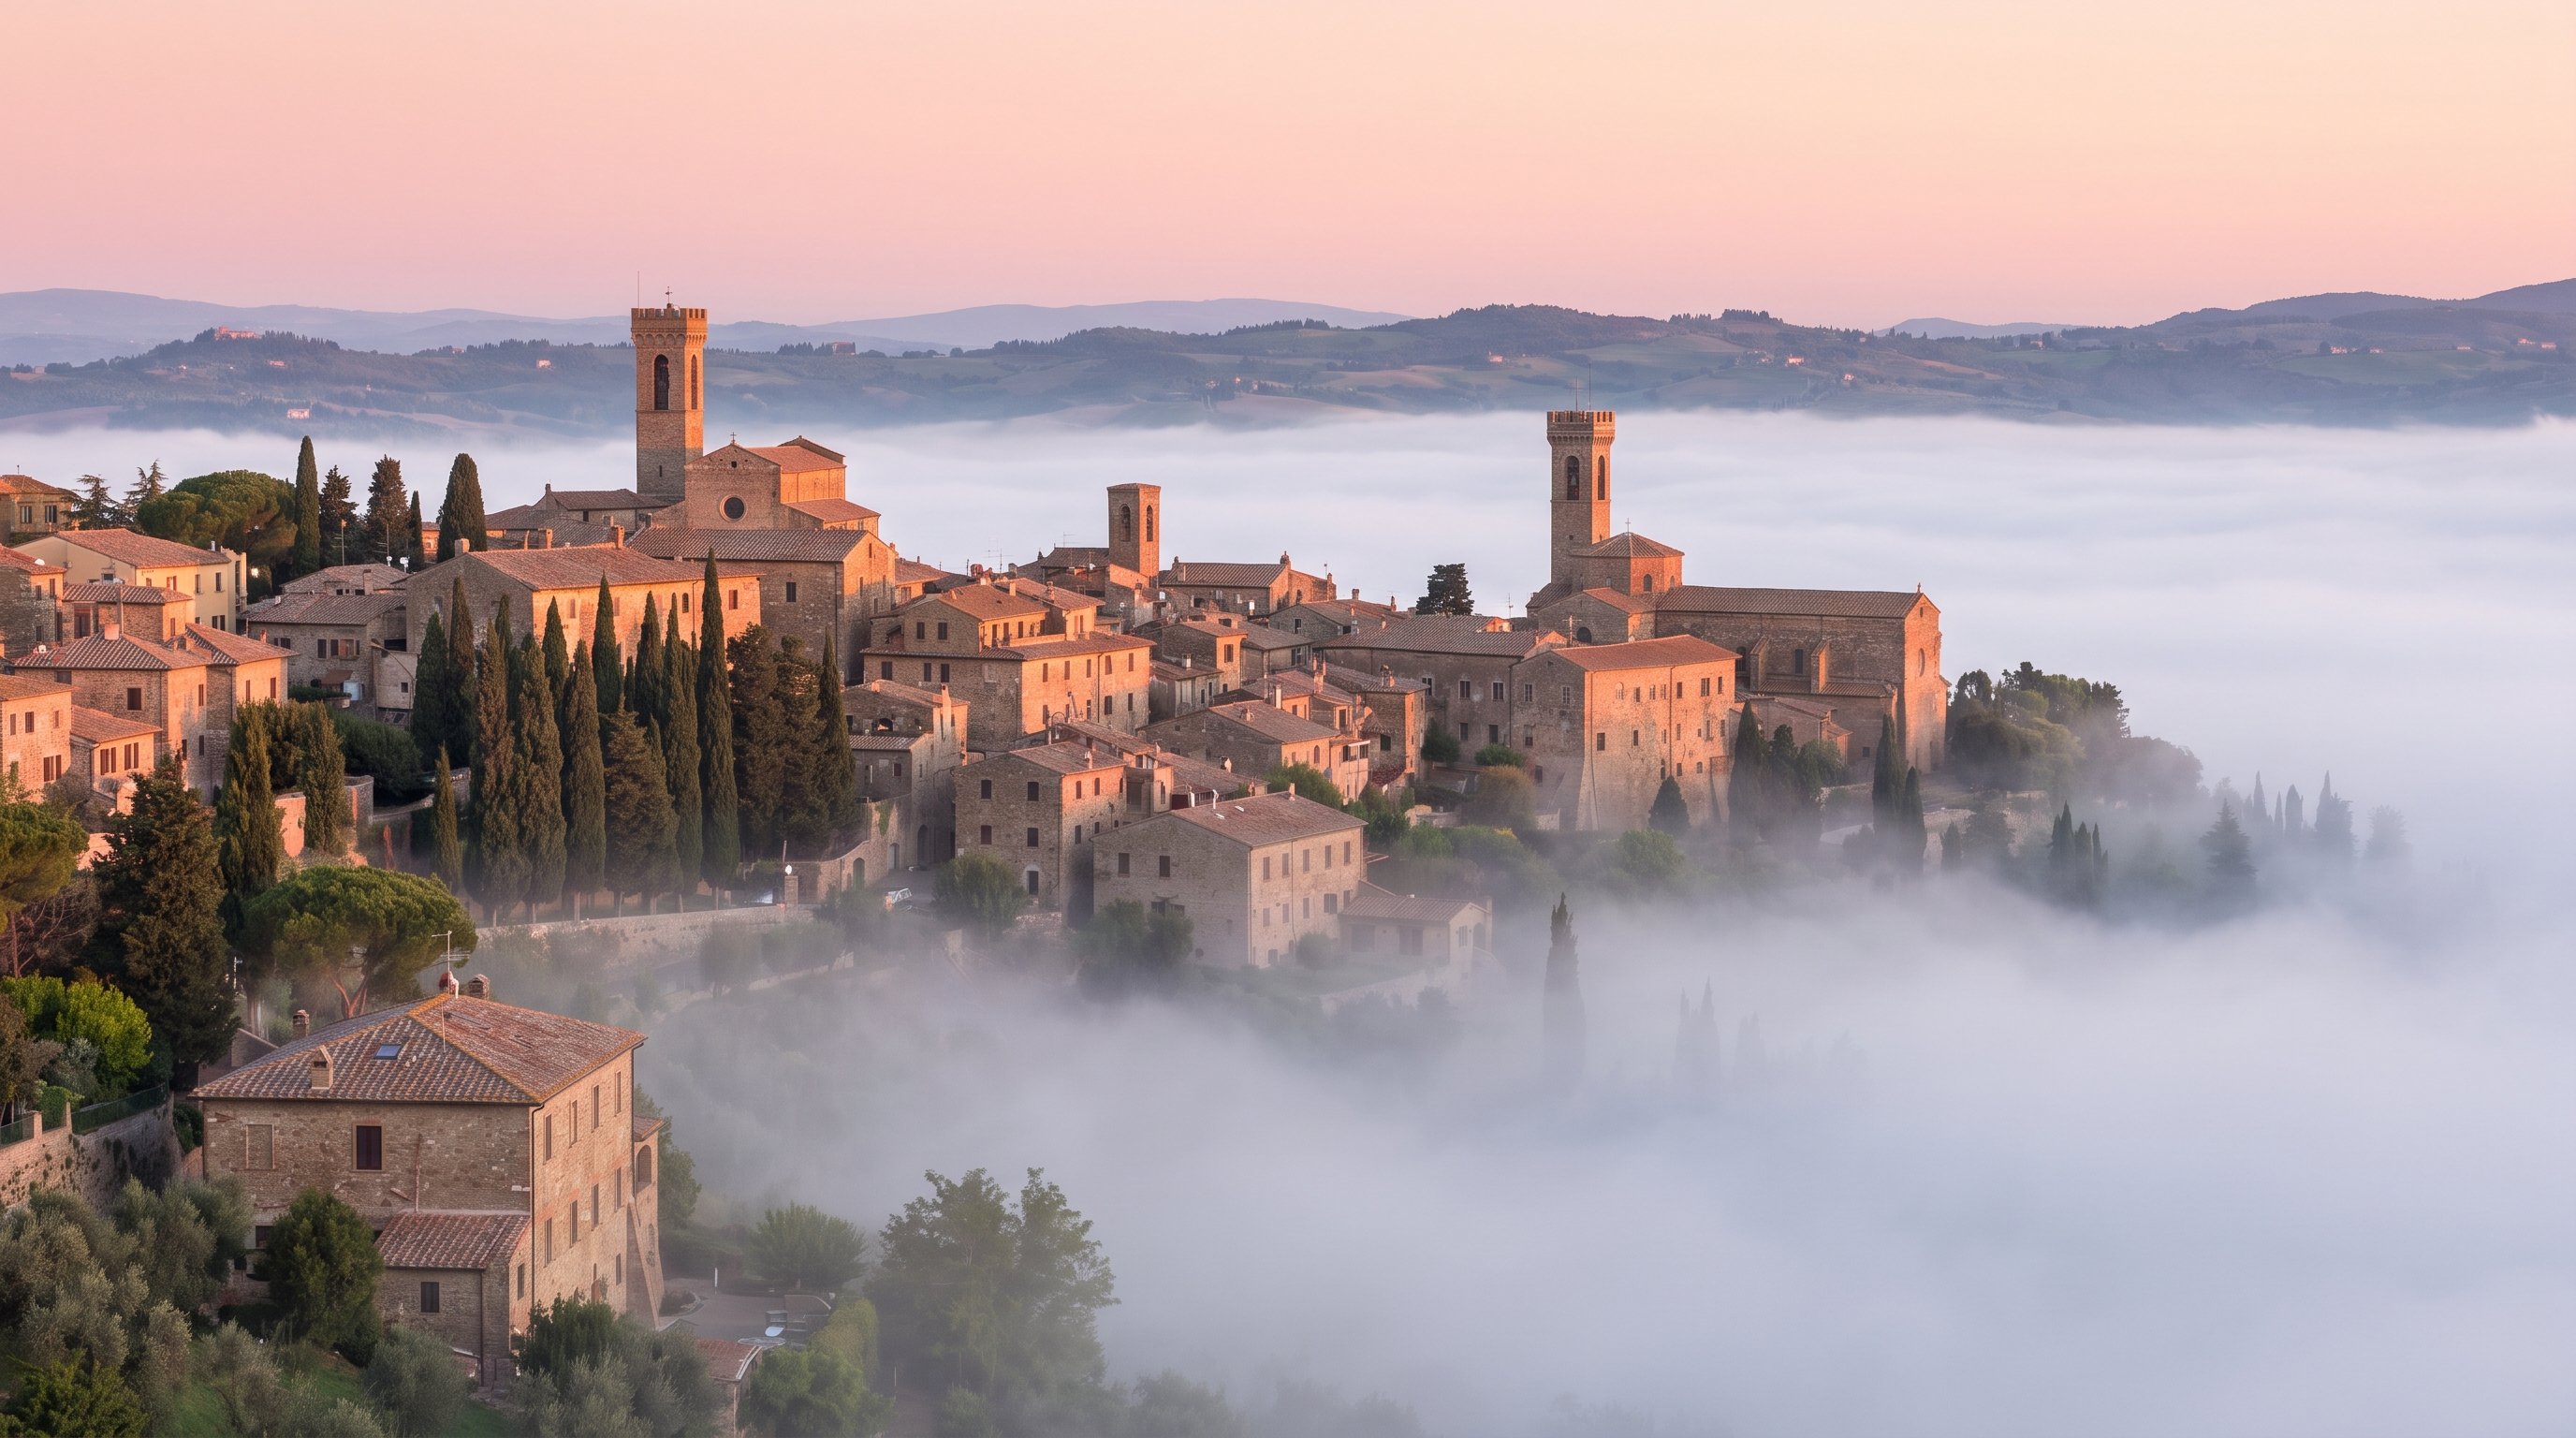
If the forecast simply is not right on day five, do not force it. Chasing fog on a night with no temperature drop just costs you sleep for nothing. Use the morning to sleep in instead and shift your fog attempt to day six, which is exactly why that day exists as a flexible buffer rather than a fixed plan.
Day 6: your flex day
This is the day I intentionally leave open on every itinerary I plan, and it is consistently the most useful day of the week. Use it as your backup fog morning if day five did not deliver. Use it to return to whichever location produced your favorite shot so far and try a different angle, lens, or time of day. Use it to finally fly a drone over one of the wider valley views, checking first that you are outside any no fly zone around the historic centers, since EASA rules apply the same way to visiting US photographers as they do to Italian residents. Or genuinely just rest, because a week of 5am wake ups catches up with everyone eventually.
If the weather has been kind and you have already covered everything on your list, day six is also a good time for a longer exposure session. A 6 or 10 stop ND filter smooths moving clouds over the hills into soft streaks that add real motion to an otherwise static landscape, and Val d'Orcia's wide open skies give you plenty of cloud movement to work with on a breezy afternoon.
Day 7: last light and departure
Plan your final full day around your actual flight time rather than trying to cram in one more far flung location. If your flight leaves the next morning, keep day seven's shooting close to your base so you are not racing back from a distant viewpoint with a rental car return deadline hanging over you. A final sunrise at whichever spot became your favorite over the week, followed by a relaxed final day of packing, returning the car without rushing, and one last unhurried Tuscan meal, is a far better way to end the trip than squeezing in a sunset shoot forty minutes from the airport with your bags already in the trunk.
If you do have a genuine free morning before departure, the fields between San Quirico and Pienza offer a solid default option: open, easy to reach, and reliably photogenic without requiring detailed local knowledge to find. It is a fitting way to close out a week that started with the same kind of easy, low pressure shooting on day one.
The full week at a glance
| Day | Focus | Key gear |
|---|---|---|
| 1 | Arrival, orientation, gentle first sunset near San Quirico | 24 to 70mm standard zoom |
| 2 | Pienza: Piazza Pio II, terrace views, sunset from the surrounding fields | Polarizer, 70 to 200mm |
| 3 | Cypress roads at sunrise, Monticchiello in the afternoon | Wide angle, tripod |
| 4 | Bagno Vignoni reflections, slower afternoon | Remote shutter release |
| 5 | Dedicated fog attempt on a hilltop viewpoint | 100 to 200mm telephoto |
| 6 | Flex day: backup fog, drone, long exposure, or rest | ND filter, drone if applicable |
| 7 | Final sunrise close to base, relaxed departure | Whatever earned its place by now |
What I pack for a week like this
You do not need to bring every lens you own, and honestly, trying to is how people end up with a sore shoulder and a bag they resent carrying by day three. My realistic one bag kit for a week like this is a wide angle zoom in the 16 to 35mm range for the cypress roads and interiors, a standard 24 to 70mm that covers most general scenes, and a 70 to 200mm for compressing distant hills and villages. That is genuinely enough for nearly everything described above. Add a sturdy travel tripod, a circular polarizer, a 6 stop ND for the long exposure session on day six, and a couple of spare batteries, since cold fog mornings drain them faster than you expect.
On the logistics side, remember a European power adapter, since Italy runs on the standard European two round pin plug and US devices need a converter, not just an adapter, if they are not already dual voltage. Pack layers for the early mornings even in summer, since a 5am start in Val d'Orcia is noticeably cooler than the afternoon high regardless of season, and you will be standing still on an exposed hilltop waiting for light more often than you think.
Frequently asked questions
Is seven days enough time in Val d'Orcia? Yes, for a first trip focused on the core villages and locations covered in this itinerary. A week gives you enough buffer days to absorb one or two bad weather mornings and still leave with a complete set of images.
Should I book a guided tour instead of planning this myself? It depends on how much you value local knowledge over full control of your schedule. A guided trip with WeShoot's private photo tours removes the trial and error of figuring out access roads and timing on your own, while a self planned week like this one gives you total freedom to chase your own instincts. Neither is wrong.
What if it rains for most of the week? Rain and overcast skies are not a disaster in Val d'Orcia. Moody, breaking light through storm clouds often produces more dramatic images than a flat blue sky, and the flex day built into this itinerary gives you room to reshuffle around a genuinely washed out morning.
Do I need a drone for this itinerary? No. Every location in this plan works well from ground level, and a drone is a nice addition on the flex day rather than a requirement for the trip to succeed.
Every village, road, and technique in this itinerary gets its own deeper treatment elsewhere in this series, so if one day here catches your interest, there is more detail waiting for you. And if reading through a full week like this makes the logistics feel like more than you want to manage alone, that is exactly the gap our Tuscany Photography Guide and our guided tours are built to close.